How to Decorate a Christmas Garland With Magnolia and Velvet Ribbon
A plain evergreen garland is one of those Christmas decorations worth keeping from year to year. This year, try adding a few magnolia sprigs and a single velvet bow. The broad leaves stand out against the finer cedar and fir, and turning a few leaves over brings out a warm copper color that looks lovely with burgundy ribbon.
A dining room sideboard is a good place to try this. Let the greenery spill over one end and run it along the back so you still have room in front for a platter or a stack of dessert plates. The same idea works on an entry table or a mantel.
What You’ll Need
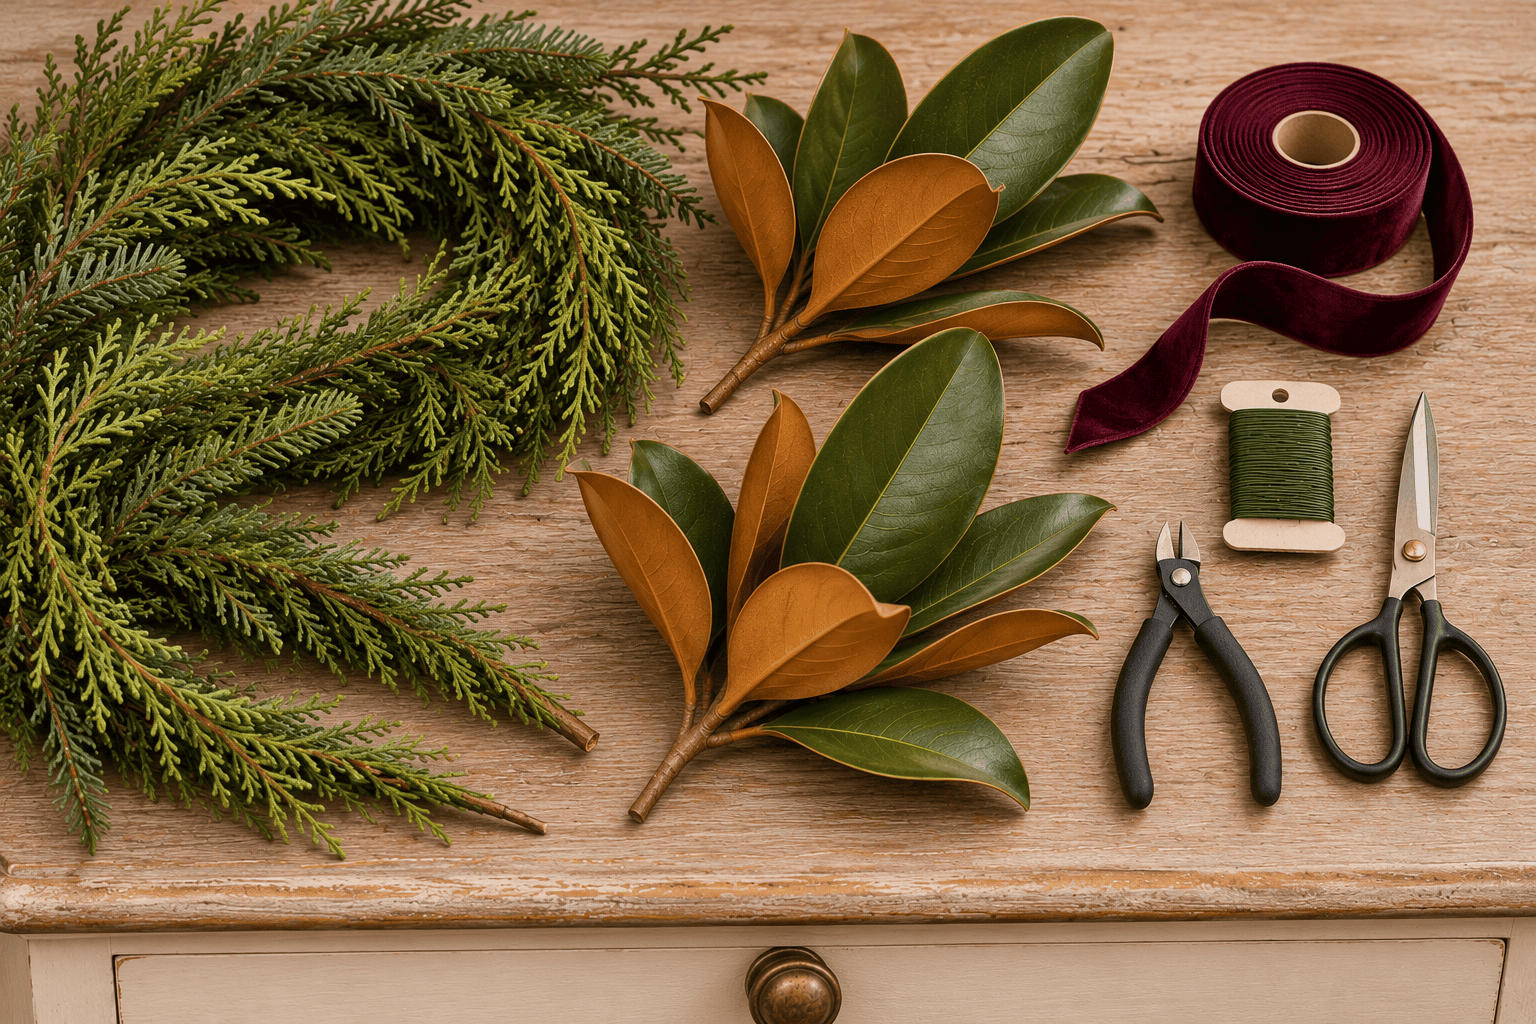
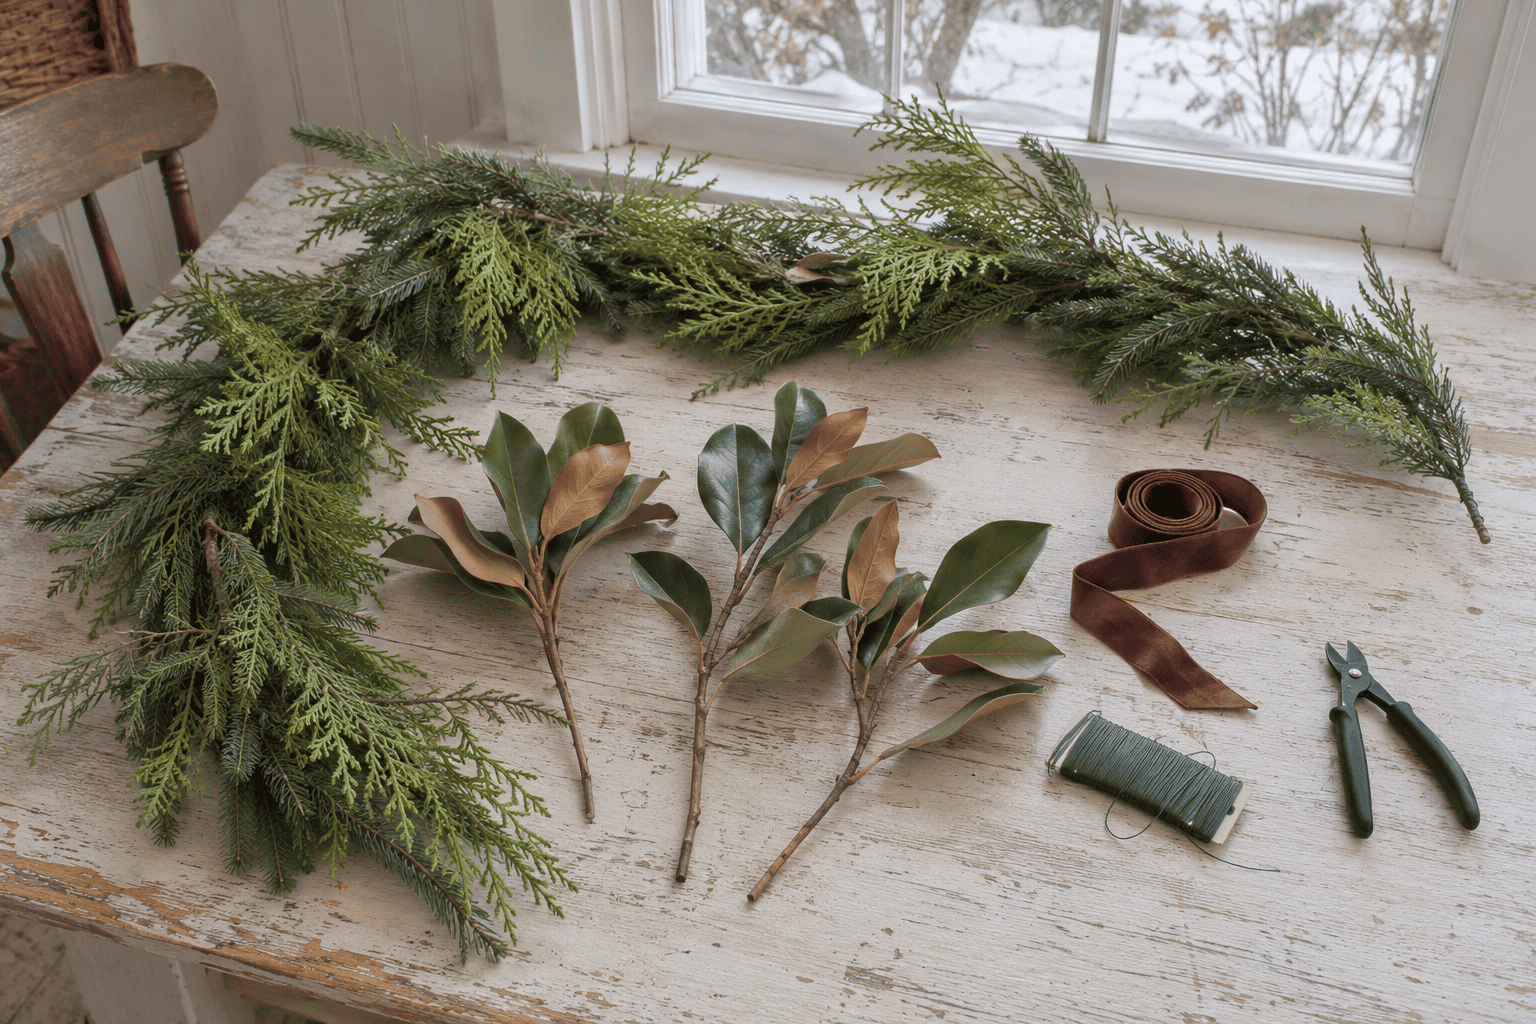
- One plain faux evergreen garland. A 5- to 6-foot garland is a starting point for a sideboard. Measure across the top and add the length you want to hang over the edge before you buy.
- Two or three faux magnolia stems. Look for stems with smaller side sprigs you can cut apart and leaves with green fronts and copper-brown backs.
- Burgundy velvet ribbon. Ribbon about 2 inches wide will give you a bow that’s visible among the branches. A softer ribbon will let the tails fall naturally.
- Green floral wire, wire cutters, and scissors. Use the cutters for the wire and the wired magnolia stems, and the scissors for the ribbon.
1. Arrange the Plain Garland First
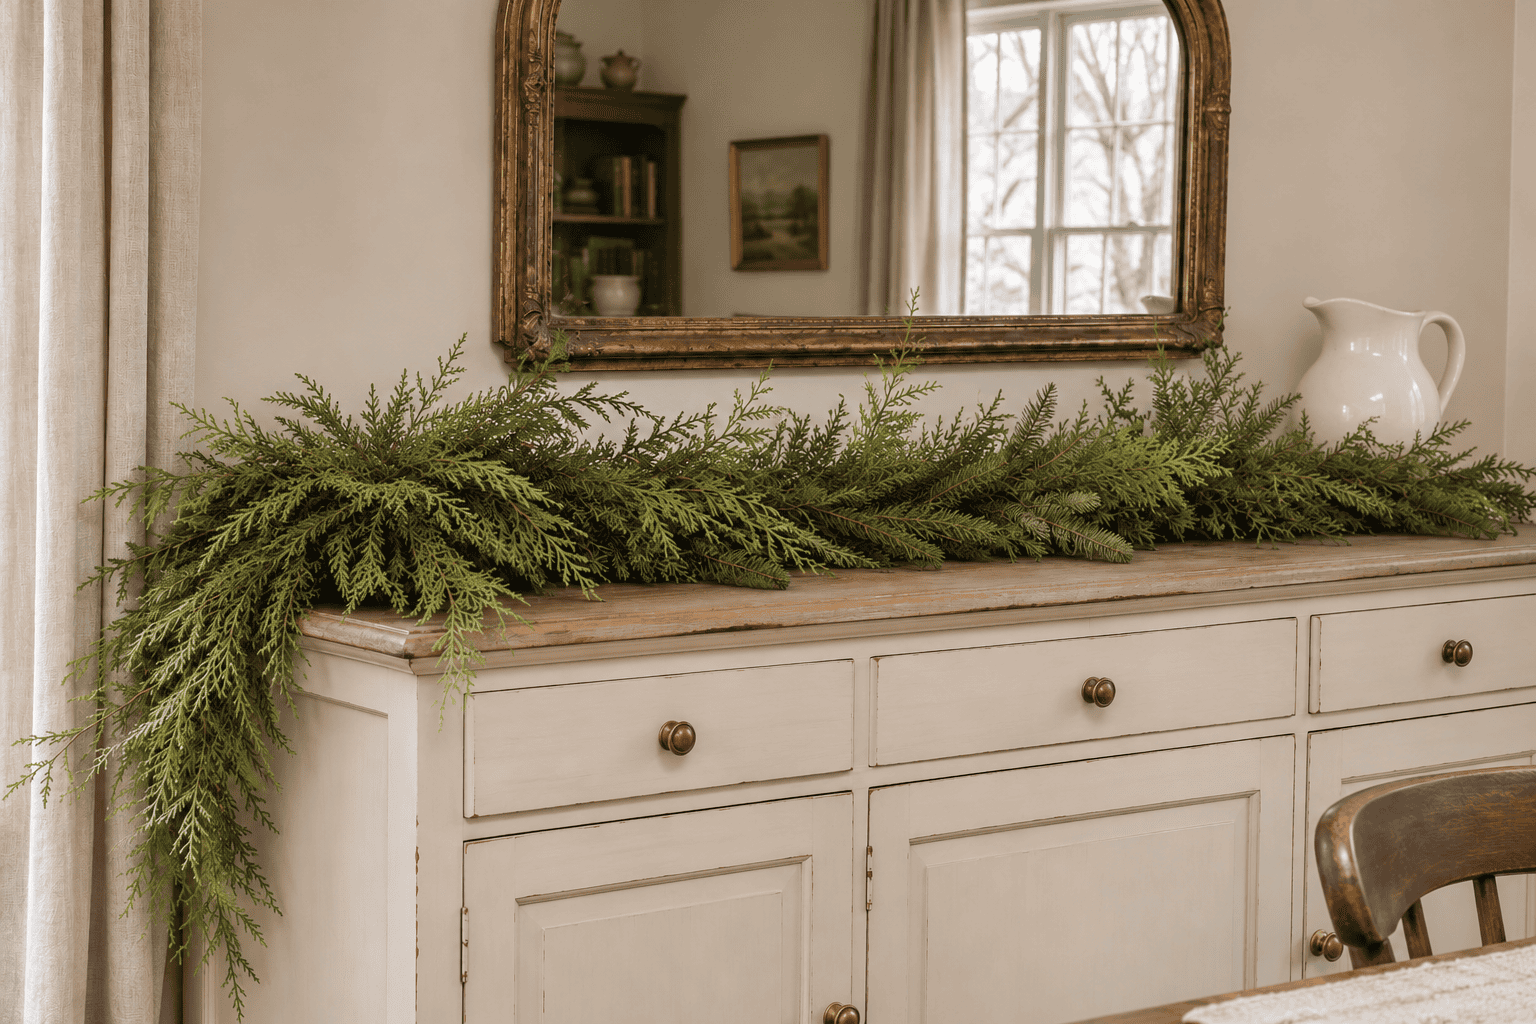
Lay the garland along the back of the sideboard. Let one end trail over the edge and keep the other end on top. If you plan to use the sideboard for serving, set your largest platter in front of the greenery now to make sure you have enough room.
Starting at one end, separate the branches that were pressed together in storage. Bend some forward and some up, paying particular attention to the spots where you can see the center spine. Let a few cedar tips hang over the front edge. That little bit of irregularity helps the greenery look more natural.
2. Tuck In the Magnolia Sprigs
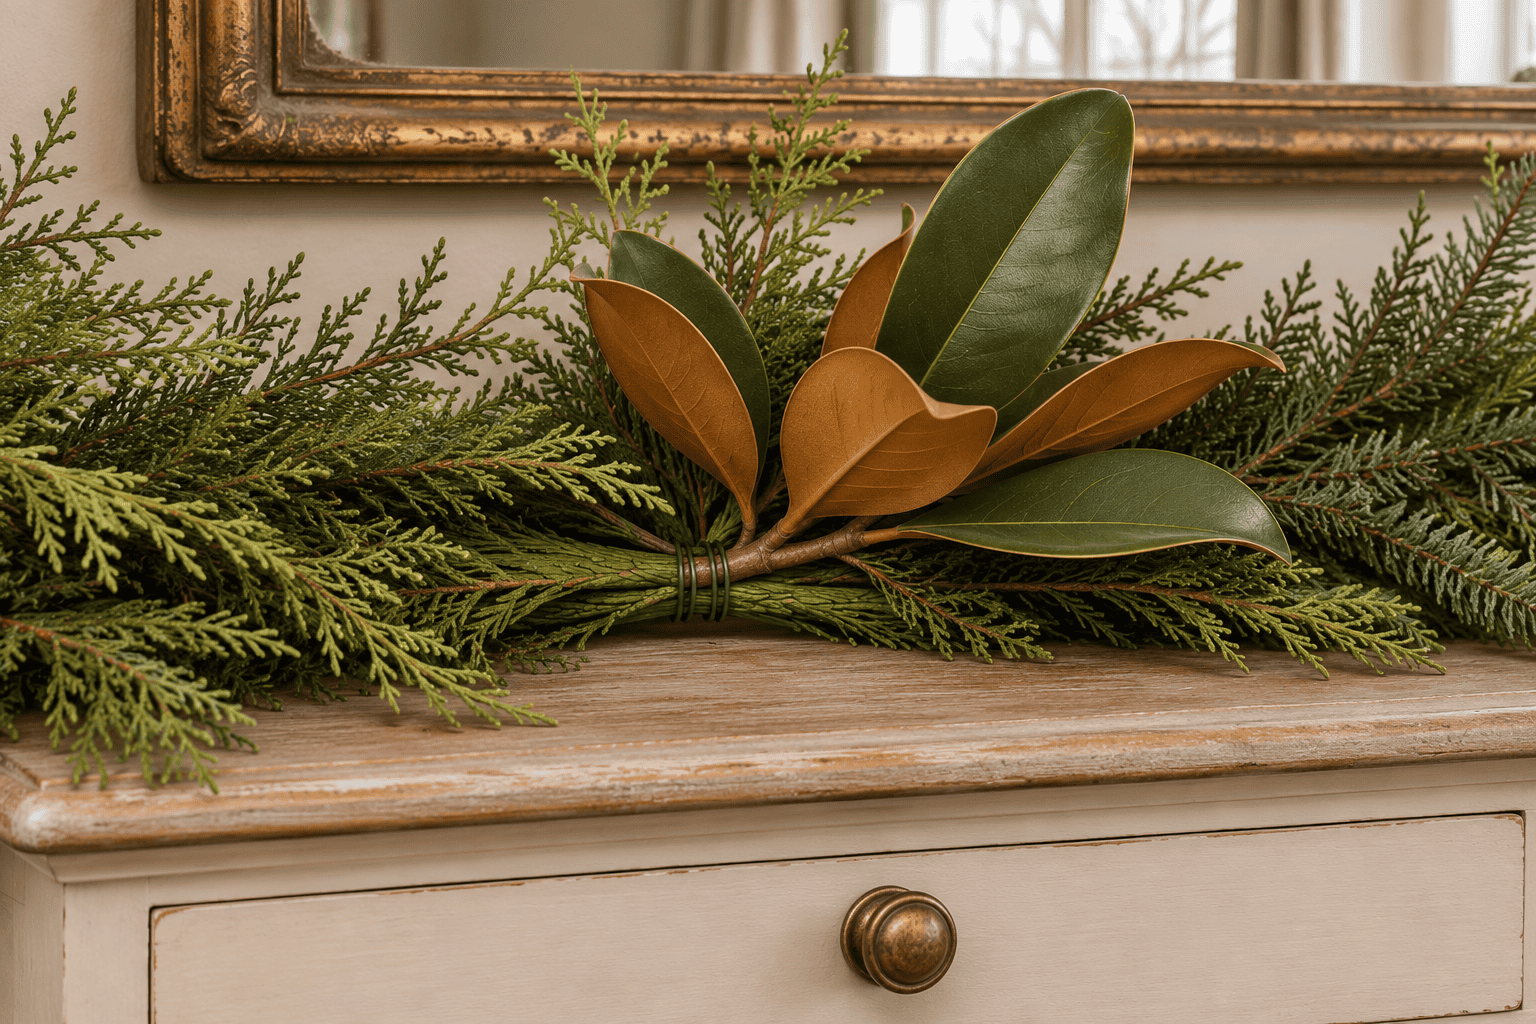
Cut the magnolia stems into smaller sprigs, leaving enough bare stem at the bottom to wire each one in place. Set three groups on the garland before attaching anything. Try one where the greenery starts to drape, one closer to the middle, and one toward the far end.
Nestle the magnolia stems down into the evergreen and angle the leaves in the direction the greenery is already falling. Turn a leaf or two in each group to show the copper underside. Then step back. If one group sticks up above everything else, tilt it down or shorten the stem.
Once you’re happy with the placement, part the evergreen branches to find the garland’s center spine. Wrap a short piece of floral wire around both the magnolia stem and the spine, twist the ends together, and tuck the ends back into the greenery. Let a cedar tip fall over the attachment to hide it.
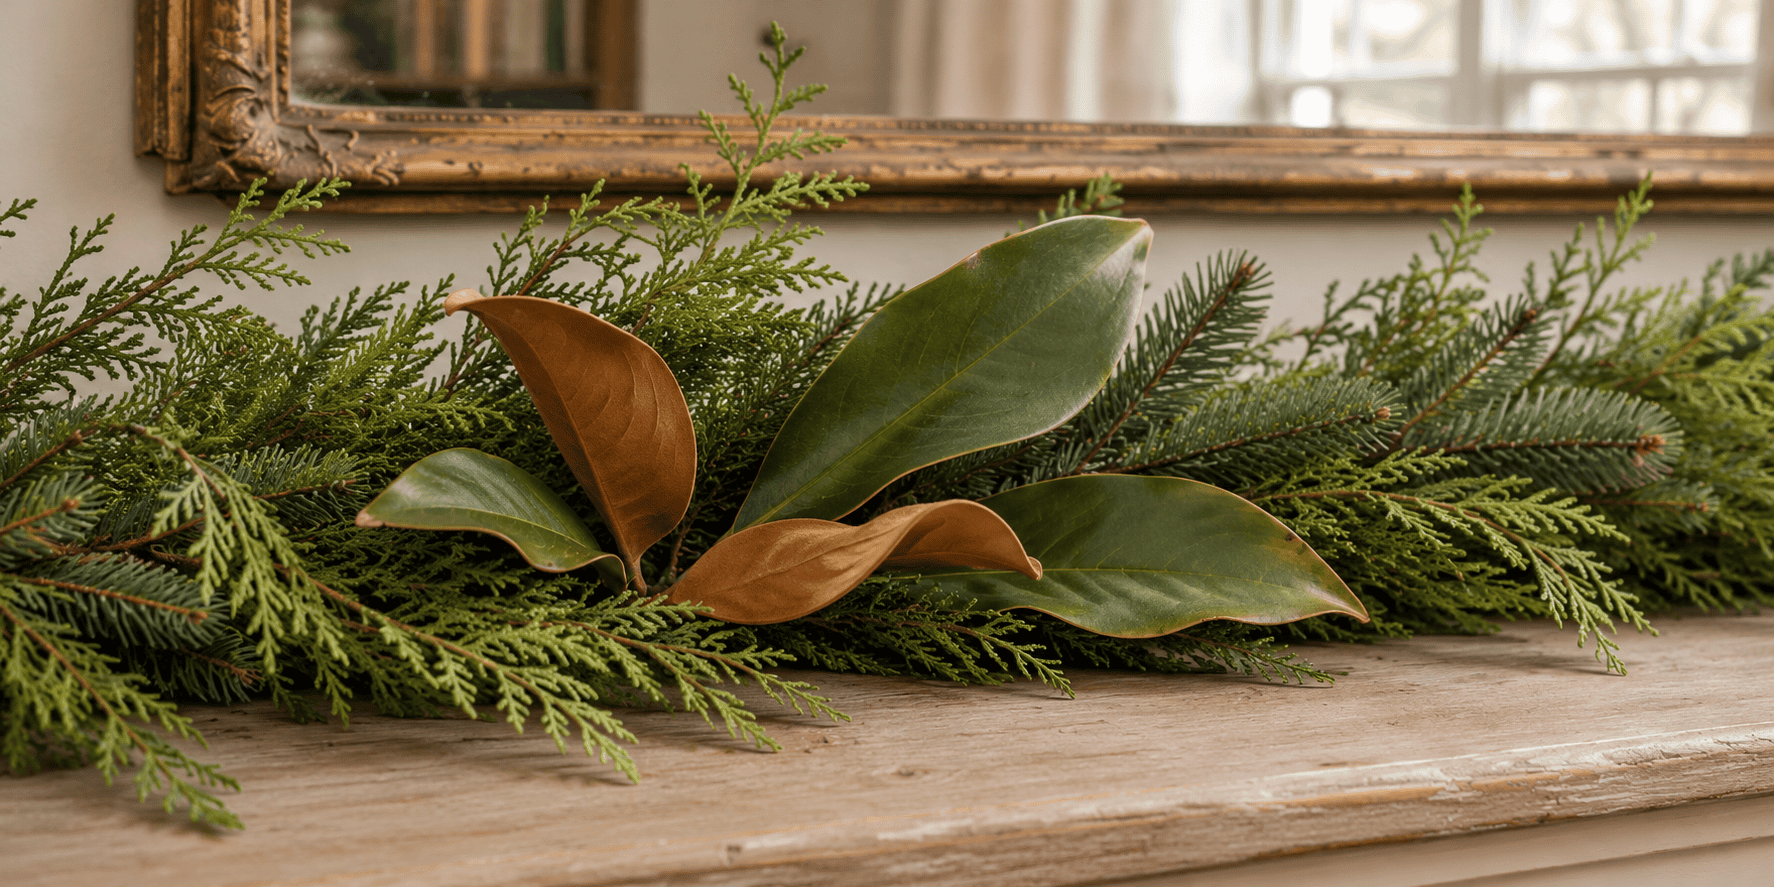
Leave some of the green leaf fronts showing and turn a few over for a touch of copper.
3. Finish With One Velvet Bow
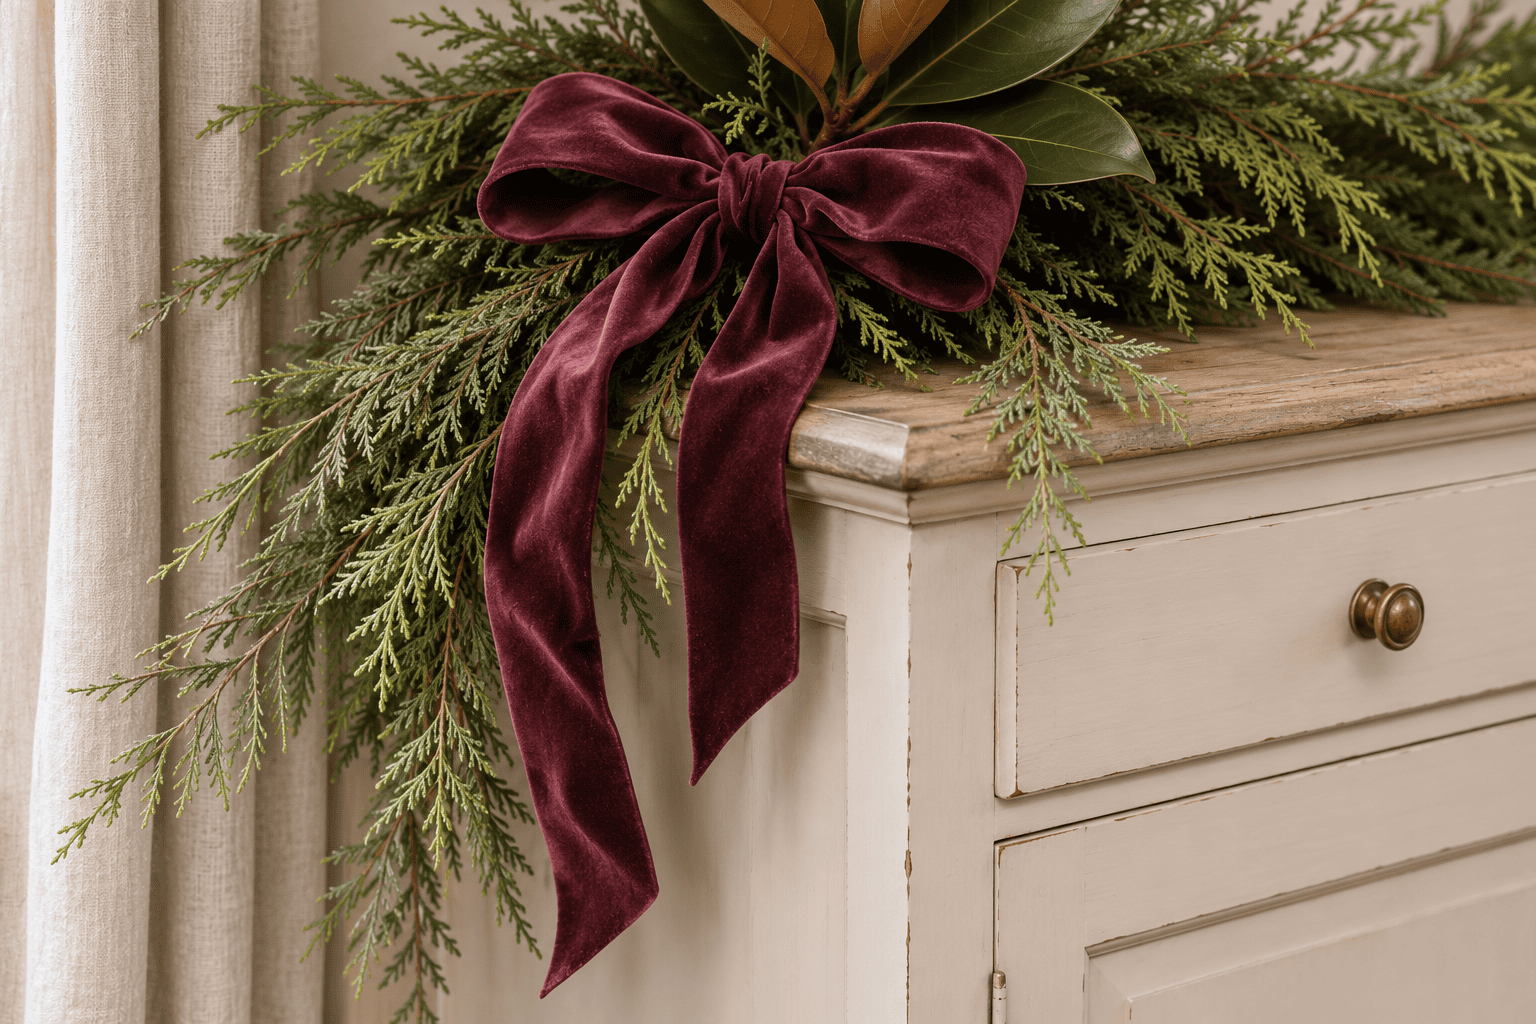
Tie a simple two-loop bow and leave the tails long enough to fall over the sideboard. A short piece of floral wire slipped through the back of the knot will let you attach it to the garland where the greenery starts to drape.
Wait until the bow is in place to trim the ribbon. Leave one tail a little longer so the two ends fall at different heights, and pull a few evergreen tips around the knot to settle the bow into the greenery.
Before and After
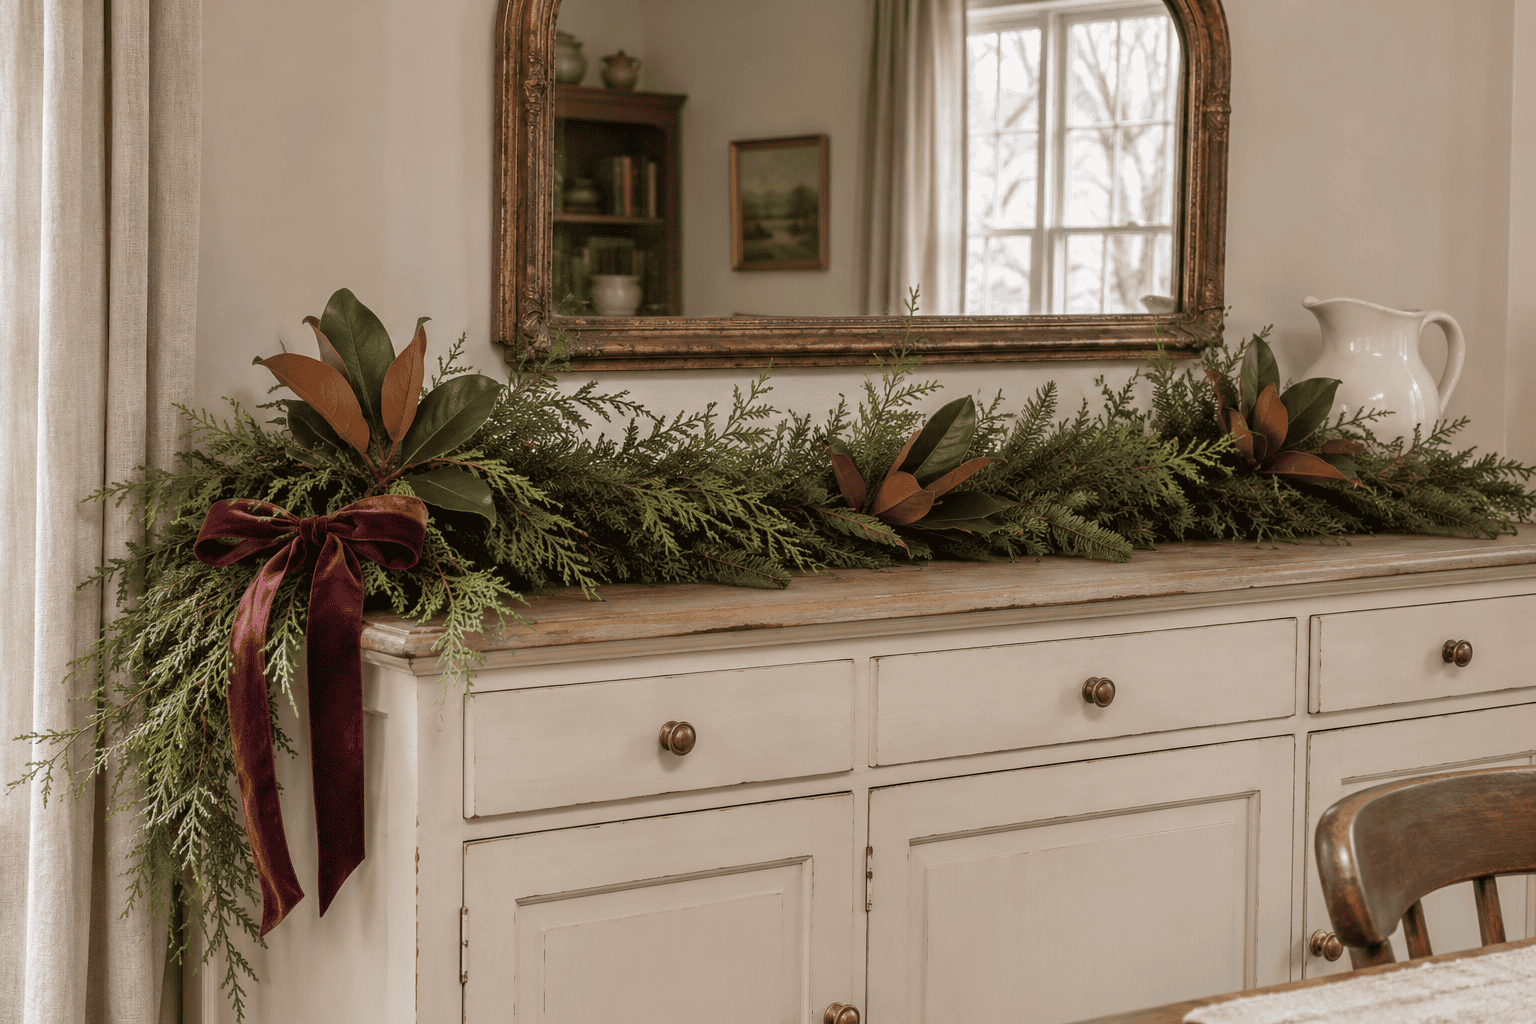
Set the two images side by side and look at where the color is concentrated. The ribbon draws your eye to the end where the garland drapes, and the smaller touches of copper carry your eye across the sideboard. If you’re working with a shorter garland, start with two magnolia groupings and see how it looks from across the room before adding more.
For a video on shaping faux greenery, see Balsam Hill’s garland decorating tutorial. For a fresh version, florist Canaan Marshall shows how he uses wire to add magnolia and holly to a cedar base in Southern Living’s guide to holiday magnolia arrangements.
More Holiday Decorating Inspiration
From setting the Thanksgiving table to bringing out the Christmas greenery, here are a few more StoneGable ideas to try this season.
- Dried Hydrangea Holiday Mantel From Now Through Christmas StoneGable
- Easy Thanksgiving Placemats Made From a Throw StoneGable
- 60+ Easy and Festive Thanksgiving Table Ideas StoneGable
- Christmas Decorating Ideas You Can Do in 15 Minutes StoneGable
- How to Decorate a Tabletop Christmas Tree
My Cozy Winter Favorites
You’ve been loving the cozy finds I’ve shared lately, so I’ll keep sharing a few of my favorites here. I’ve gathered some for winter below if you’d like to take a look.
