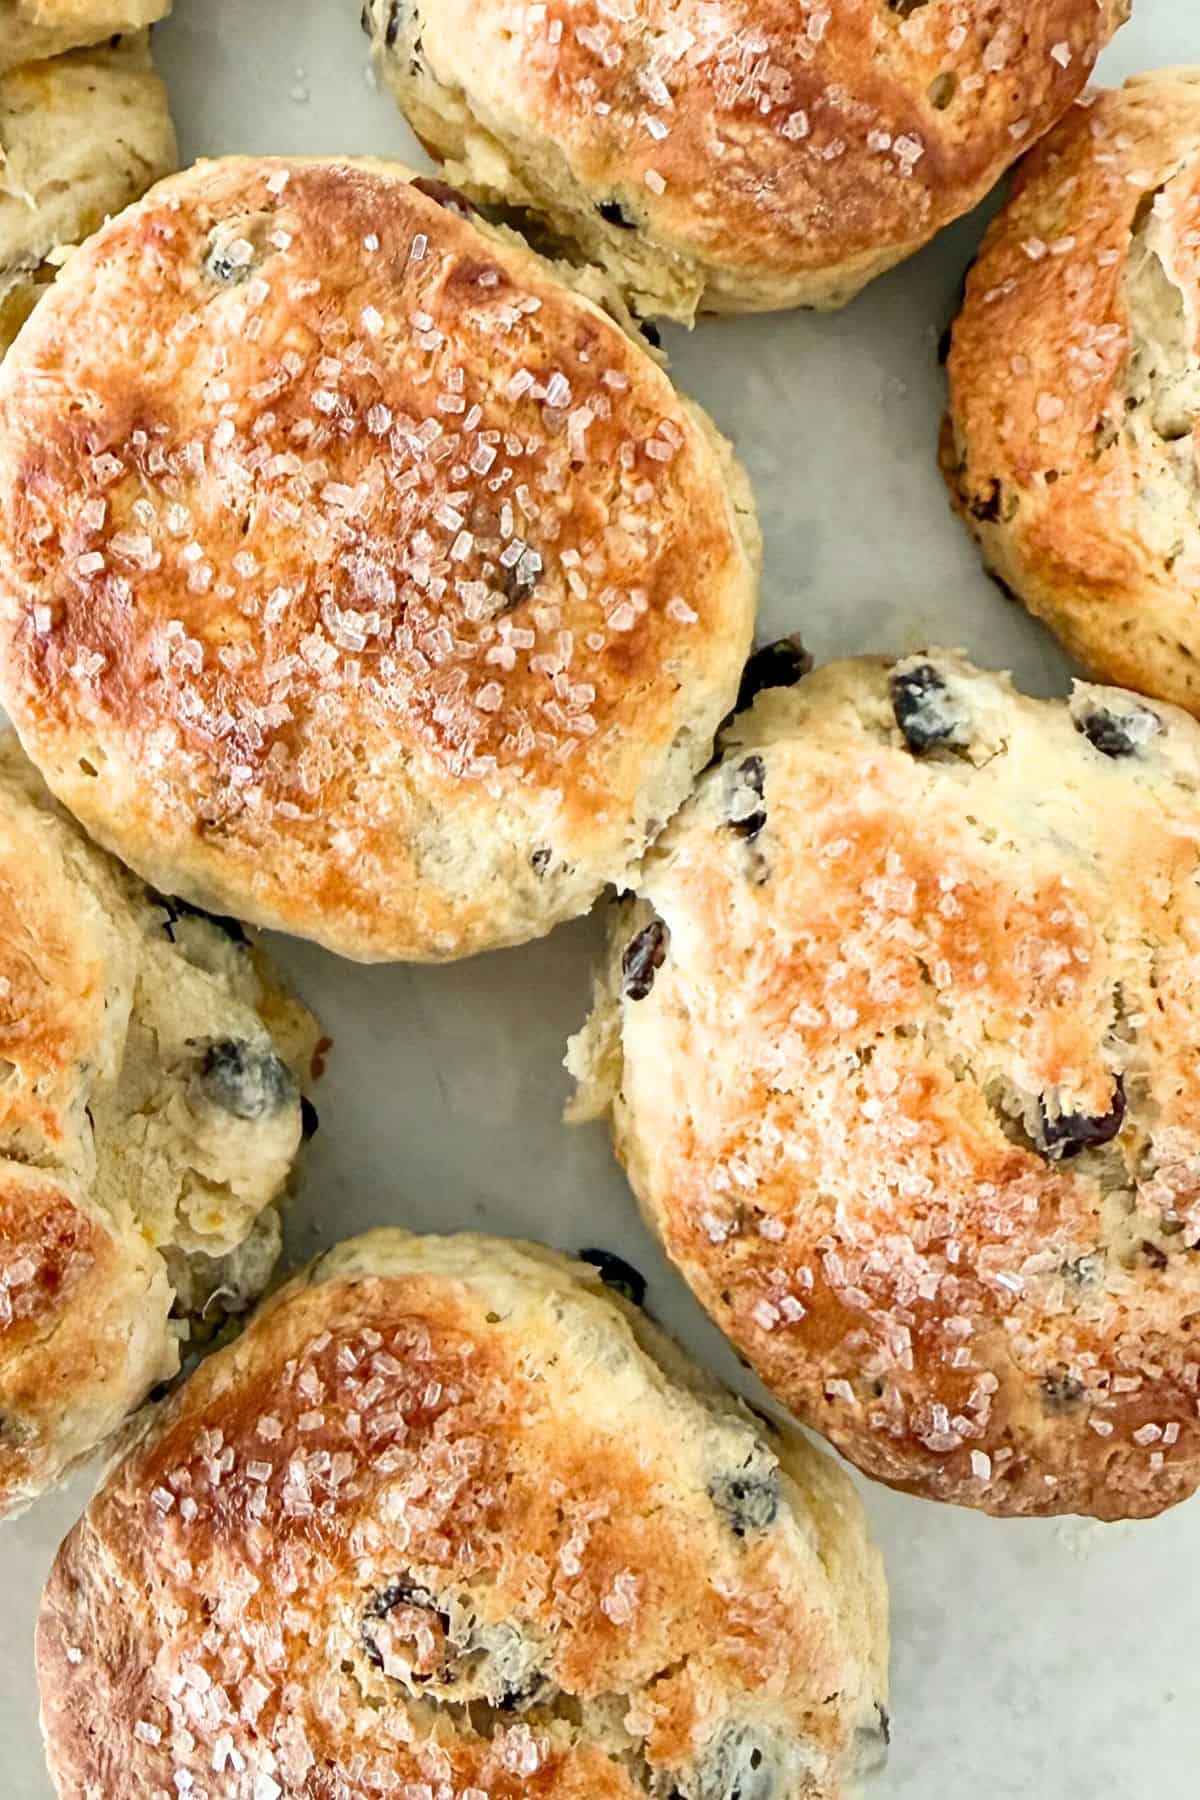
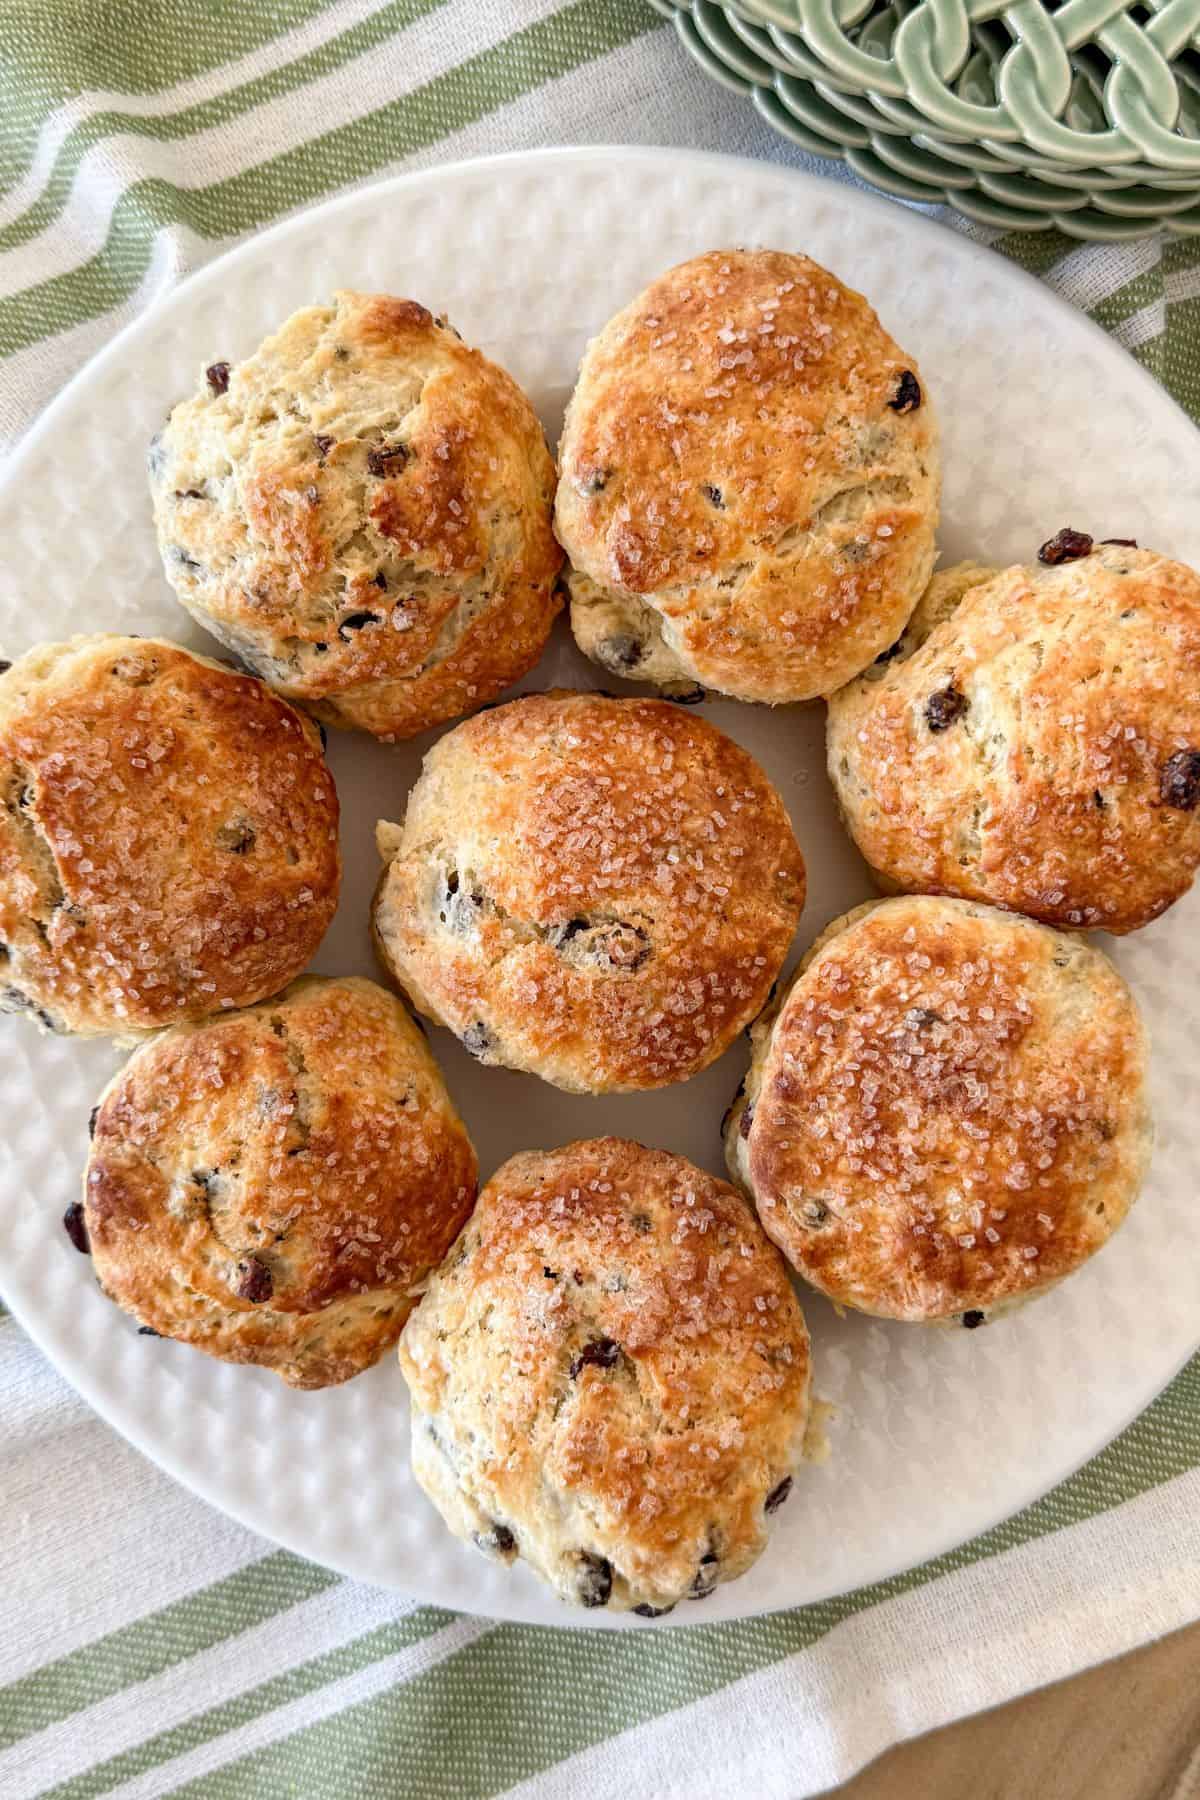
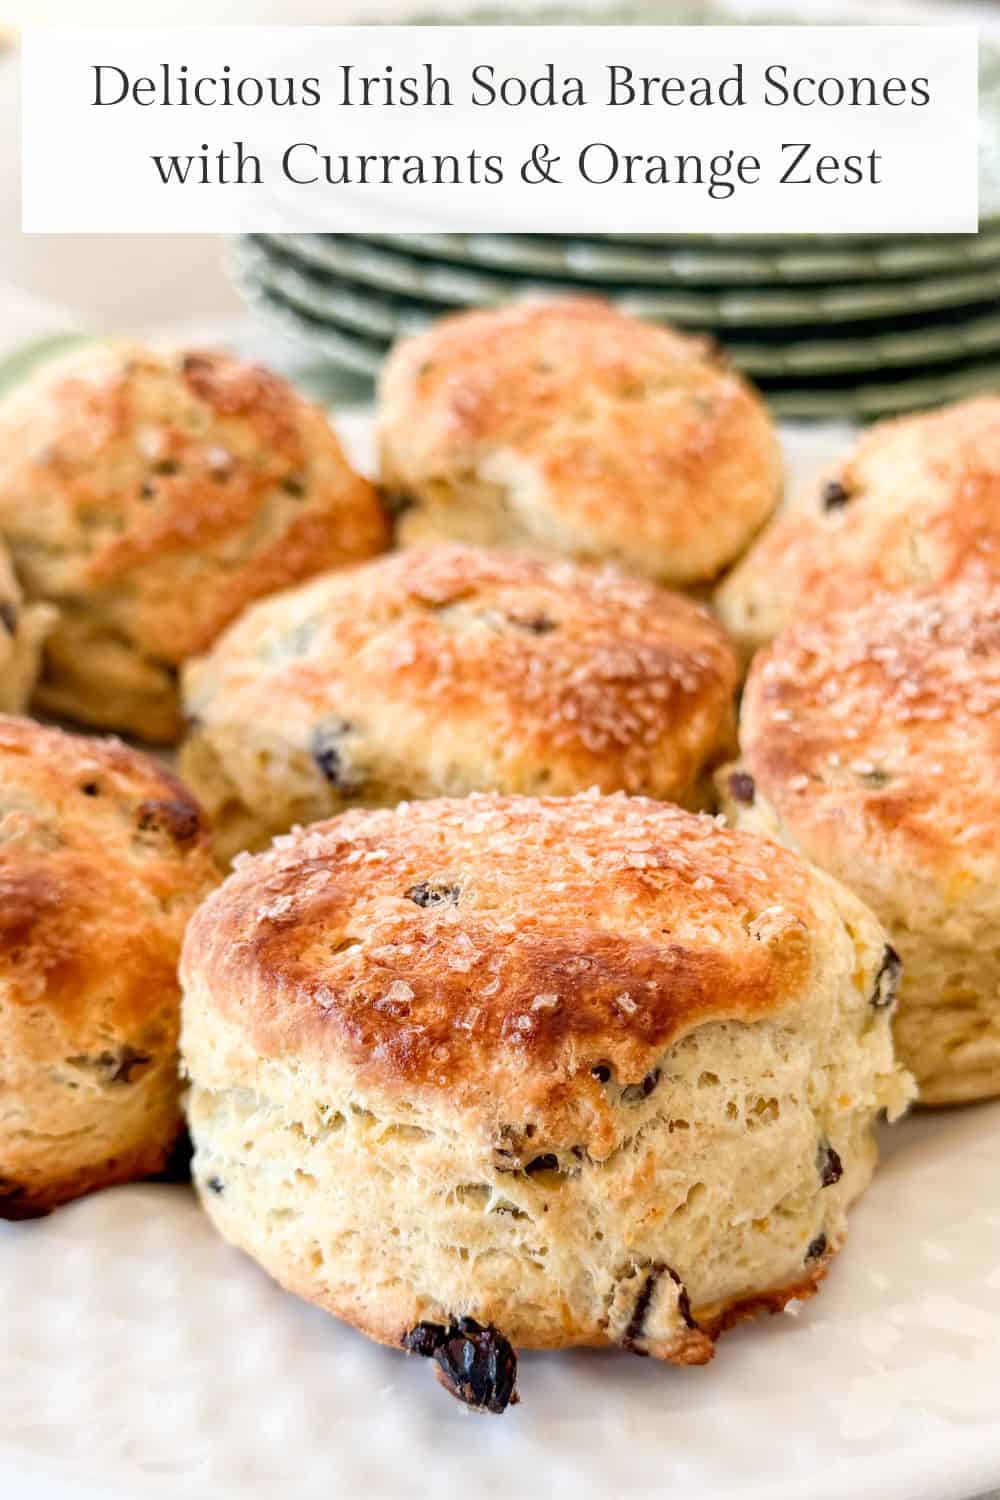
Irish soda Bread Scones Recipe With Currants And Orange Zest
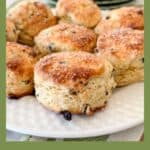
Irish Soda Bread Scones are tender, flaky scones filled with currants and orange zest. delicious served warm with sweet marmalade butter.
Irish Soda Bread Scones are one of those recipes that feel both simple and a little special. They take the familiar flavors of traditional Irish soda bread and turn them into tender, bakery-style scones that are perfect for breakfast, brunch, or a cozy coffee break.
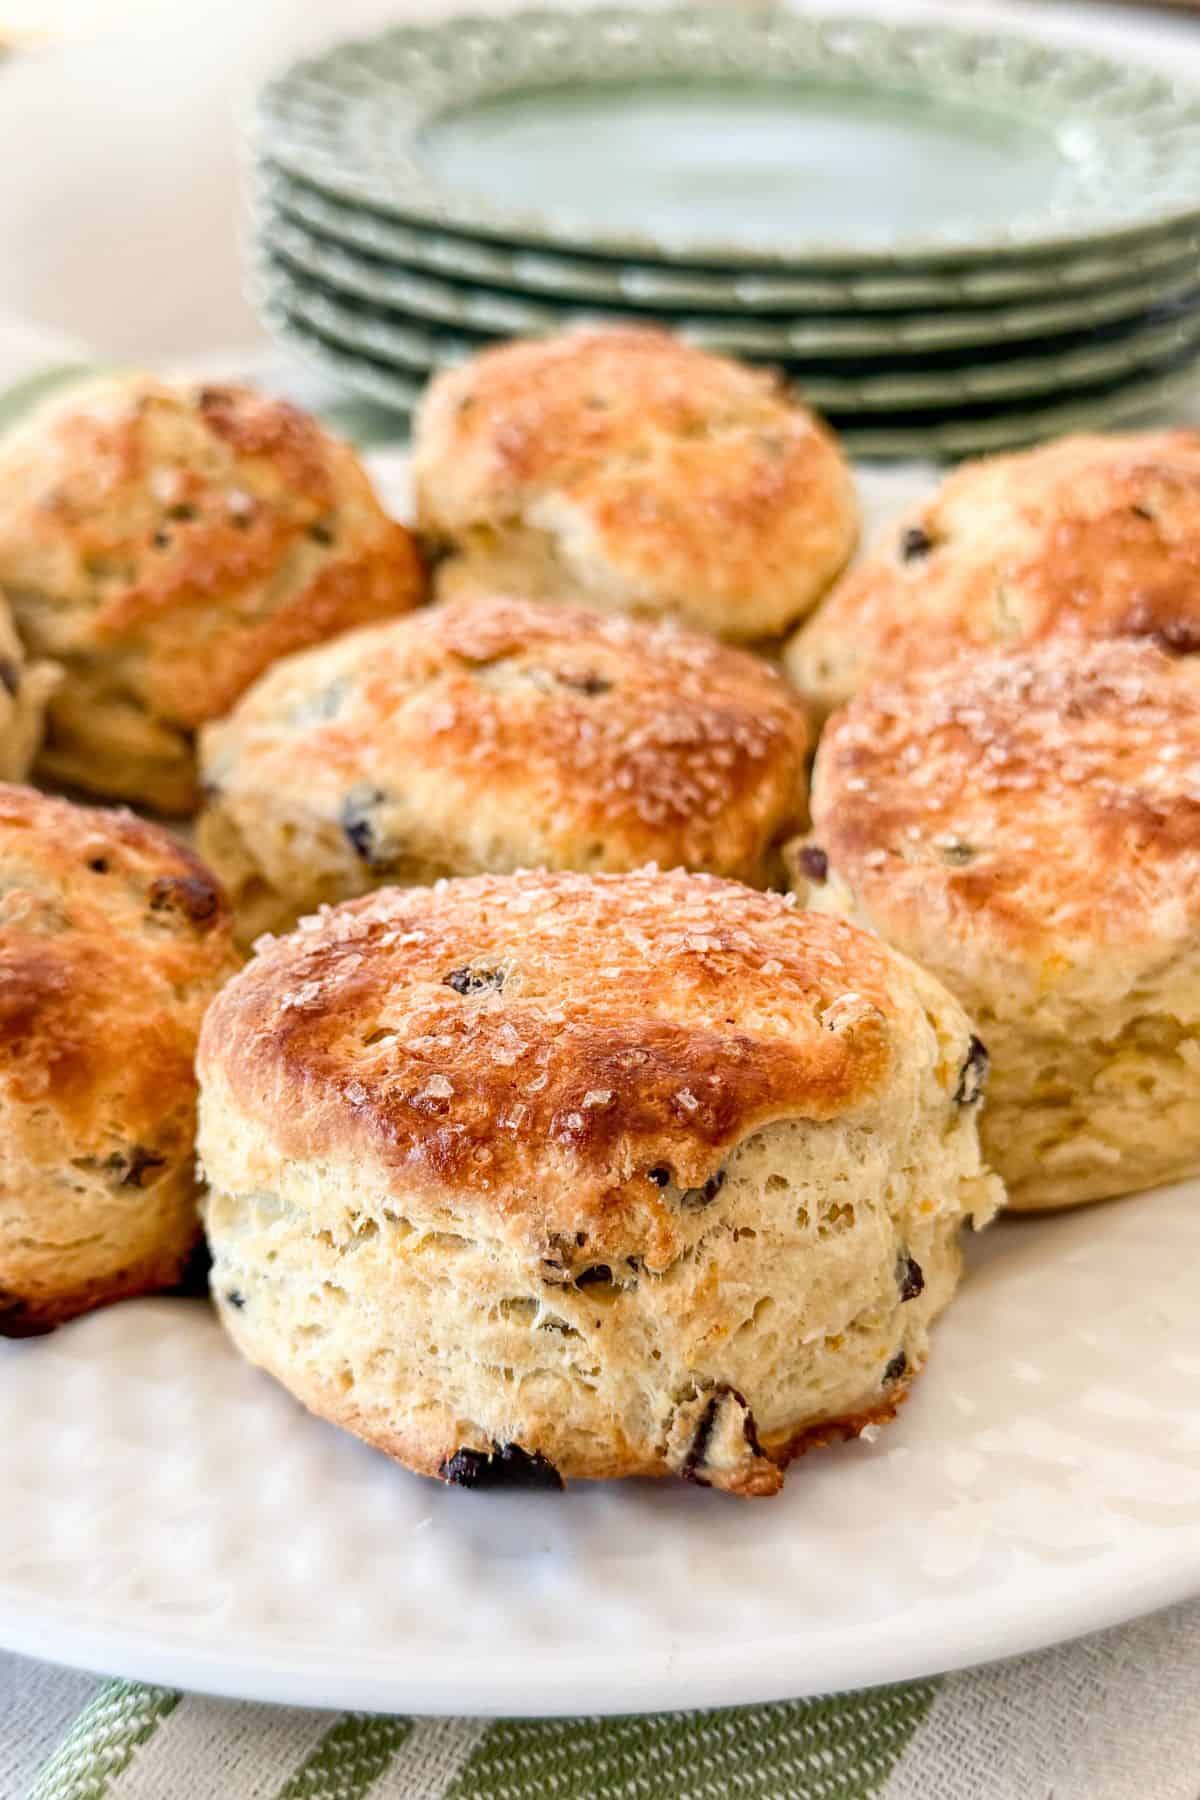
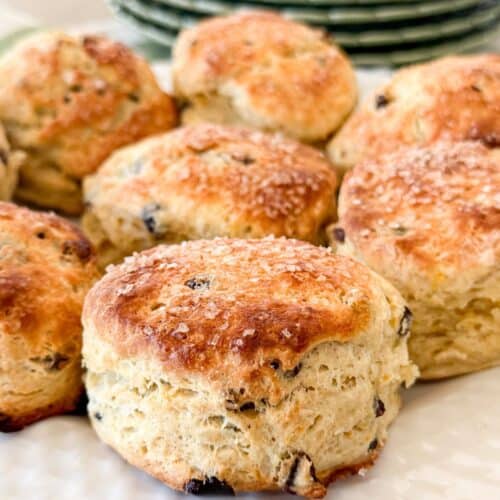
These scones are lightly sweet with currants and a hint of bright orange zest. The dough is gently folded to create soft layers that pull apart easily once baked. Instead of shaping them into wedges, the dough is pressed out and cut with a biscuit cutter so each scone bakes tall and beautifully layered.
If you enjoy baking quick breads and biscuits, these Irish Soda Bread Scones are a recipe worth making again and again.
St. Patrick’s Day is coming soon and these delicious scones are a great way to celebrate. However, they are too good to save for a once-a-year treat. These tall scones have become a family favorite and I like to keep a batch in the freezer to bake for breakfast or to make into a sandwich.
What Is Irish Soda Bread
Irish soda bread is a classic quick bread made without yeast. Instead of yeast, it relies on baking soda to help the dough rise.
Baking soda reacts with an acidic liquid, usually buttermilk, which creates bubbles that help the bread become light and tender.
Traditional Irish soda bread is quite simple. It is made with flour, baking soda, salt, and buttermilk. Many recipes also include raisins or currants and sometimes caraway seeds.
These scones are inspired by those traditional flavors. The dough uses baking soda, buttermilk, currants, and orange zest to create a flavorful twist on the classic bread.
Why You Will Love This Recipe
These Irish Soda Bread Scones are simple to make and full of flavor. Here are a few reasons they are worth baking.
- They are tender and flaky. Grated frozen butter creates delicate layers that bake into soft, flaky scones.
- These scones have classic Irish soda bread flavor. Currants, orange zest, and caraway seeds give these scones the familiar flavor of traditional Irish soda bread.
- They are easy to make. This is a simple, quick bread dough that comes together in one bowl and does not require yeast.
- No rolling pin needed. These flaky scones are simply pressed out by hand, making them easy and quick to prepare.
- They are perfect for breakfast or a coffee break. Serve them warm in the morning or with tea or coffee in the afternoon.
- The scones can be made ahead. The dough can be refrigerated overnight, or the unbaked scones can be frozen and baked later.
Biscuits vs Scones
Biscuits and scones share many similarities, but there are a few helpful differences to understand.
Biscuits are usually savory and contain very little sugar. Traditionally, biscuits were often made with lard, which gives them a very tender texture and rich flavor. Today, many recipes also use butter or shortening. Biscuits are light and fluffy and often served with butter, jam, or gravy.
Scones are usually a little sweeter and richer. They are typically made with butter, which helps create a flaky texture and gives them their classic bakery-style flavor. Scones often include mix-ins such as dried fruit, citrus zest, or spices.
Traditional scones are sometimes shaped into wedges, but they can also be cut into rounds with a biscuit cutter.
These Irish Soda Bread Scones sit comfortably between the two. They have the tender layers of a biscuit but the flavor of a lightly sweet scone filled with currants and orange zest.
Ingredients
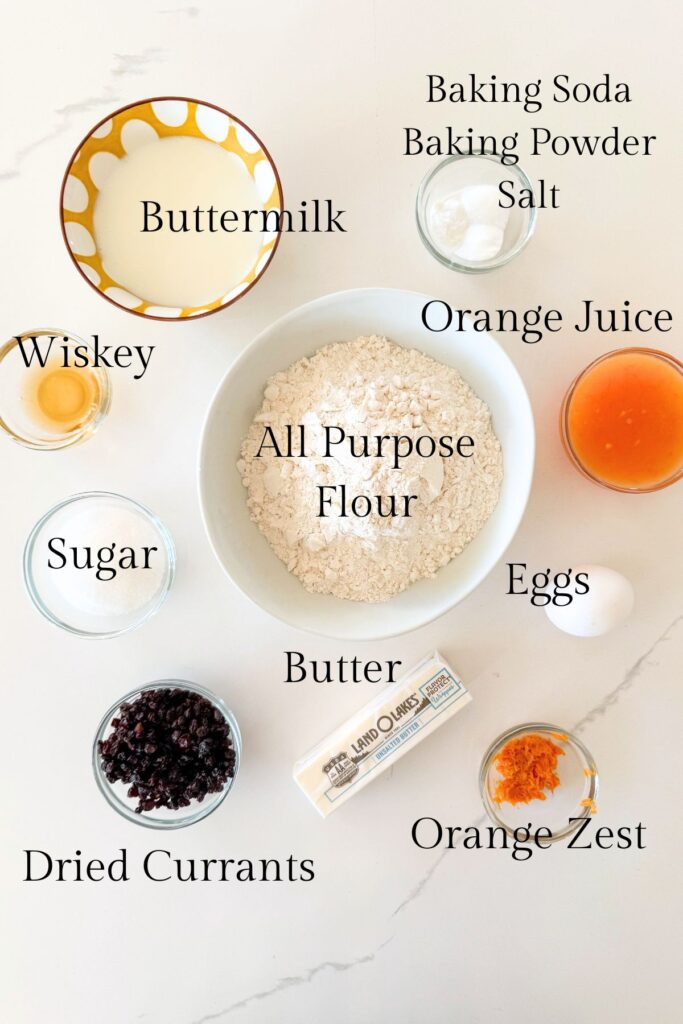
Currants
Currants add little bursts of sweetness throughout the scones. They are soaked in warm orange juice so they become plump and flavorful before being added to the dough.
Orange Zest And Juice
Fresh orange zest gives these scones a bright citrus flavor. The juice is used to soak the currants, which adds even more flavor.
Whiskey, Rum, Or Bourbon, Optional
A splash of whiskey, rum, or bourbon adds wonderful depth to the soaking liquid for the currants. If preferred, simply use more orange juice.
All Purpose Flour
All-purpose flour provides the structure for the scones. If measuring by cups, fluff the flour first, spoon it into the measuring cup, and level it off for the most accurate measurement.
Baking Powder
Baking powder helps the scones rise and contributes to their light, tender texture.
Baking Soda
Baking soda reacts with the buttermilk or kefir in the dough, helping the scones rise and create a soft crumb.
Salt
Salt balances the sweetness and enhances the flavor of the other ingredients.
Granulated Sugar
A small amount of sugar adds just enough sweetness without making the scones overly sweet.
Cold Or Frozen Butter
Cold butter is essential for flaky scones. Grating frozen butter into the flour mixture creates small pieces that melt during baking and form delicate layers.
Kefir Or Buttermilk
Kefir or buttermilk provides moisture and acidity, which activates the baking soda and helps create a tender texture.
Egg
The egg adds richness and helps bind the dough together.
Buttermilk Or Kefir For Brushing
Brushing the tops of the scones before baking helps them brown beautifully in the oven.
Sanding Sugar, Optional
A sprinkle of sanding sugar on top adds a light crunch and gives the scones a pretty bakery-style finish.
How To Make Irish Soda Bread Scones Step-By-Step
These scones are simple to make and come together in just a few easy steps. Here’s how to make them.
1. Soak the currants.
Place the currants and orange zest in a small bowl. Heat the orange juice with the whiskey, if using, and pour it over the currants. Let them soak until plump, then drain well.
2. Mix the dry ingredients.
In a large bowl, whisk together the flour, baking powder, baking soda, salt, and sugar.
3. Grate in the cold butter.
Grate the frozen butter right into the flour mixture, then gently work it in so the butter is evenly coated with flour.
4. Add the currants.
Stir the drained currants and orange zest into the flour mixture to evenly distribute them.
5. Mix the wet ingredients.
In a separate bowl, whisk together the buttermilk and egg until smooth.
6. Make the dough.
Pour the buttermilk mixture into the dry ingredients and stir gently just until a shaggy dough forms. If needed, add a little more buttermilk, one tablespoon at a time.
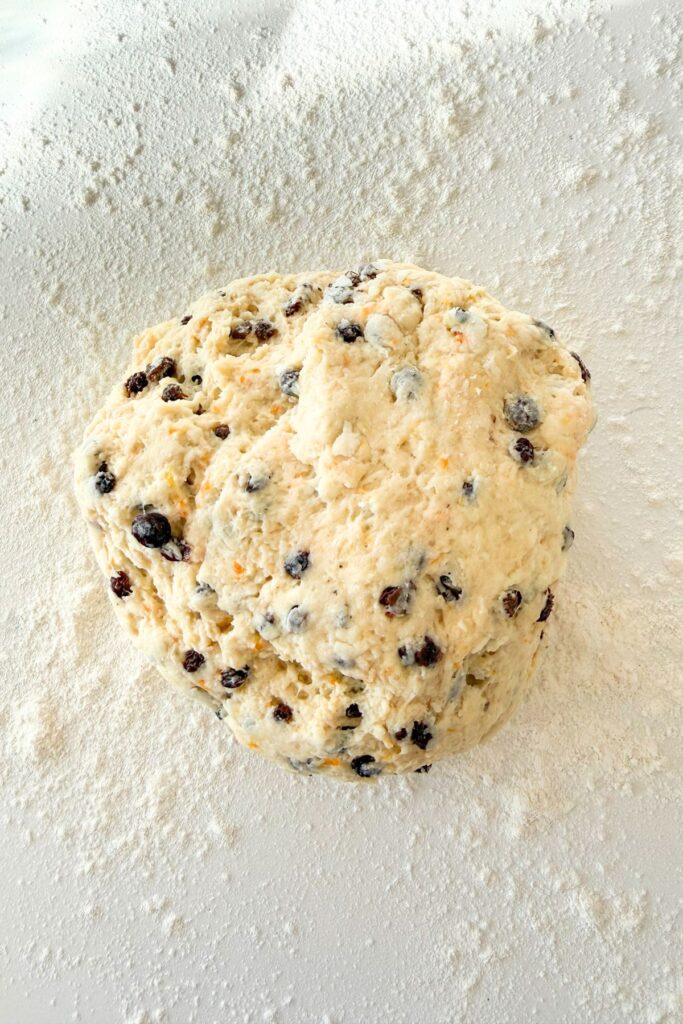
7. Fold the dough to create layers.
Turn the dough onto a lightly floured surface. Gently bring it together, then press and fold the dough several times to create flaky layers.
8. Cut out the scones.
Pat the dough to about 1 inch thick and cut out the scones with a floured biscuit cutter. Press straight down and do not twist the cutter. I use a 2 1/4 inch cookie cutter and that make a generous size scone,
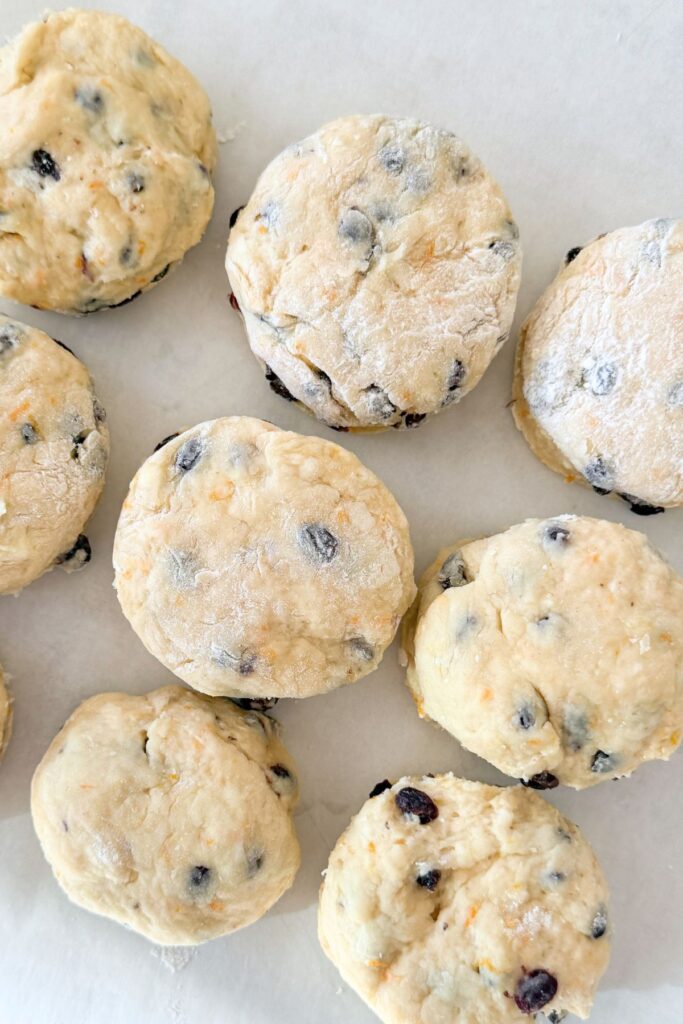
9. Chill the scones.
Place the cut scones close together on a parchment-lined baking sheet and chill for about 15 minutes.
10. Brush and sprinkle the tops.
Brush the tops with buttermilk and sprinkle with sanding sugar, if using.
11. Bake until golden.
Bake in a 400-degree oven for 18 to 22 minutes, until the scones are puffed and golden brown.
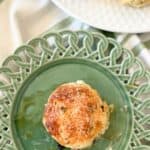
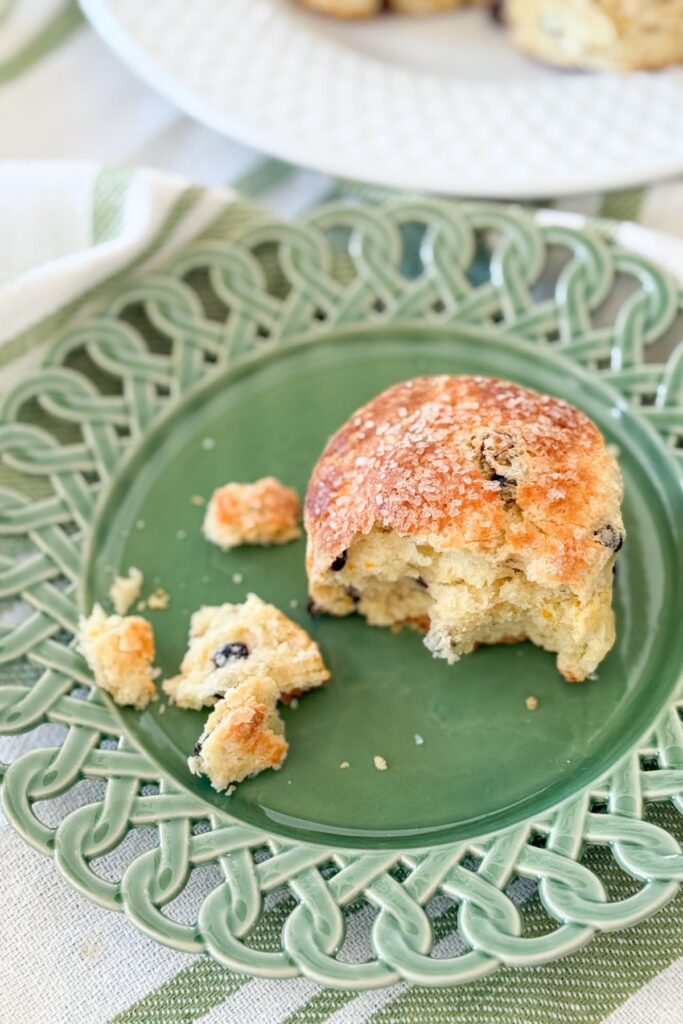
12. Serve warm.
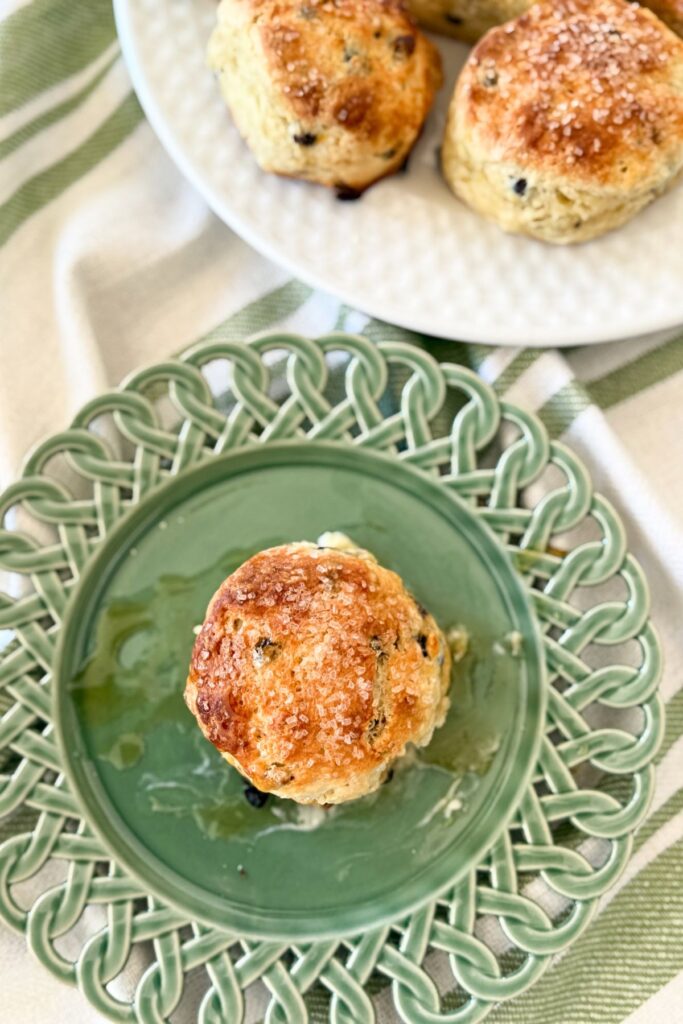
Let the scones cool for a few minutes, then serve warm with butter, jam, clotted cream, or flavored butter.
Grating Frozen Butter For Flakier Scones
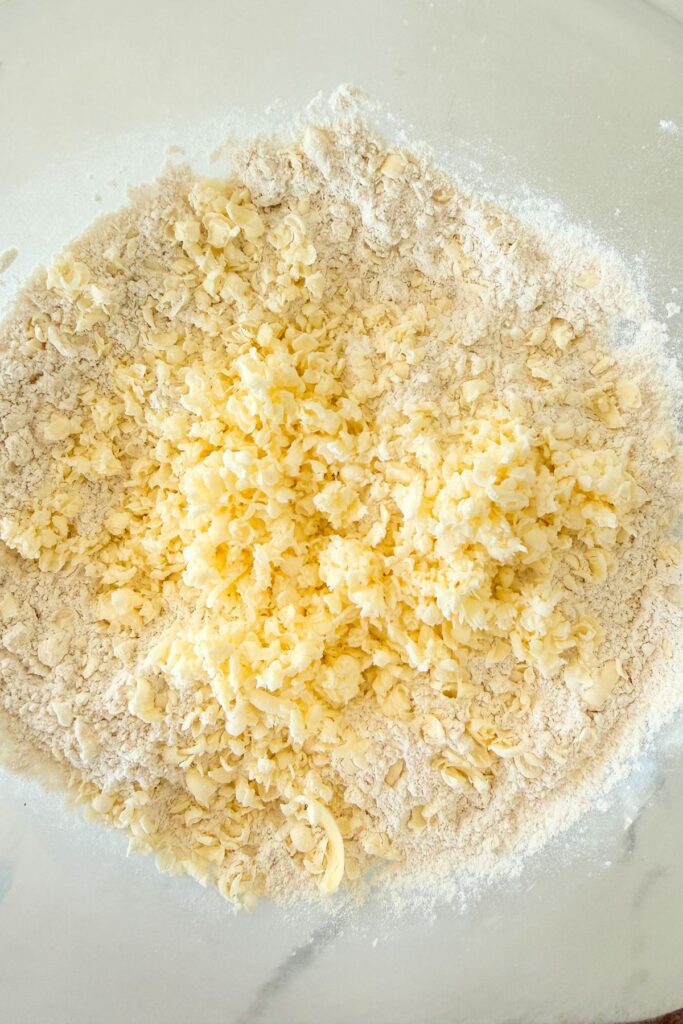
Cold butter is one of the secrets to tender, flaky scones. And grating frozen butter into the flour is an easy culinary trick I use for all my scone baking now. This is probably the best take-away baking tip! When a recipe calls for cold butter to make something rise, like pies and scones, grate frozen butter,
Instead of cutting the butter into cubes, this recipe uses grated frozen butter. Grating the butter creates tiny pieces that distribute evenly throughout the flour mixture.
As the scones bake, those small bits of butter melt, creating pockets of steam. This helps form delicate layers and gives the scones their flaky texture.
Freezing the butter first also helps keep it cold while working with the dough, which is very important when making scones or biscuits.
Best Tips For Success
A few simple tips will help these Irish Soda Bread Scones turn out tender and flaky every time.
Use very cold butter.
Cold butter is one of the most important secrets to flaky scones. Freezing the butter and grating it into the flour mixture helps distribute the butter evenly while keeping it cold.
Do not overwork the dough.
Mix and knead the dough just until it comes together. Too much mixing will make the scones tough instead of tender.
Keep the dough lightly floured.
A lightly floured surface and hands will help prevent sticking without adding too much extra flour to the dough.
Fold the dough to create layers.
Pressing and folding the dough several times helps create the soft layers that make these scones light and flaky.
Chill the scones before baking.
Placing the cut scones in the refrigerator for about 15 minutes, or longer, helps the butter stay cold and encourages the scones to rise higher.
Use a sharp biscuit cutter.
Press straight down with the cutter and avoid twisting it. Twisting seals the edges and prevents the scones from rising as high.
Add sanding sugar for a bakery-style finish.
A sprinkle of sanding sugar before baking gives the tops of the scones a light crunch and a beautiful golden sparkle.
Variations And Ways To Serve Irish Soda Bread Scones

These Irish Soda Bread Scones are delicious warm from the oven, but they are also very versatile. Here are a few simple ways to change the flavor or serve them.
- Add a little warm spice. A pinch of cinnamon or nutmeg pairs nicely with the currants and orange zest.
- Use golden raisins instead of currants. Golden raisins give the scones a slightly sweeter flavor and a pretty golden color.
- Serve them warm with butter and honey. A simple spread of butter and a drizzle of honey make these scones especially comforting.
- Add a light orange glaze. A glaze made with powdered sugar and a little orange juice highlights the citrus flavor in the scones.
- Make mini tea sandwiches. Split the scones in half and fill them with thin slices of ham and honey butter for delicious little sandwiches. They are perfect for brunch or an afternoon tea.
- Serve them with jam or preserves. Strawberry jam, raspberry preserves, or apricot jam pair beautifully with these scones.
- Enjoy them with coffee or tea. These scones are wonderful for breakfast, brunch, or a cozy afternoon break.
- Serve them with clotted cream. Clotted cream is a classic topping for scones, adding a rich, creamy texture that pairs beautifully with the scones’ tender crumb.
- Try flavored butters. Honey butter, orange butter, cinnamon butter, or maple butter are all delicious spread on warm scones.
Make Ahead, Freezing, And Storing Scones
One of the best things about these Irish Soda Bread Scones is how easy they are to make ahead. Having scones ready in the freezer means fresh, warm scones are only minutes away.
If you want to prepare them in advance, make the dough and cut the scones as directed. At this point, the unbaked scones can be covered and refrigerated overnight. In the morning, simply brush the tops with buttermilk, sprinkle with sanding sugar, and bake.
Freezing unbaked scones is another great option. Place the cut scones on a parchment-lined baking sheet and freeze until firm. Once frozen, transfer them to a freezer bag or an airtight container. They will keep well for about one month. I love having a batch of scones tucked away in the freezer. It makes it so easy to bake a few whenever I want something warm and homemade for breakfast or coffee.
To bake frozen scones, place them directly on a parchment-lined baking sheet. Brush the tops with buttermilk and sprinkle with sanding sugar if using. Bake in a 400-degree oven for about 22 to 26 minutes, until golden brown and baked through.
Freshly baked scones are always best the day they are made, but they will stay fresh for about two days when stored in an airtight container at room temperature.
If you have leftover scones, they freeze very well. Wrap them well and store them in a freezer bag for up to two months.
To reheat baked scones, place them in a 325-degree oven for about 8 to 10 minutes until warmed through. This helps bring back their tender texture. Avoid reheating them in the microwave, which can make them soft instead of flaky.
Irish Soda Bread Scones
Ingredients
- 3/4 cup currants
- 1 orange zested and juiced
- splash wiskey optional
- 2 1/3 cup all-purpose flour
- 2 tsp baking powder
- 1/2 tsp baking soda
- 1/2 tsp salt
- 1/4 cup sugar
- 1/2 cup frozen butter unsalted
- 3/4 cup buttermilk plus more if needed
- 1 large egg
- 1 TBS buttermilk
- sanding sugar optional
Instructions
- Put the currants into a small bowl.
- Heat the orange juice in the microwave or over the stove until very hot. Pour over the currants. Let the currants sit for 30 minutes, then drain them through a strainer.
- Preheat the oven to 400 degrees. LIne a baking sheet with parchment paper.
- In a large bowl, wisk together the flour, orange zest, baking powder, baking soda, salt, and sugar.
- Grate the frozen butter and add to the flour mixture. Toss and coat the butter with the flour.
- In a medium bowl, whisk the buttermilk, egg, and currants. Mix until just incorporated. Do not overmix. The dough will be shaggy.
- If the dough is too dry, add 1 TBS of buttermilk at a time until all the flour is hydrated.
- Turn the dough out onto a floured surface. Press the dough into a rectangle 3/4 inch thick. Fold one half of the dough over the other half. Press out and fold two more times.
- Press out the dough until it is 1 inch thick. Cut out scones with a biscuit cutter. I used a 2 1/4 inch cutter. Reform the remaining dough and cut out the rest of the scones.
- Put the scones on the baking sheet. Refrigerate for at least 30 minutes.
- Brush scones with buttermilk and sprinkle with sanding sugar. Bake for 18-22 minutes until tops are golden brown.
- Serve immediately. Enjoy.
More Delicious Quick Breads And Scones To Try
If you enjoy baking simple breads and scones, here are a few more favorites from the blog. Each one is easy to make and perfect for breakfast, brunch, or serving with coffee.
Irish Soda Bread
This classic Irish Soda Bread is a simple, quick bread with a tender crumb and lightly sweet flavor. It is perfect served warm with butter.
Maple Glazed Banana Bread Scones
These banana bread scones have all the flavor of classic banana bread with a tender scone texture and a sweet maple glaze. And a great way to use overripe bananas.
Sour Cream Scones
These soft, tender sour cream scones bake up beautifully and are delicious with butter, jam, or clotted cream.
Butter Topped Beer Bread
This easy beer bread comes together quickly and bakes up with a golden, buttery crust and a soft interior. It is wonderful served warm with soups, stews, or chili.
Frequently Asked Questions About Irish Soda Bread Scones
When baking scones, a few simple tips can make all the difference. Here are answers to some common questions that may help you get perfect results every time.
Flaky scones depend on cold butter and gentle handling of the dough. When cold butter melts during baking, it creates little pockets that form delicate layers. Grating frozen butter into the flour helps distribute the butter evenly and keeps it cold. Folding the dough a few times before cutting the scones also helps create those layers. Once the scones are made, giving them a chance to chill in the refrigerator helps them rise and be flaky.
Chilling the cut scones helps keep the butter firm. When the cold scones go into a hot oven, the butter releases steam, which helps the scones rise and become tender. I almost always chill scones for at least 15 minutes before baking. It is a small step that makes a big difference.
Yes, raisins or golden raisins work well in this recipe. Golden raisins are slightly sweeter and add a lovely color to the scones. Currants are traditional in Irish soda bread, which is why I like using them here, but any of these options will work.
Twisting the cutter seals the edges of the dough. When the edges are sealed, the scones cannot rise as easily in the oven. Pressing the cutter straight down helps the scones bake taller and keeps the layers light and tender.
Yes, and it works beautifully. I often freeze unbaked scones so they are ready whenever I want something warm and homemade. Simply cut the scones, freeze them on a baking sheet, and store them in a freezer bag. When ready to bake, place them on a baking sheet, brush with buttermilk, and bake straight from frozen.
These scones are best served warm. Butter, jam, clotted cream, or flavored butter are all wonderful choices. I especially love them, sliced warm, with honey butter and a nice slice of ham in between.
Happy spring decorating, friends…