How To Make A Simple And Natural Mini Pinecone Wreath
This simple DIY tutorial teaches how to craft a beautiful mini pinecone wreath. Get step-by-step directions for creating an easy-to-make, natural wreath to grace your home this fall through Thanksgiving and Christmas.

When I was a young girl, my Nani used to take me for fall walks on South Hill. It was a residential area with well-established homes and lots of mature maple and pine trees. There were so many treasures to be found! Beautiful saturated leaves in a kaleidoscope of colors, acorns with their little hats still intact, and pinecones of every shape and size. I particularly liked the tiny pinecones I found. I made good use of all my pockets and stuffed them full of these organic riches.
Ever since I’ve loved these conifer cones. I’ve fashioned them in arrangements, bleached them, stuck them in Christmas trees, and used them as filler! But until now, I had never used them to make a wreath.
So, today, I gathered a couple of items and spent part of an afternoon crafting a simple and natural mini pinecone wreath. This DIY pinecone wreath was so easy. Even if you are not crafty, you can make this, I’ll show you how.
Making My Pinecone Wreath

I absolutely loved making this pinecone wreath, but I’m even more thrilled with how it turned out! Originally, I planned on creating a perfectly round wreath, but I ended up making the top and bottom a bit fuller, giving it a unique and charming look.
That’s the beauty of this simple project—there are countless ways to make it your own. You could bleach the pinecones beforehand, or even give your finished wreath a light coat of white spray paint for a frosty effect. You can also embellish it with touches of moss, greenery, or berries. The options are endless.
But for me, there’s nothing more beautiful than the timeless simplicity of a natural pinecone wreath.
What You Will Need
This is such a simple and satisfying wreath to make! Unlike a big wreath made using an assortment of regular-sized pinecones and a wire frame or foam wreath form, this wreath requires only two items and a couple of tools.
And here are the tools you will need…
- Hot glue gun and glue sticks
- Scissors– I use these scissors for everything
- Hairdryer
If you can forage for your own small pinecones, check out THIS POST on debugging them and getting rid of their sap.
Why I Chose A Grapevine Wreath For The Base

There are several reasons I chose a grapevine wreath as the base for my mini pinecone wreath. First and foremost, it’s natural, and I loved the idea of crafting something entirely from organic materials. Plus, small grapevine wreaths are affordable and can even be handmade by weaving together grapevines or other types of vines, something I hope to do soon.
I also like the substantial feel that the grapevine wreath added to my project. While a foam wreath could provide a similar structure, it would need to be wrapped in dark fabric or painted to blend in with the pinecones. A wire wreath form didn’t appeal to me because it is too flat, and dealing with the multiple rings (outer, middle, and inner) felt cumbersome.
Choosing a grapevine wreath made sense for its beautiful natural look, the extra depth it added to the finished wreath, and how easy it was to work with.
How To Make A Mini Pinecone Wreath
I began by covering my worktable with a drop cloth—this DIY is simple but can get a bit messy. Protecting your workspace is a good idea to catch all the little pinecone crumbs. Keeping a handheld vacuum nearby is also handy for quick cleanups and keeping your area tidy as you work.
Glue The Pinecones To The Top Of The Wreath

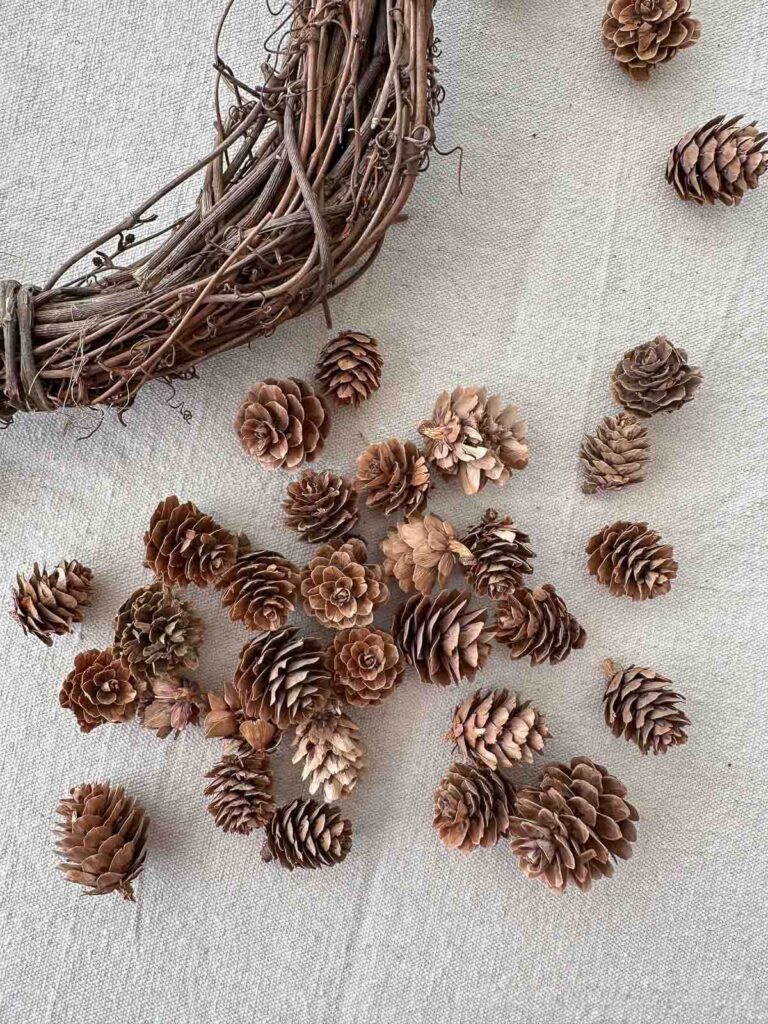
First, empty your bag(s) of mini pinecones onto your workspace and spread them out. Even though I used the same type of pinecones, there were still variations in size and shape, which is important because you’ll want to pick the right pinecone to fit each spot on the wreath. I set aside the smallest pinecones to fill in the gaps later.
Choose a starting point, and begin gluing the pinecones in small sections, working your way around the wreath. I angled the pinecones in different directions for a more textured and interesting look. Continue working your way around the wreath.
Don’t worry about the hot glue spiderwebs right now. I’ll show you an easy way to get rid of them later in the post.
Glue Pinecones To The Sides Of The Wreath

Once the top is covered, the next step is to glue pinecones to the inside and outside edges of the wreath. Hold the wreath up to check for any gaps or areas that seem sparse, and fill those spots by gluing pinecones in the right size and orientation. By strategically placing the pinecones, you can create a balanced and even appearance.
Give The Wreath A Final Look And Add Pinecones Where Needed
After all the pinecones are attached, hold the wreath up again to check for empty spaces or areas that need more adjustment. Add extra pinecones as needed for a full, balanced look.
Remove Glue Spider Webs

Once your wreath is complete, use a hairdryer on a low, warm setting to gently melt away the glue filaments. Be careful not to hold the dryer too long in one spot, as this could soften the glue holding the pinecones in place. To avoid dislodging any pinecones, I like to cover them with my hand after melting the glue filaments and hold them firmly for about 10 seconds.
Hanging Your Mini Pinecone Wreath
To hang your wreath, you can simply use the grapevine itself to hook it onto a knob, or you can create a loop on the back of the wreath using floral wire. You could also hang the wreath with a ribbon for a more festive touch.
Things To Know

A pinecone wreath is naturally textured and won’t always be perfectly flat or round—and that’s part of its charm. As you glue the pinecones to the wreath, focus on building up certain areas with pinecones to create a balanced and even appearance. Don’t worry too much about symmetry; the organic look makes this wreath so special.
Here are a few additional tips to help you along the way:
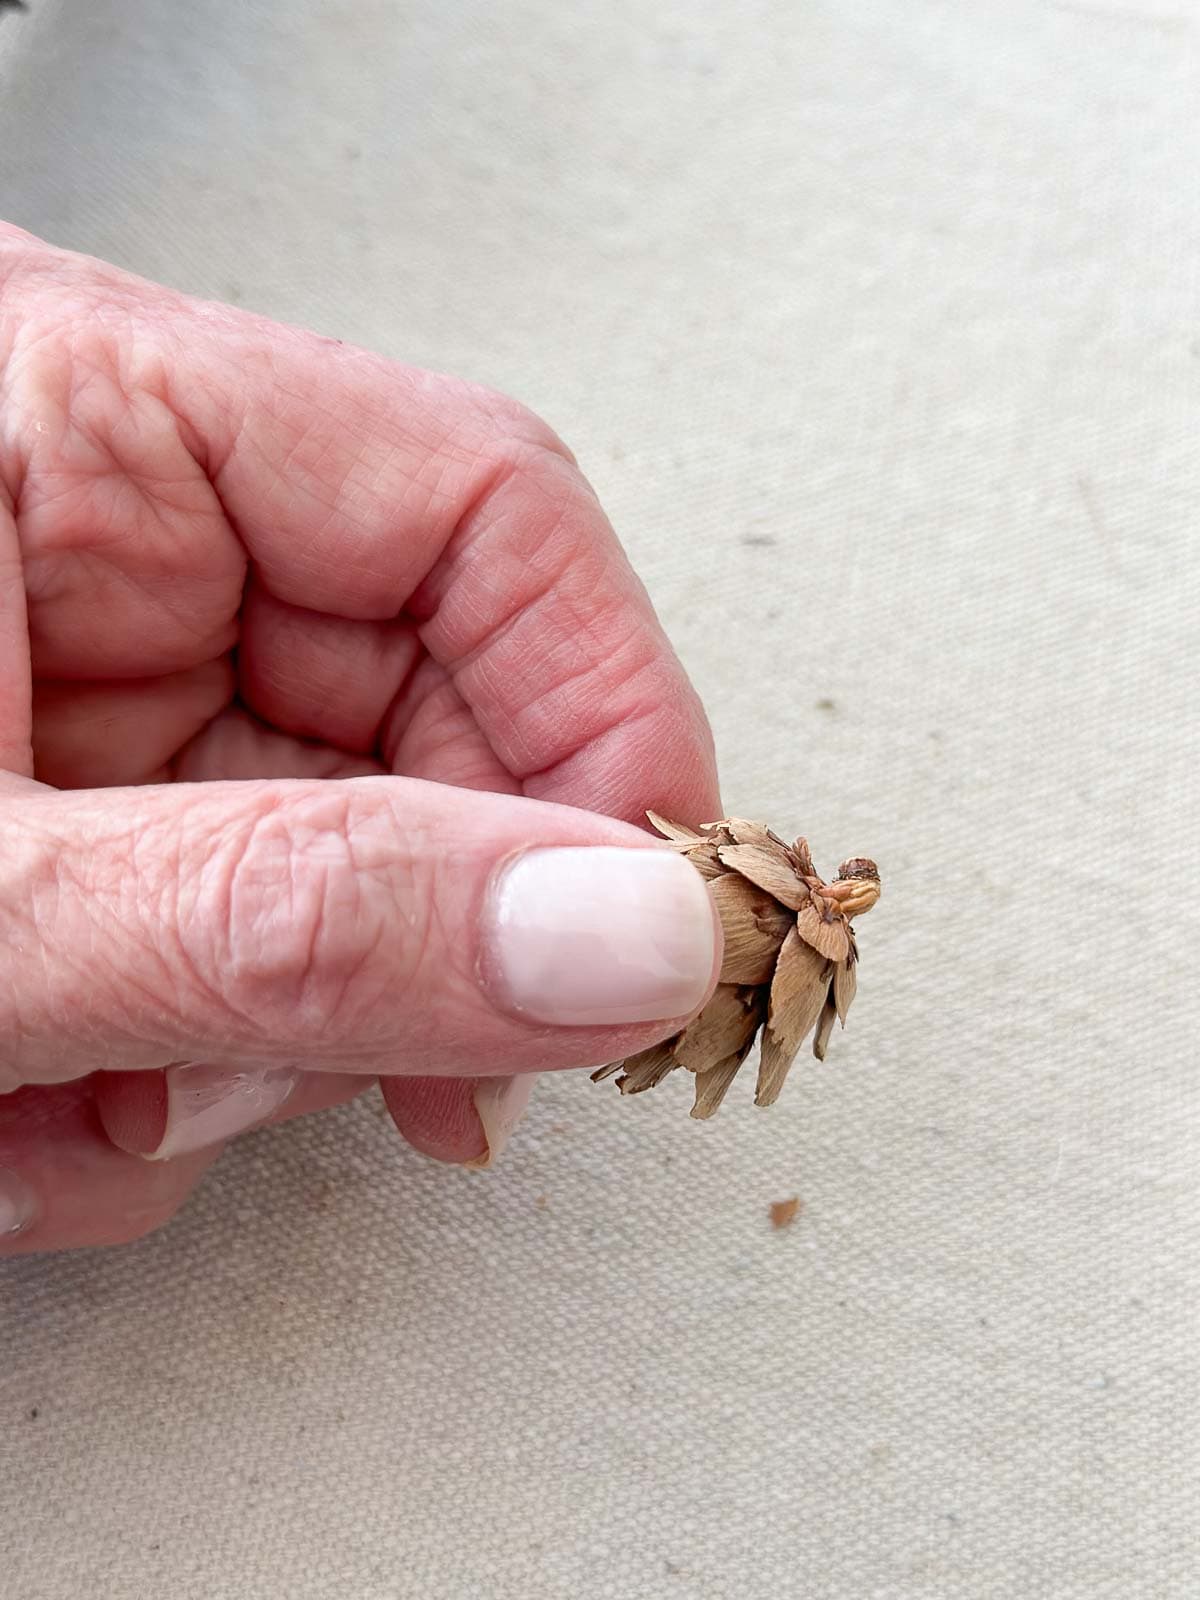
- Trim Any Stems: If your mini pinecones have stems, simply snip them off with a pair of scissors so you can place them more easily.
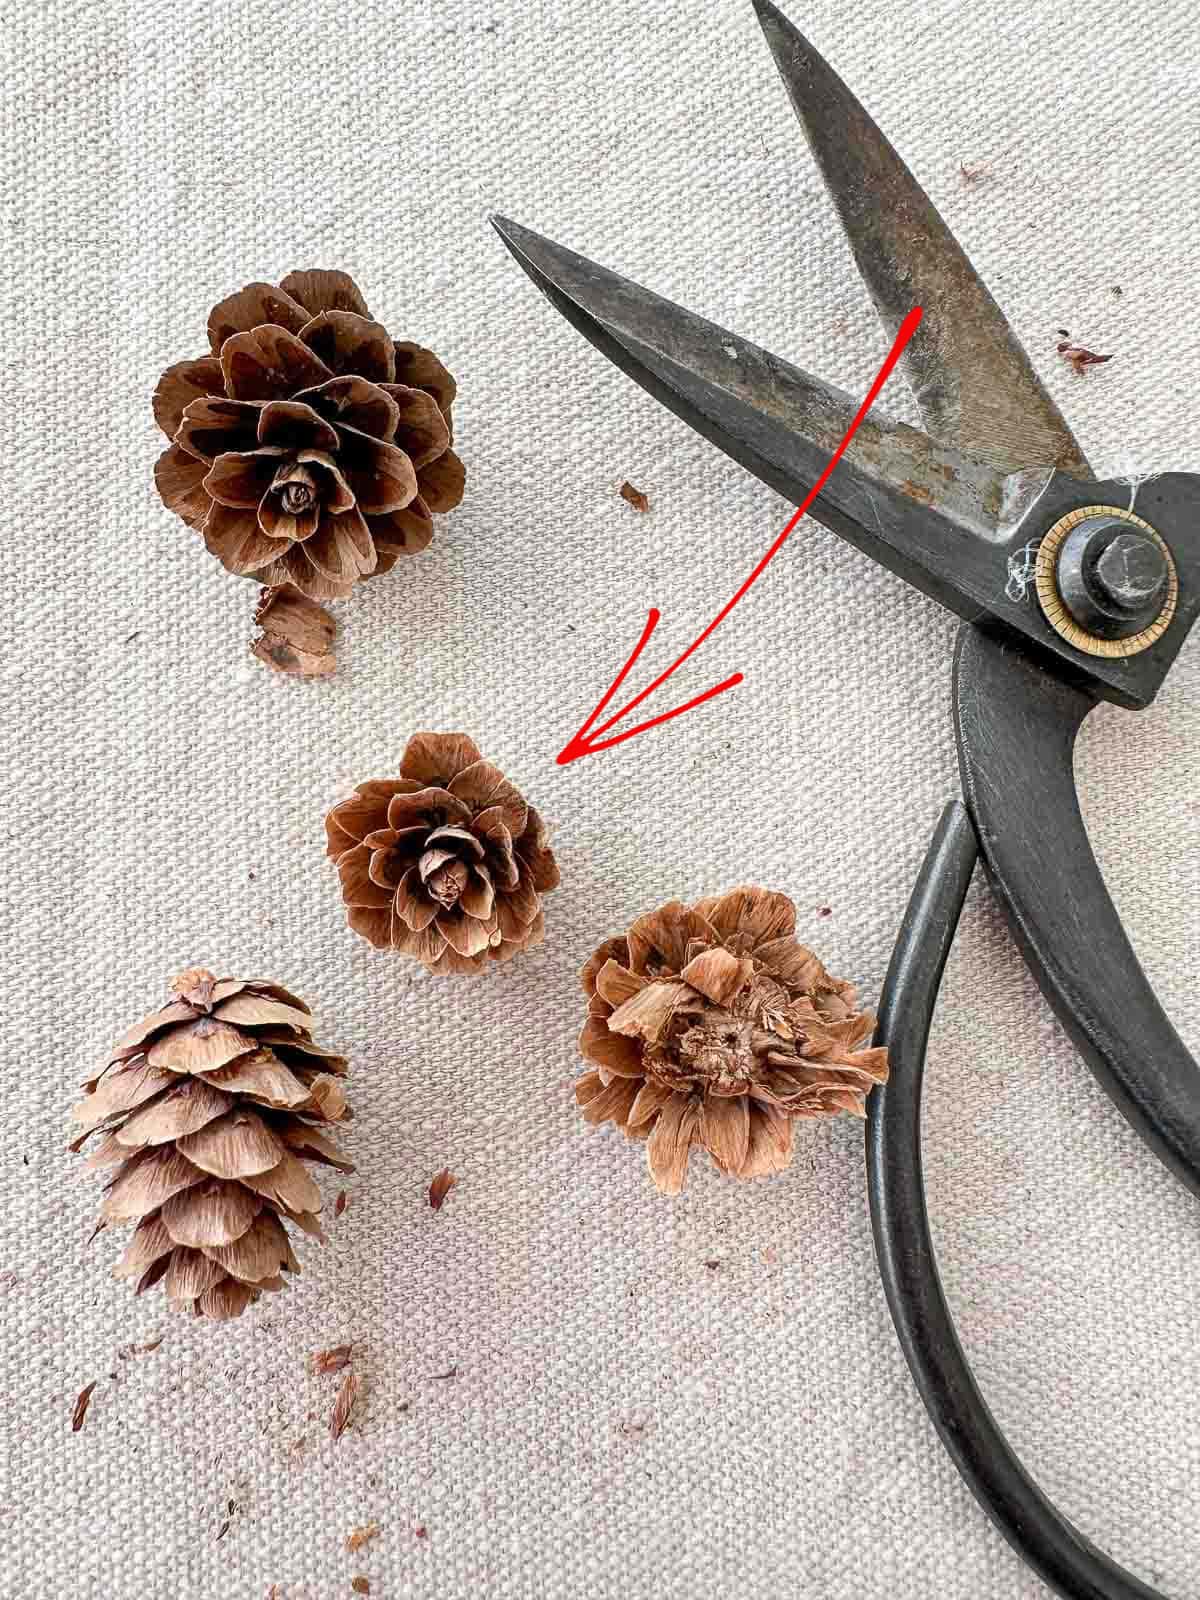
- Fill In Gaps: For any gaps in your wreath, you can cut a pinecone in half with scissors. This makes it easier to fit the pinecone in smaller spaces without disrupting the overall shape of the wreath.
- Work in Sections: It’s helpful to work in small sections on your wreath to make sure that your pinecones are securely attached and that you maintain the right balance throughout.
- Foraged Pinecones: If you’re collecting pinecones, be sure to clean and debug them first. Pinecones can often have sap, too, so it’s essential to prepare them properly. You can find tips on how to clean and prepare pinecones in this post.
- Consider Pinecone Varieties: Pinecones come in many shapes and sizes. Mixing different varieties or using only uniform mini pinecones can dramatically change the look of your wreath, so experiment with different types for unique textures.
- Be Patient With Glue: When gluing your pinecones, allow each section to cool and solidify before moving on to avoid shifting.
With these tips in mind, you’ll create a beautiful pinecone wreath that’s full of natural charm!
Making a mini pinecone wreath is not only a simple and satisfying DIY project but also a wonderful way to bring a touch of nature into your home for fall and the holidays. With just a few materials and tools, you can create a beautiful, organic wreath that’s uniquely yours.
How To Use A Mini Pinecone Wreath

Mini pinecone wreaths are incredibly versatile! You can decorate with them in so many ways to add a touch of natural beauty and a nod to the season. Here are some creative ideas for using your mini grapevine wreath…
- Hang on Doors: To add a seasonal touch to your doors, make a bigger wreath and hang it on your front door. It’s a simple way to dress up your space.
- Use As Candle Rings: Place your mini wreath around pillar candles. It’s perfect for creating cozy fall through winter centerpieces.
- Decorate A Mirror: Hang the wreath from a mirror with ribbon to add depth and texture to your decor.
- Incorporate Into a Table Setting: Use mini wreaths as napkin rings for a festive and organic touch at each place setting. Wouldn’t this be the most handsome holiday decor?
- Make Smaller Wreaths And Hang Them On Your Christmas Tree: Craft even smaller versions of your mini wreaths and use them as charming, rustic ornaments on your Christmas tree.
These are just a few ways to use your mini pinecone wreaths to bring warmth and seasonal charm into your home!
FAQs About Pinecones And A Pinecone Wreath
Pinecone wreaths are so easy to make. You don’t need to be crafty to make one. Here are the steps: Gather or buy pinecones. Hot glue pinecones in a pleasing fashion to cover a grapevine wreath, Dissolve hot glue filaments with a hairdryer, and Hang with a wire look or a ribbon.
A pinecone wreath symbolizes life or eternal life.
One way to clean and debug pinecones is to soak them for 30 minutes in a solution of equal parts water and vinegar for 30 minutes, then let them completely dry. Foraged pinecones can also have sticky sap. You can get rid of the sap, bugs, and dirt by brushing off all the dirt and heating them in a 200° oven on a foil-lined baking sheet for 30 minutes. Let them come to room temperature before using
Another Post To Enjoy
This Sweet Gum Ball Wreath is a large, striking wreath you will love to display in your home. Like the mini pinecone wreath, it is so easy to make and a bit addictive!

More Pinecone Posts
Chocolate bar marzipan jujubes jelly-o carrot cake caramels. Tootsie roll cookie jujubes powder icing lemon drops. Pastry brownie topping oat cake chocolate cake jelly candy gingerbread tart.


Happy Crafting, friends!