How To Hang Plates In Baskets On A Wall
Learn how to hang plates in baskets on a wall for a layered, textured display that feels collected over time. A simple project using plate hangers and a single nail, with the option to change your plates out by season.
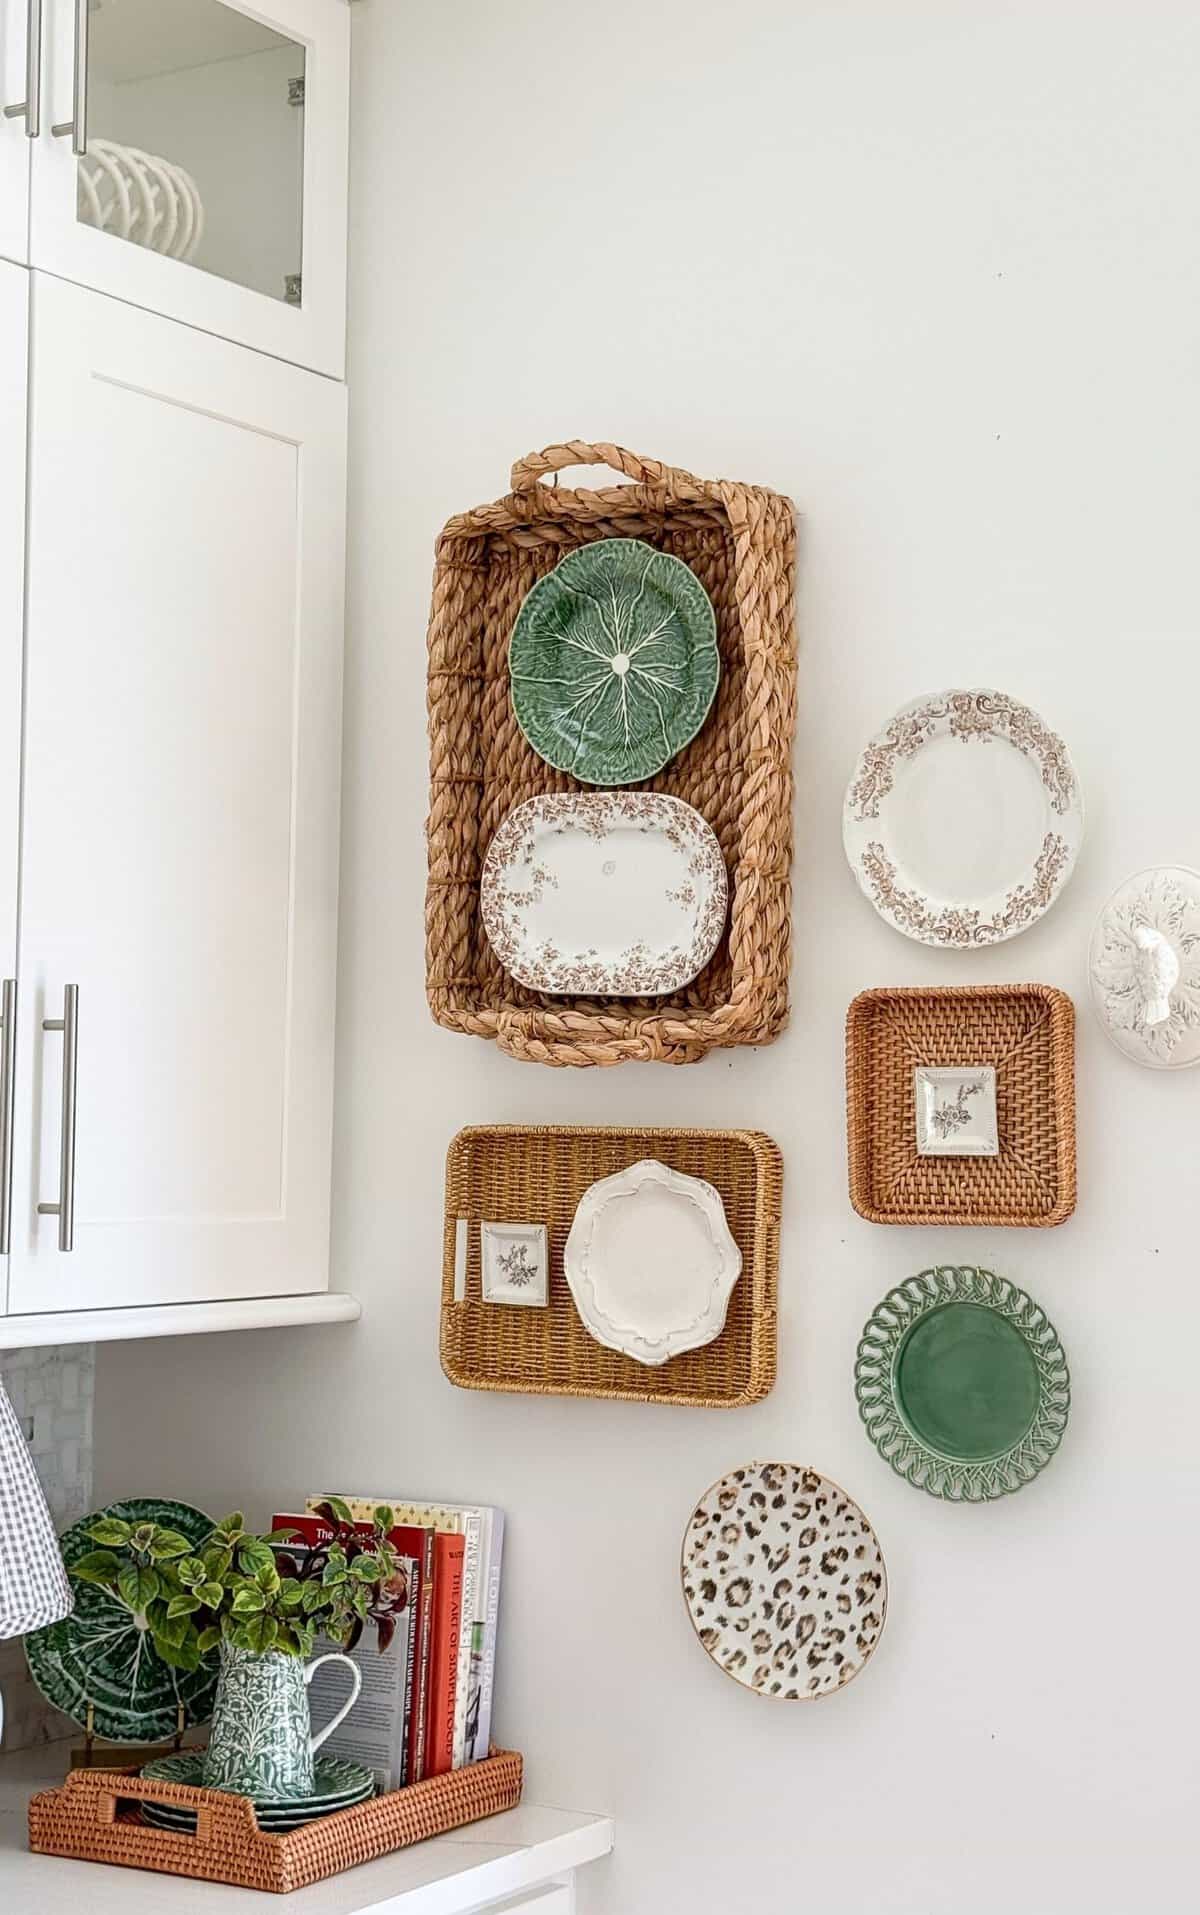
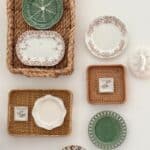
Combining baskets and plates on a wall creates a textural, charming way to display two favorite decor accents together. I recently changed a wall in my kitchen into a sweet focal point by hanging some of my favorite plates in baskets, and it quickly became one of my favorite spots in the house. If you love baskets and dishes as much as I do, you will love this simple DIY.
Planning Your Layout Before You Hang Anything
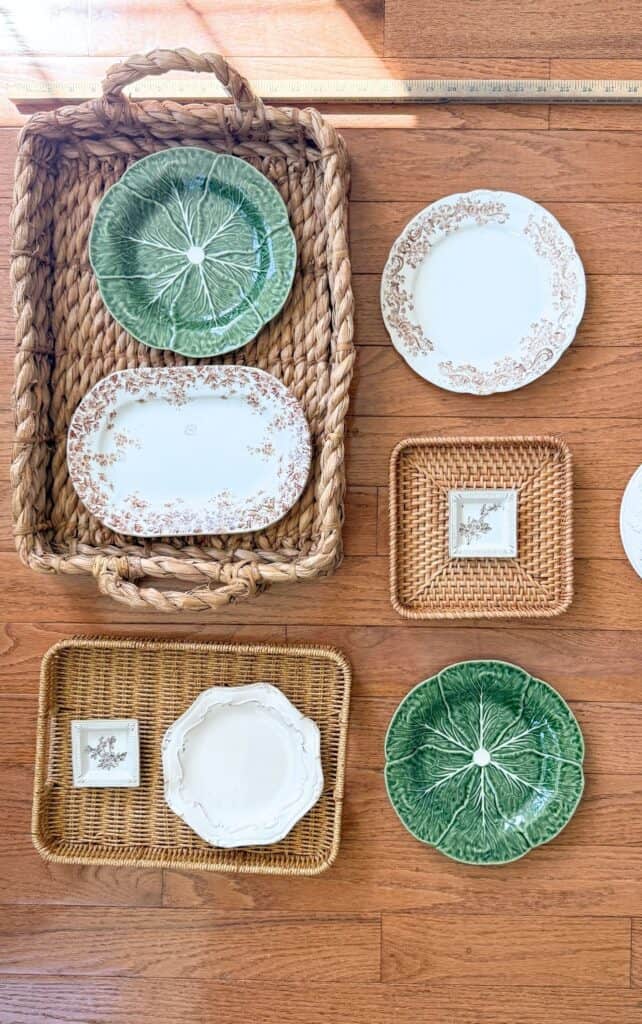
Before you put a single nail in the wall, measure the space you’re working with. Knowing your exact dimensions keeps you from planning an arrangement that ends up too big, too small, or crowding into a doorframe or window trim.
Once you have your measurements, lay your baskets and plates out on the floor within those same dimensions. Move pieces around, swap plates between baskets, and step back often to see how it reads from a distance. This is the easiest part to change your mind on, so take your time and keep adjusting until the arrangement feels pleasing to your eye.
🌿 TIP BOX: Mark your wall dimensions with painter’s tape on the floor first, so what you are arranging matches the actual space you will be hanging on.
Choosing The Right Baskets And Plates
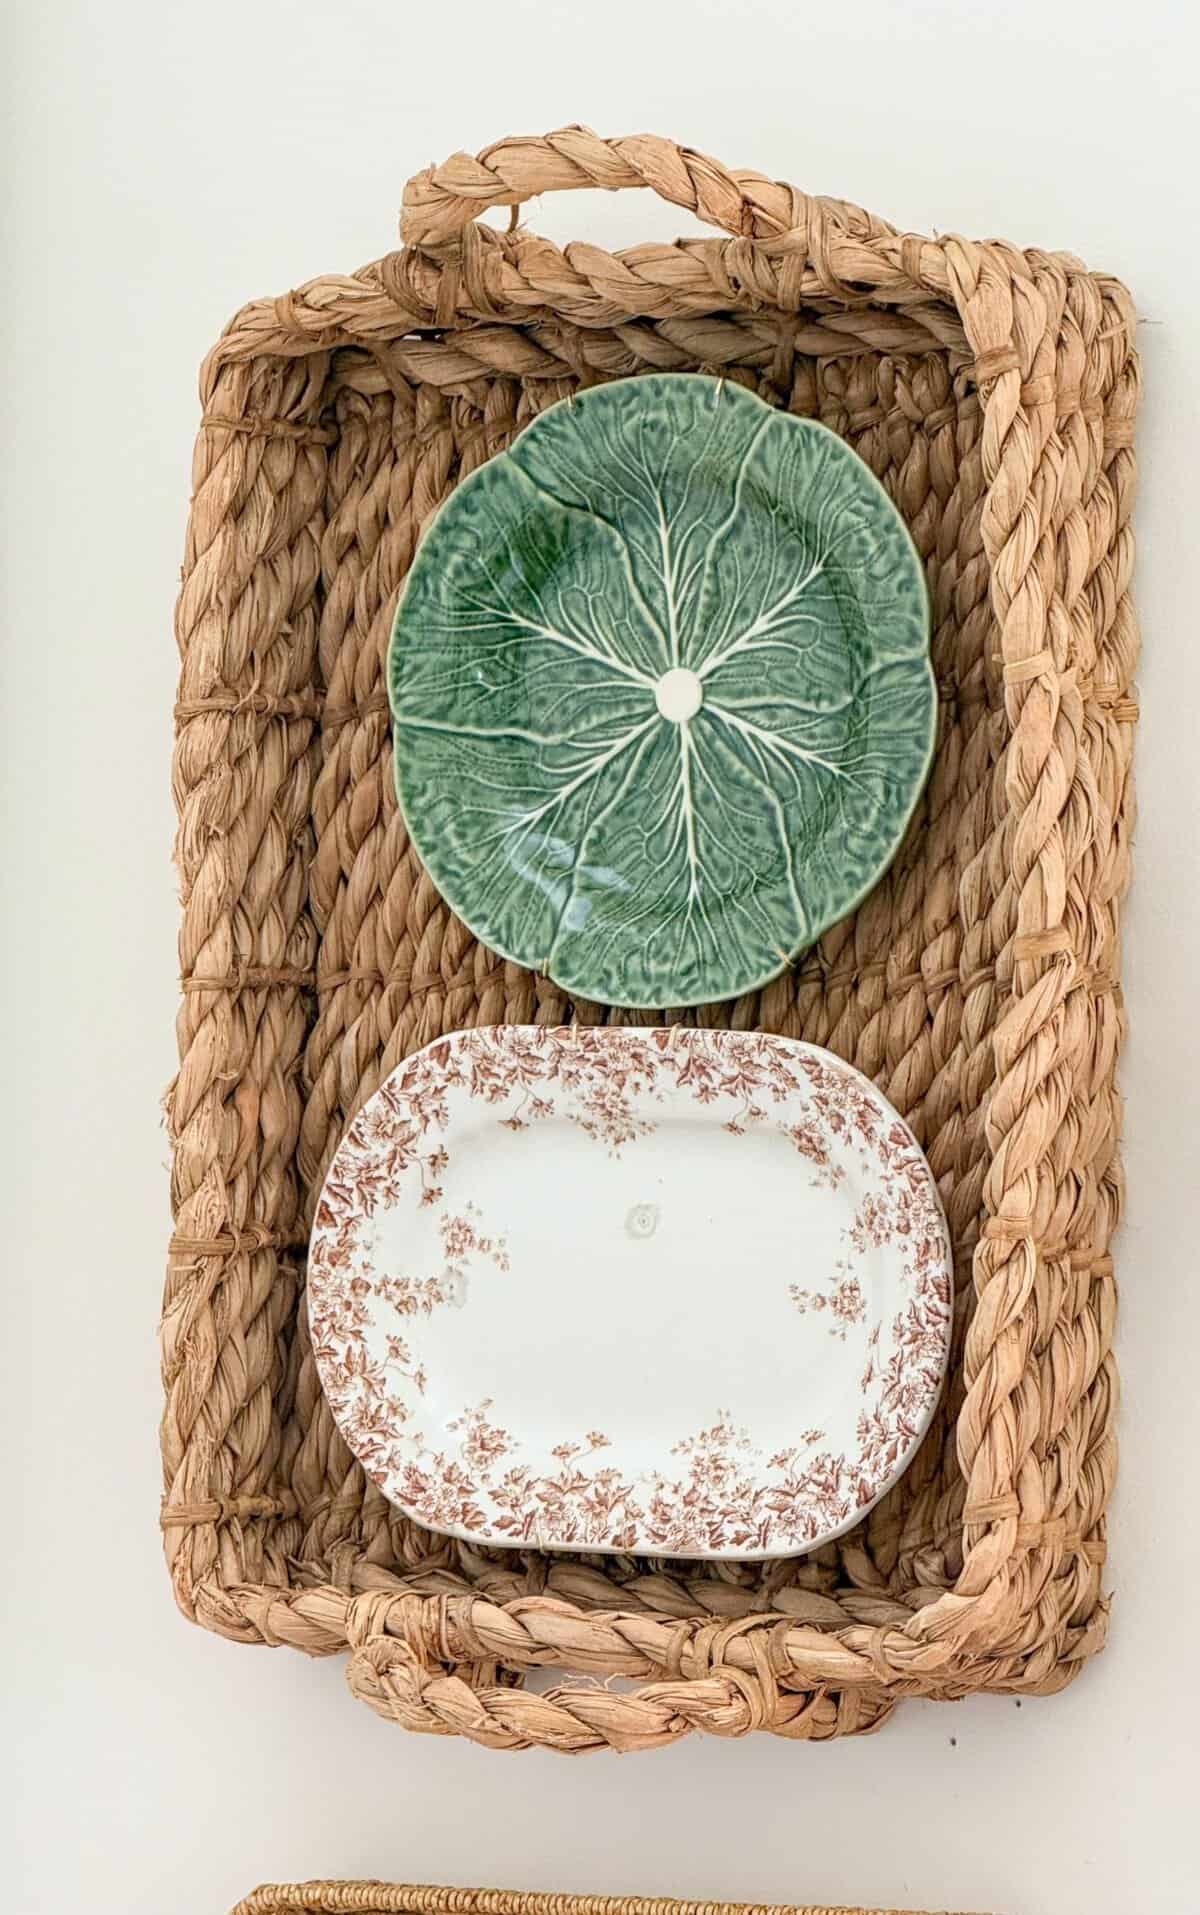
The right combination of baskets and plates is what makes this wall feel collected rather than staged. A few simple things to keep in mind as you choose your pieces will help the whole arrangement come together with ease.
Selecting Your Baskets
The best baskets for this project have flat bottoms and low sides, which give your plates a stable, shallow resting spot rather than a deep bowl shape that swallows them. Don’t rule out a basket just because it isn’t perfectly shaped. My large rectangular basket is quite old and slightly uneven, but I love the texture and character it brings to the wall.
Look for baskets in a mix of weaves, materials, colors, and shapes rather than reaching for a matched set. That variety gives the finished wall its layered, collected feel. Just make sure whatever basket you choose is roomy enough for your plate to sit comfortably inside it, with a little breathing room around the edges rather than filling it edge to edge.
Once you’ve settled on your outline, use that same layout to figure out spacing between the baskets. Lay everything within your marked dimensions and adjust the gaps until the whole arrangement fits comfortably inside that space and feels balanced from a distance.
Choosing Your Plates
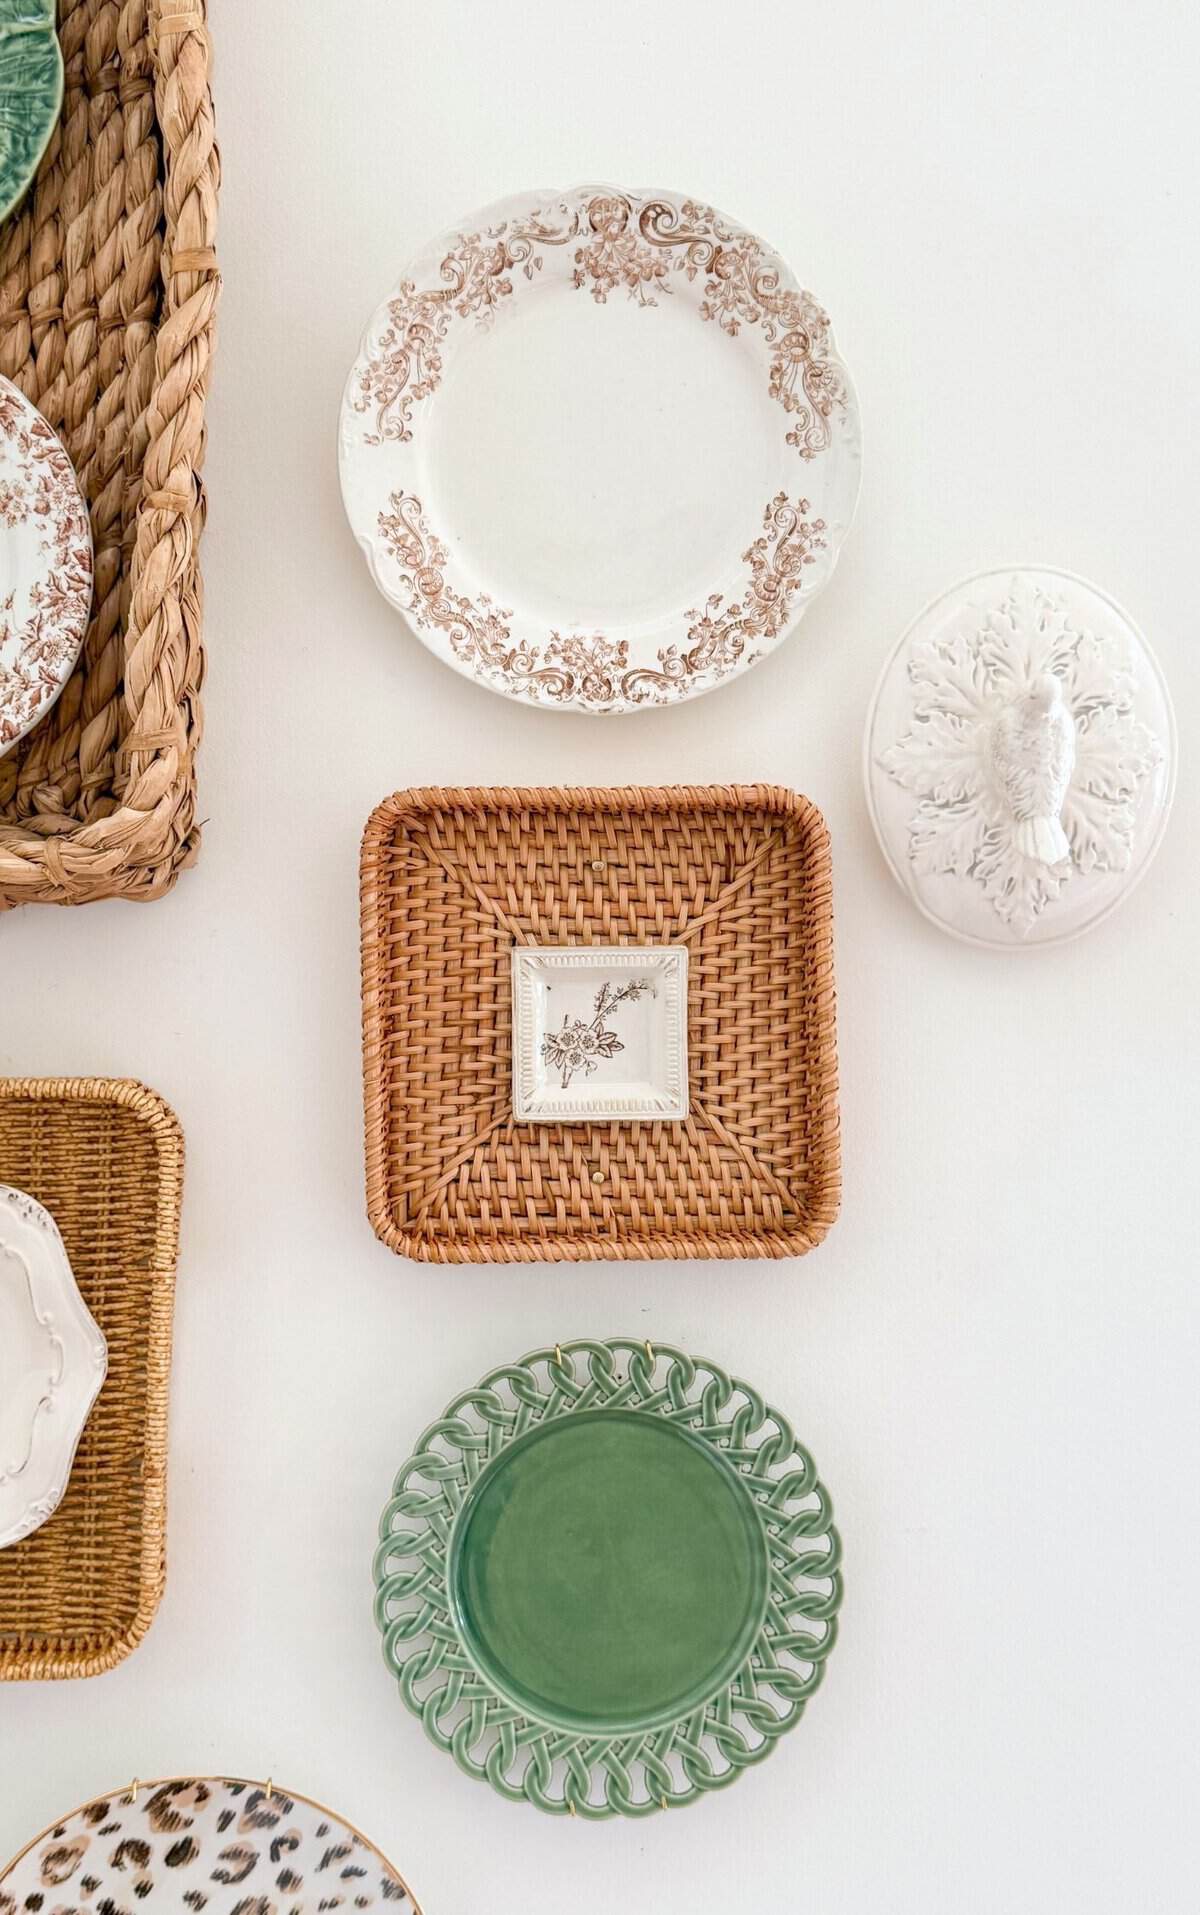
Hang plates you love. I kept a tight color palette because that reflects my own style, but this is your gallery wall, so choose plates that feel true to how you like to decorate.
Mix plates in different sizes, shapes, and patterns rather than sticking to one style throughout. It’s perfectly fine to repeat a plate here and there too, which actually helps the wall feel intentional rather than too busy.
Adding Plates Without A Basket
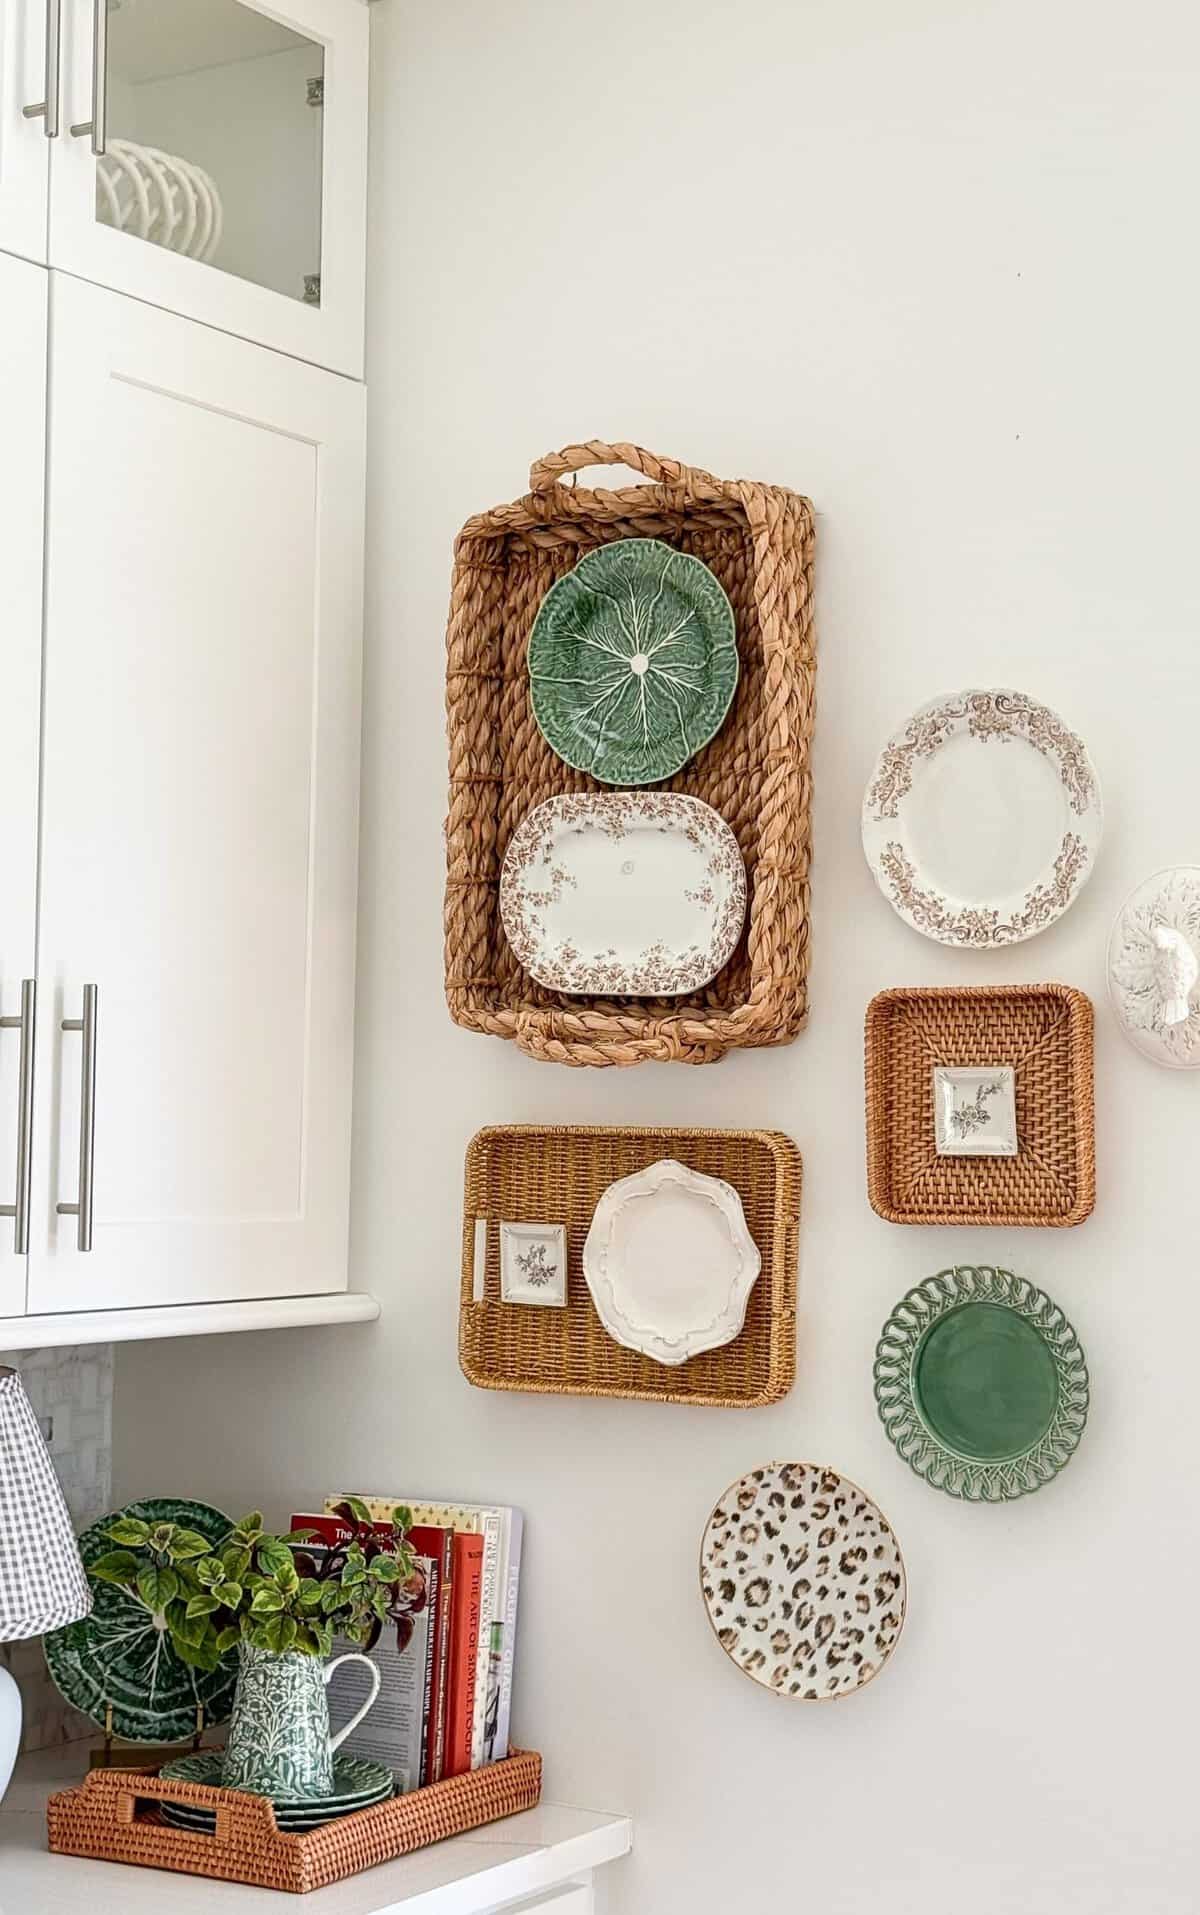
Not every plate needs a basket underneath it. Hanging a plate or two directly on the wall, without a basket behind it, adds a nice bit of variation and keeps the eye moving across the whole display.
Symmetry Versus Asymmetry
Decide early whether you want a symmetrical layout, with baskets and plates mirrored evenly on either side of a center point, or an asymmetrical one, where sizes and shapes are balanced by eye rather than by a strict grid. Both work beautifully, so let your baskets and plates guide you toward whichever feels most natural as you arrange them on the floor.
Balance Over Perfect Symmetry
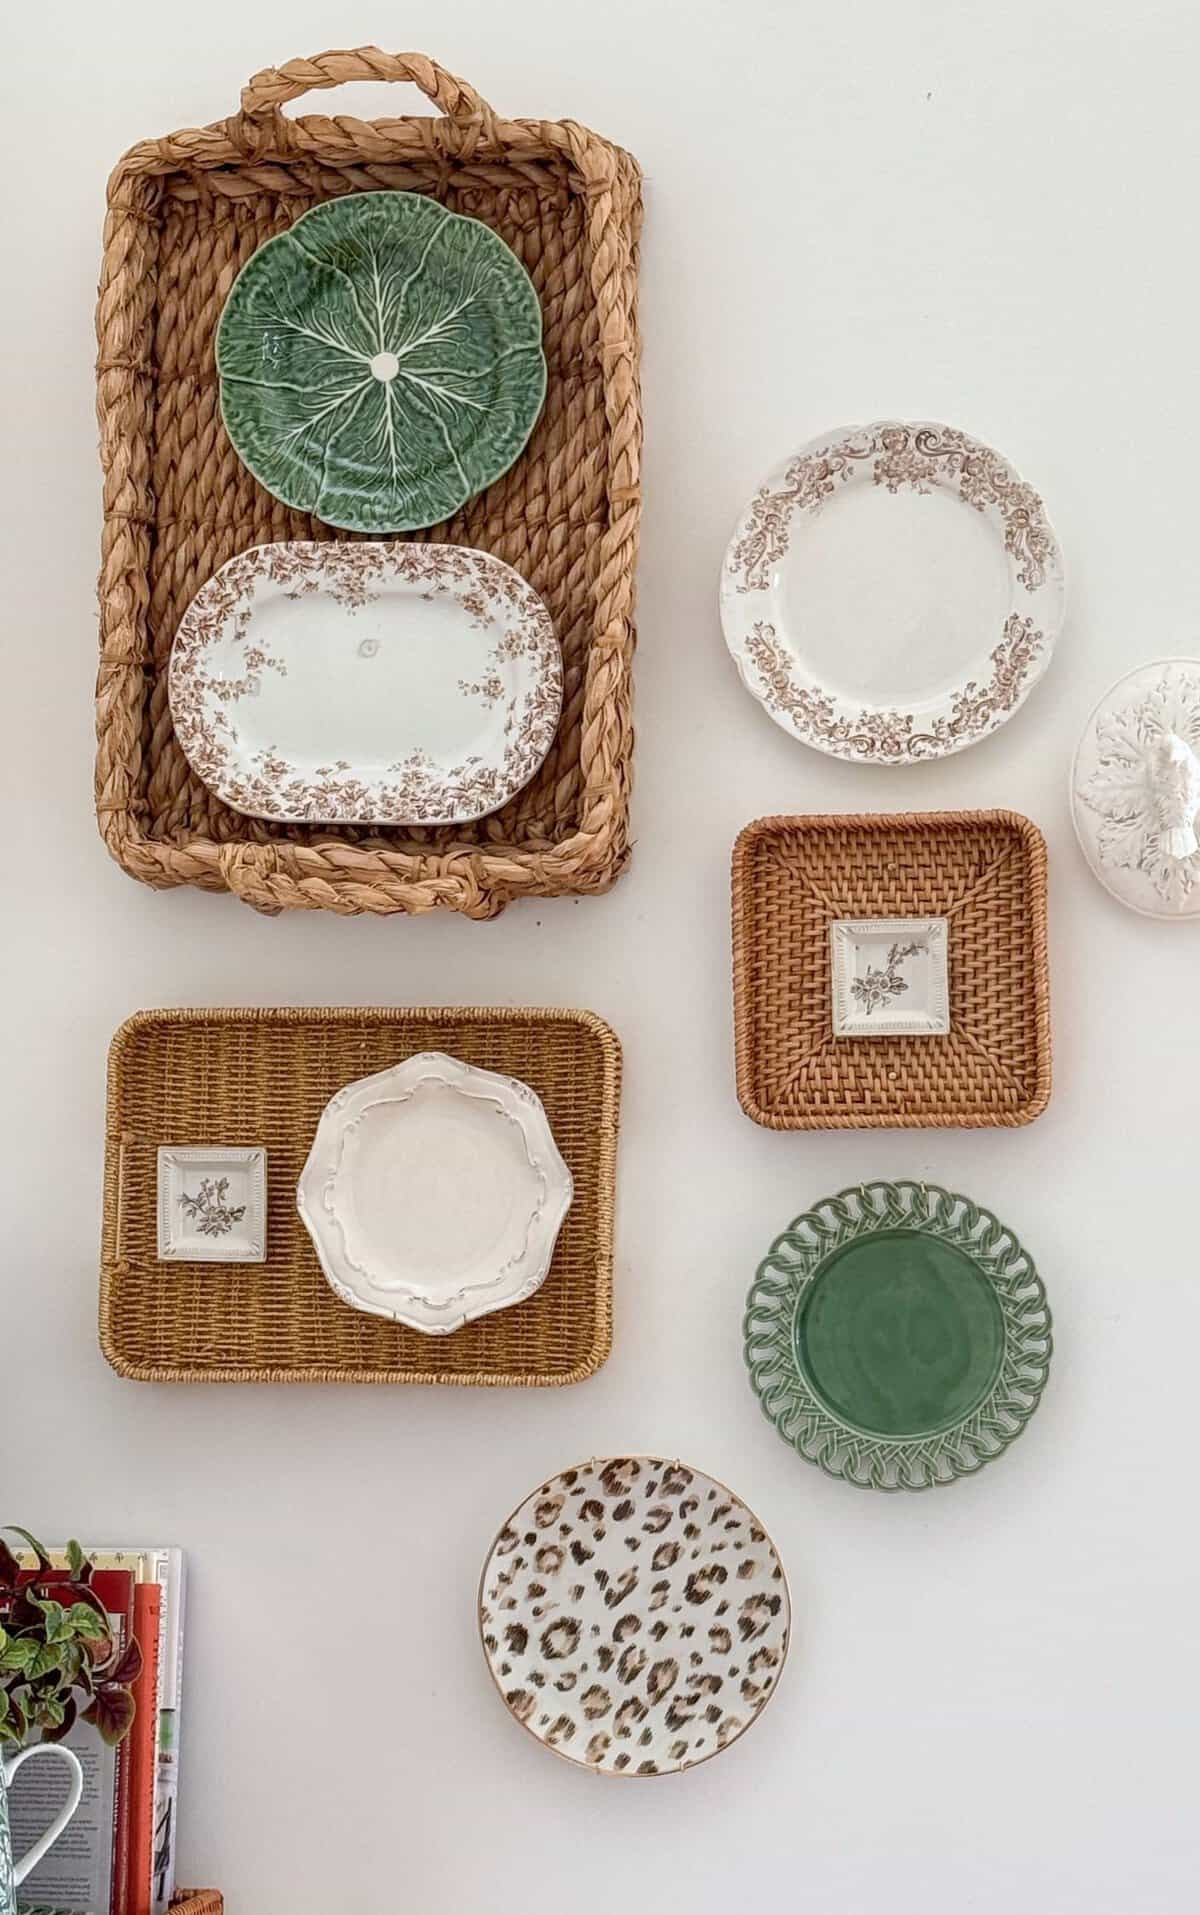
Balance doesn’t have to mean symmetry. On my own wall, the left and right sides look quite different from each other in terms of the baskets and plates I used, yet they carry the same visual weight, so the whole arrangement still reads as balanced.
I also added one animal print plate near the bottom of the arrangement, placed between the left and right sides. It’s a small, unexpected detail that keeps the whole gallery from feeling too perfect or too planned. That little bit of pattern is exactly the kind of relaxed feeling I like to bring into my own decorating.
Mixing Color, Texture, And Pattern
As mentioned, I kept my color palette very tight: brown, white, and green. That’s simply my personal preference, so choose whatever palette suits your own style. Just keep in mind that the baskets do a lot of the heavy lifting with texture, so your plates have room to bring in color and pattern without competing for attention.
Troubleshooting A Plate Or Basket That Won’t Sit Flush
All of our baskets sat quite flat against the wall, which made this part easy. Adding a nail near the top and the bottom of each basket kept it flush to the wall and kept it from shifting once everything was in place. We used a variety of nails for this, whatever we happened to have on hand, so don’t feel like you need anything special.
If a basket isn’t sitting quite as flat, an extra nail near the top and bottom is a simple fix, giving the basket two points of contact with the wall instead of relying on just one.
How To Hang The Baskets And Plates Together
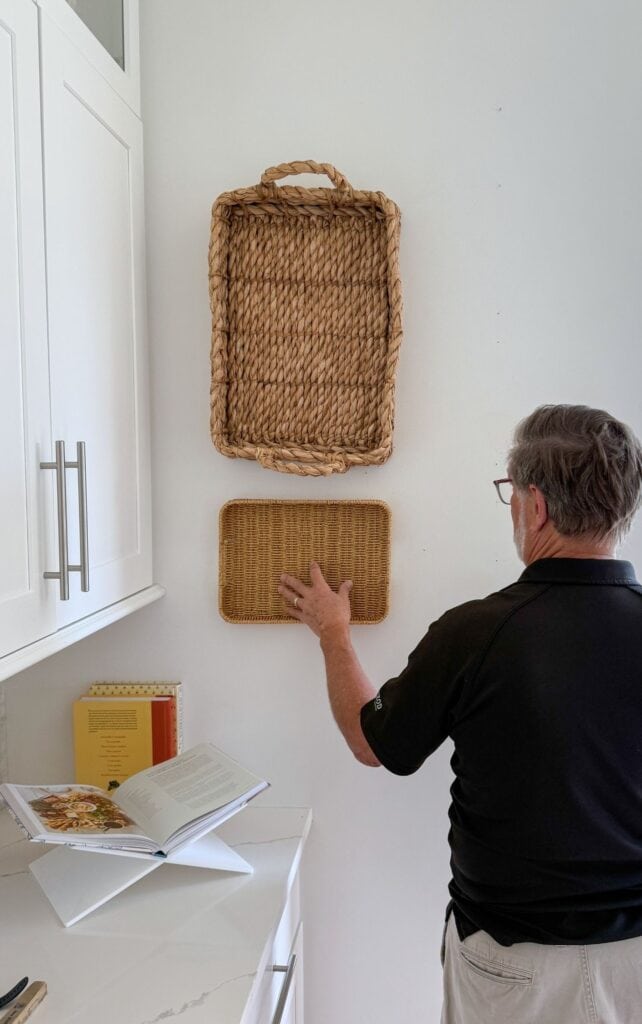
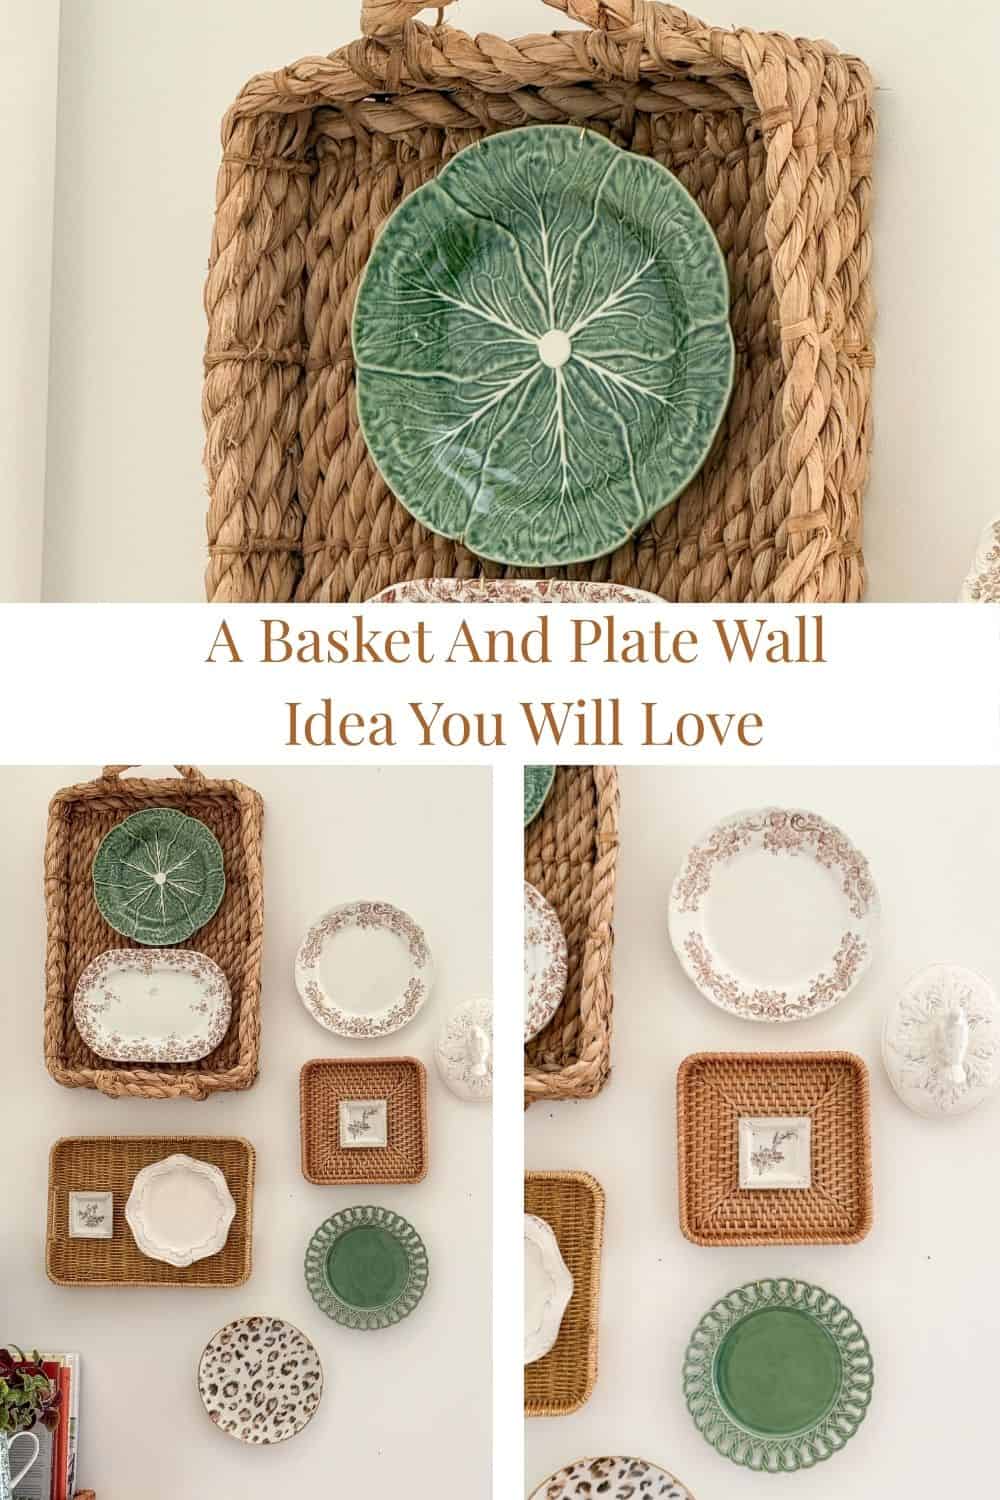
There are a couple of ways to add plates to baskets. One way is to wire the plates to the baskets before hanging, but that makes them hard to change out if you love seasonal changes the way I do. So I opted to nail the plates to the wall right through the basket. This method was so easy, and it let me make sure each plate was perfectly centered in its basket.
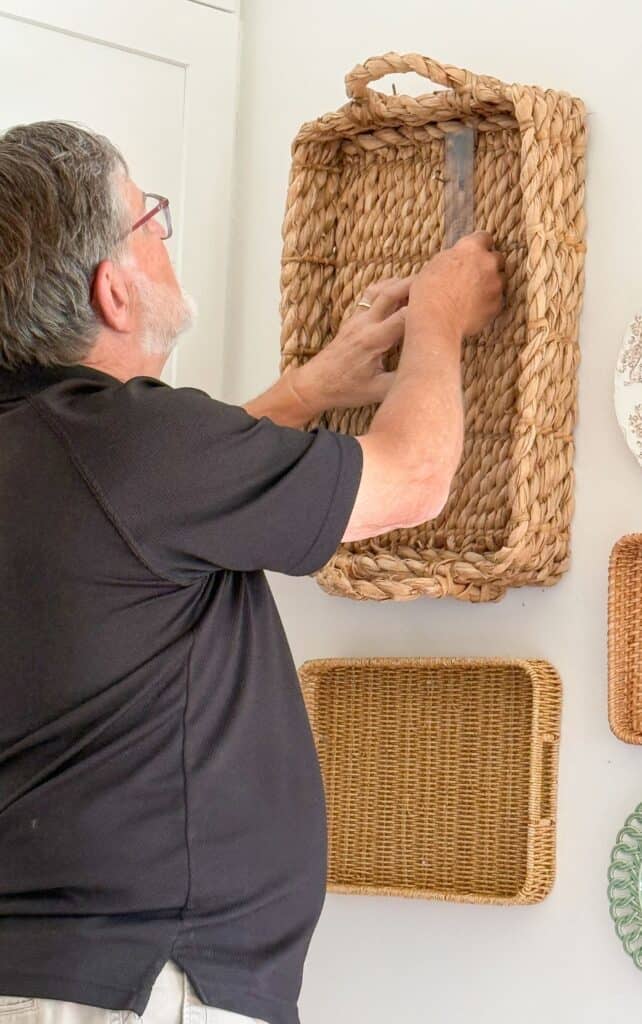
Step back and make any final adjustments, nudging a plate to sit flatter, or swapping a plate for one that reads better in that spot.
- Hang the baskets first, without any plates on them yet. Use a level to get each one as straight as you can, keeping in mind that some woven baskets are not perfectly square to begin with, so aim for balanced rather than perfect.
- Add plate hangers to your standard-sized plates, and use small adhesive plate hooks for anything delicate or miniature, like a butter pat plate.
- Hold each plate up to the basket where you want it to sit, and center it carefully. Stand back and check from a distance rather than trusting your eye up close, since centering a plate while standing right in front of it tends to throw off the placement.
- Hammer a nail through the woven basket into the wall at that exact spot.
- Hang the plate’s hanger or hook on that same nail. That single nail now does double duty, holding the basket flush to the wall and supporting the plate resting on top of it.
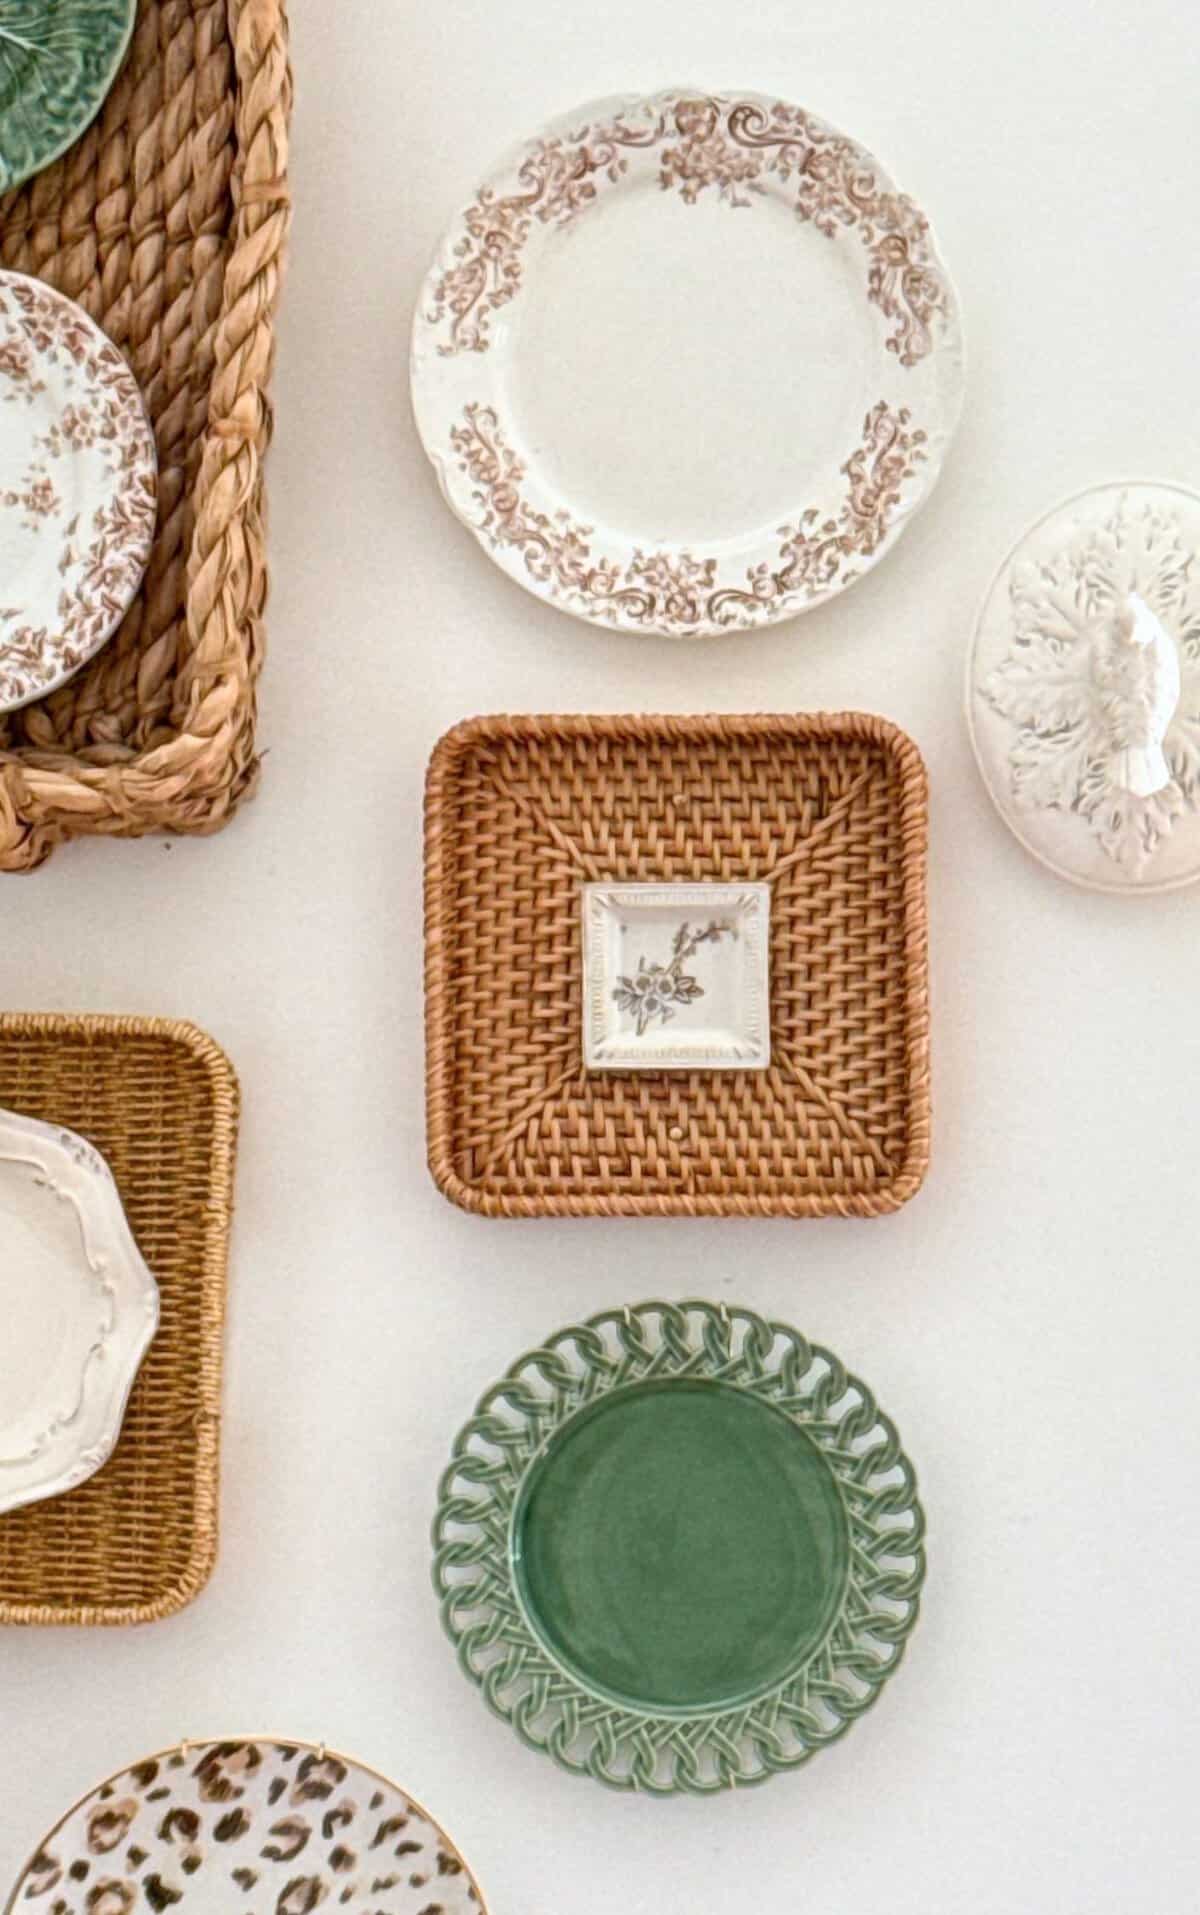
I’m thrilled with the finished basket-and-plate wall gallery. It adds so much personality and charm to my kitchen, and every time I walk by it, I notice something new to love about the mix of texture and pattern. This DIY project is worth doing, and it would look lovely in every room of your home. If you decide to try it yourself, I would love to see what you create.
Questions You Might Have About Hanging Plates In Baskets
Look for a basket with a flat bottom and low sides, so it holds a plate close to the wall rather than letting it sit too deep. Choose a basket roomy enough for your plate to sit comfortably inside, with a little space around the edges, rather than filling it edge to edge.
No, plates on the wall are a classic look that has stayed popular for decades, and it continues to evolve with current trends. Mixing plates with baskets gives the idea a fresh, textural update that feels current while staying rooted in that timeless collected-wall tradition.
Drywall works well for this project, especially since baskets are lightweight and don’t require heavy duty anchors. If you are hanging a larger or heavier basket, it helps to locate a stud for extra support, though a standard nail or picture hook is usually enough for most baskets and plates.
It does require some nails, but planning your layout on the floor first helps you commit to a design before anything touches the wall, which keeps the number of holes to a minimum. Since one nail secures both the basket and the plate, you don’t add extra holes for each piece separately. Any small holes are also easy to patch if you ever change your mind about the arrangement.
Happy decorating, friends…

Yvonne, this is such a great idea! I would never of thought to do this! I have lots of baskets and plates that I can use so just might give this a try. Your DIY was great! You always give us so many unique ideas! Thanks, Yvonne!
Love this idea and items could be thrifted so inexpensively.