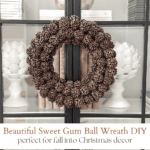
Sweet Gum Ball Wreath: Simple To Make And Textural
This handsome and textural sweet gum ball wreath is perfect for fall through Christmas decorating. With simple materials and step-by-step directions, you can craft something special for your home.
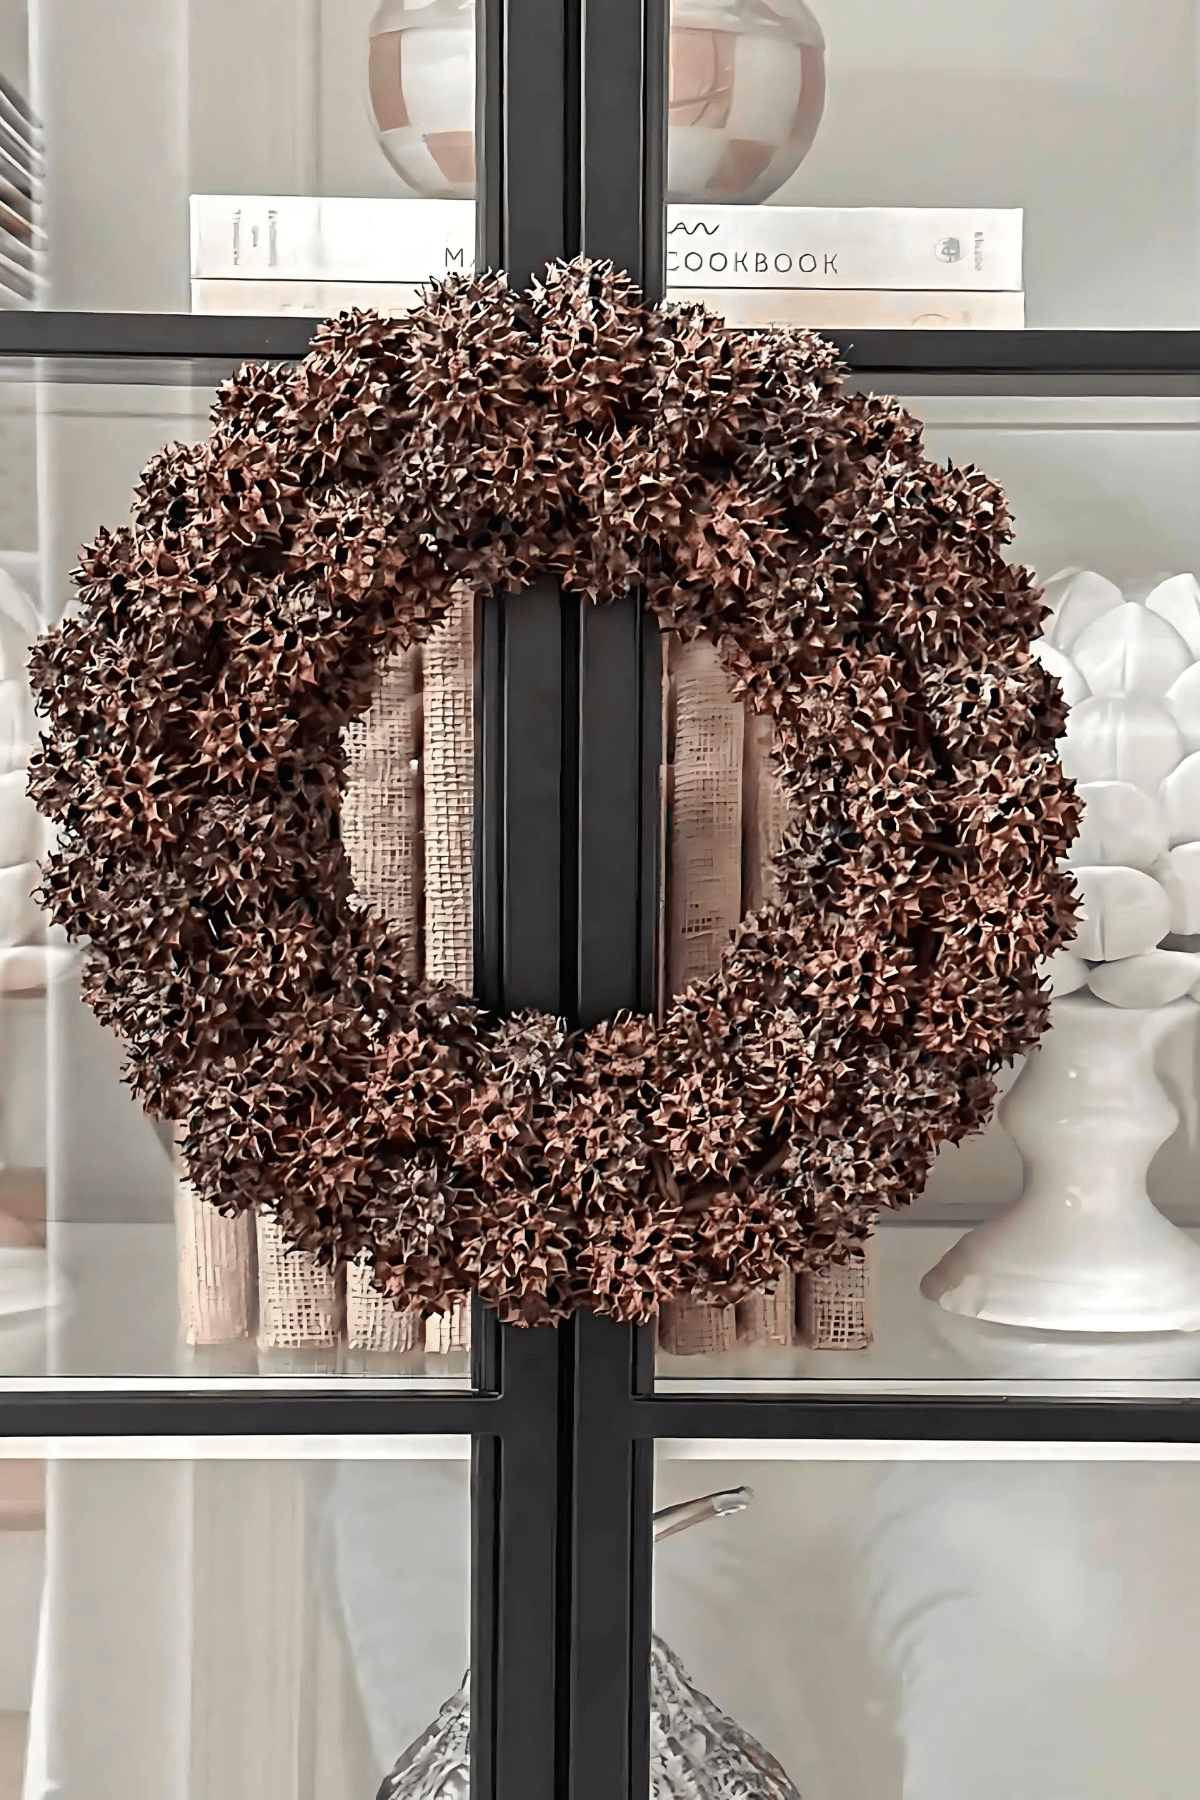
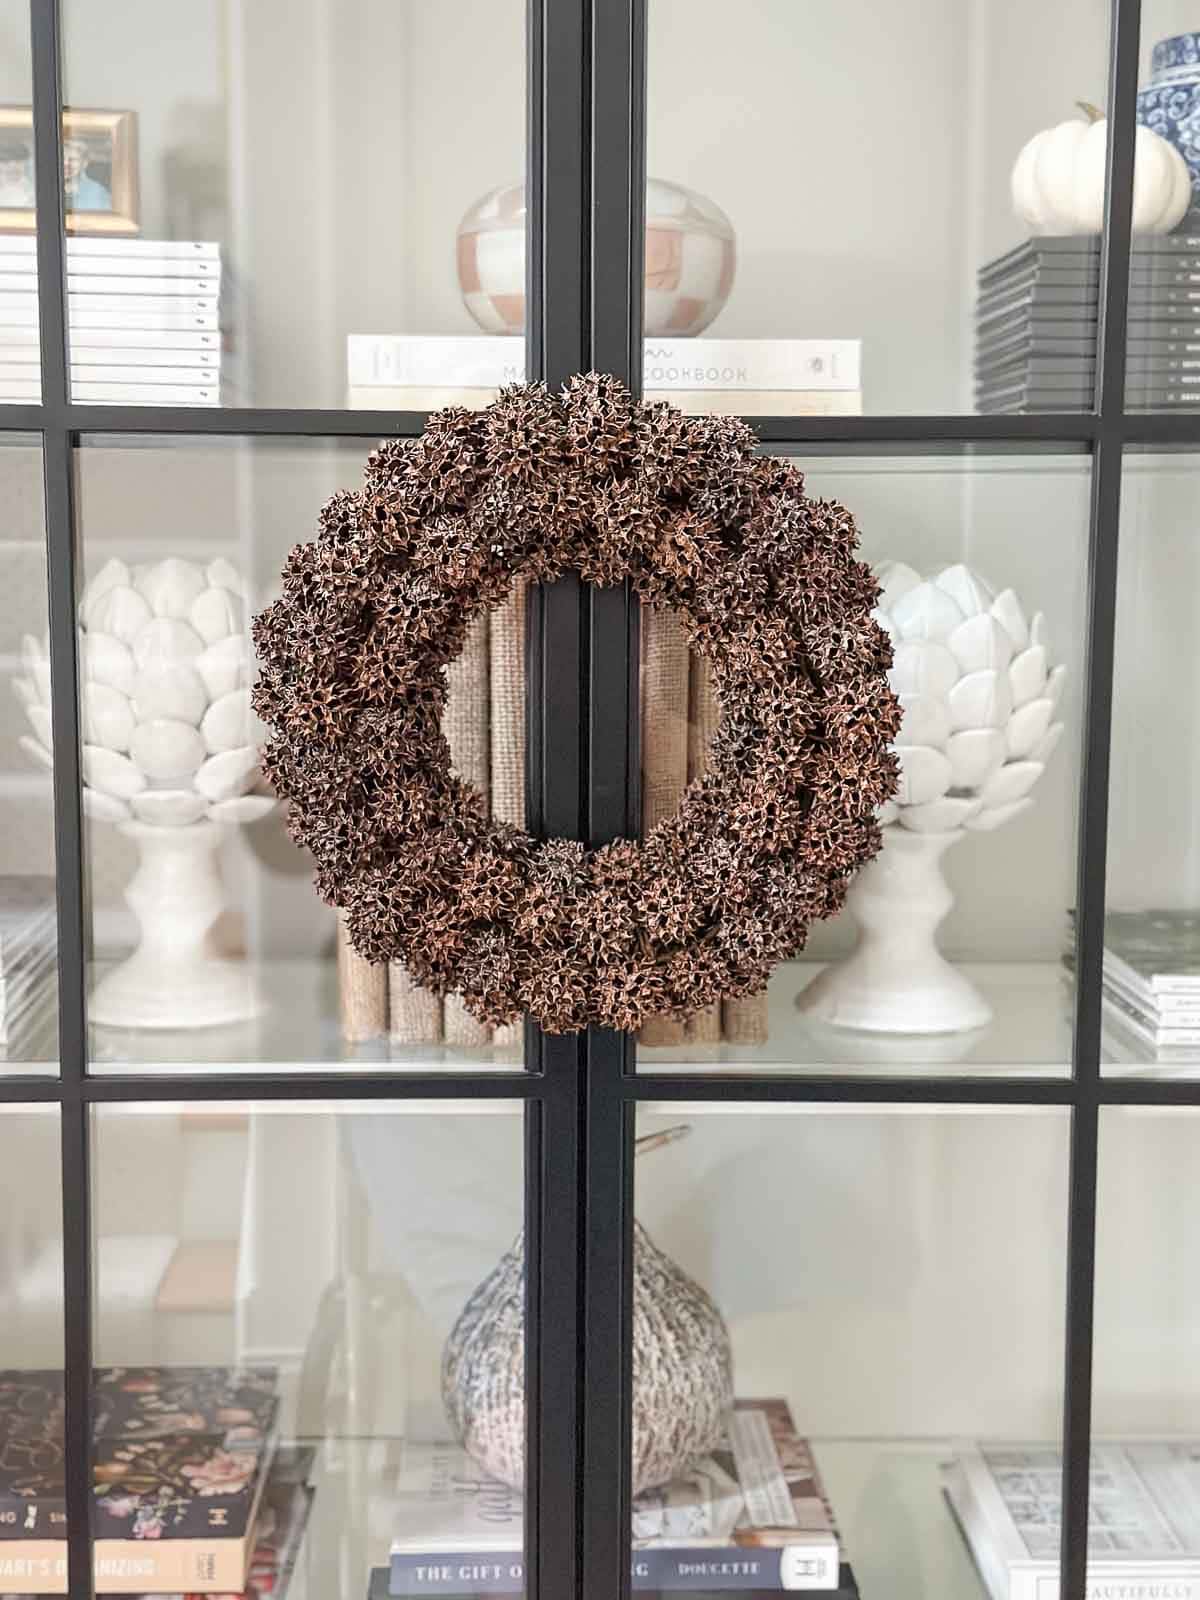
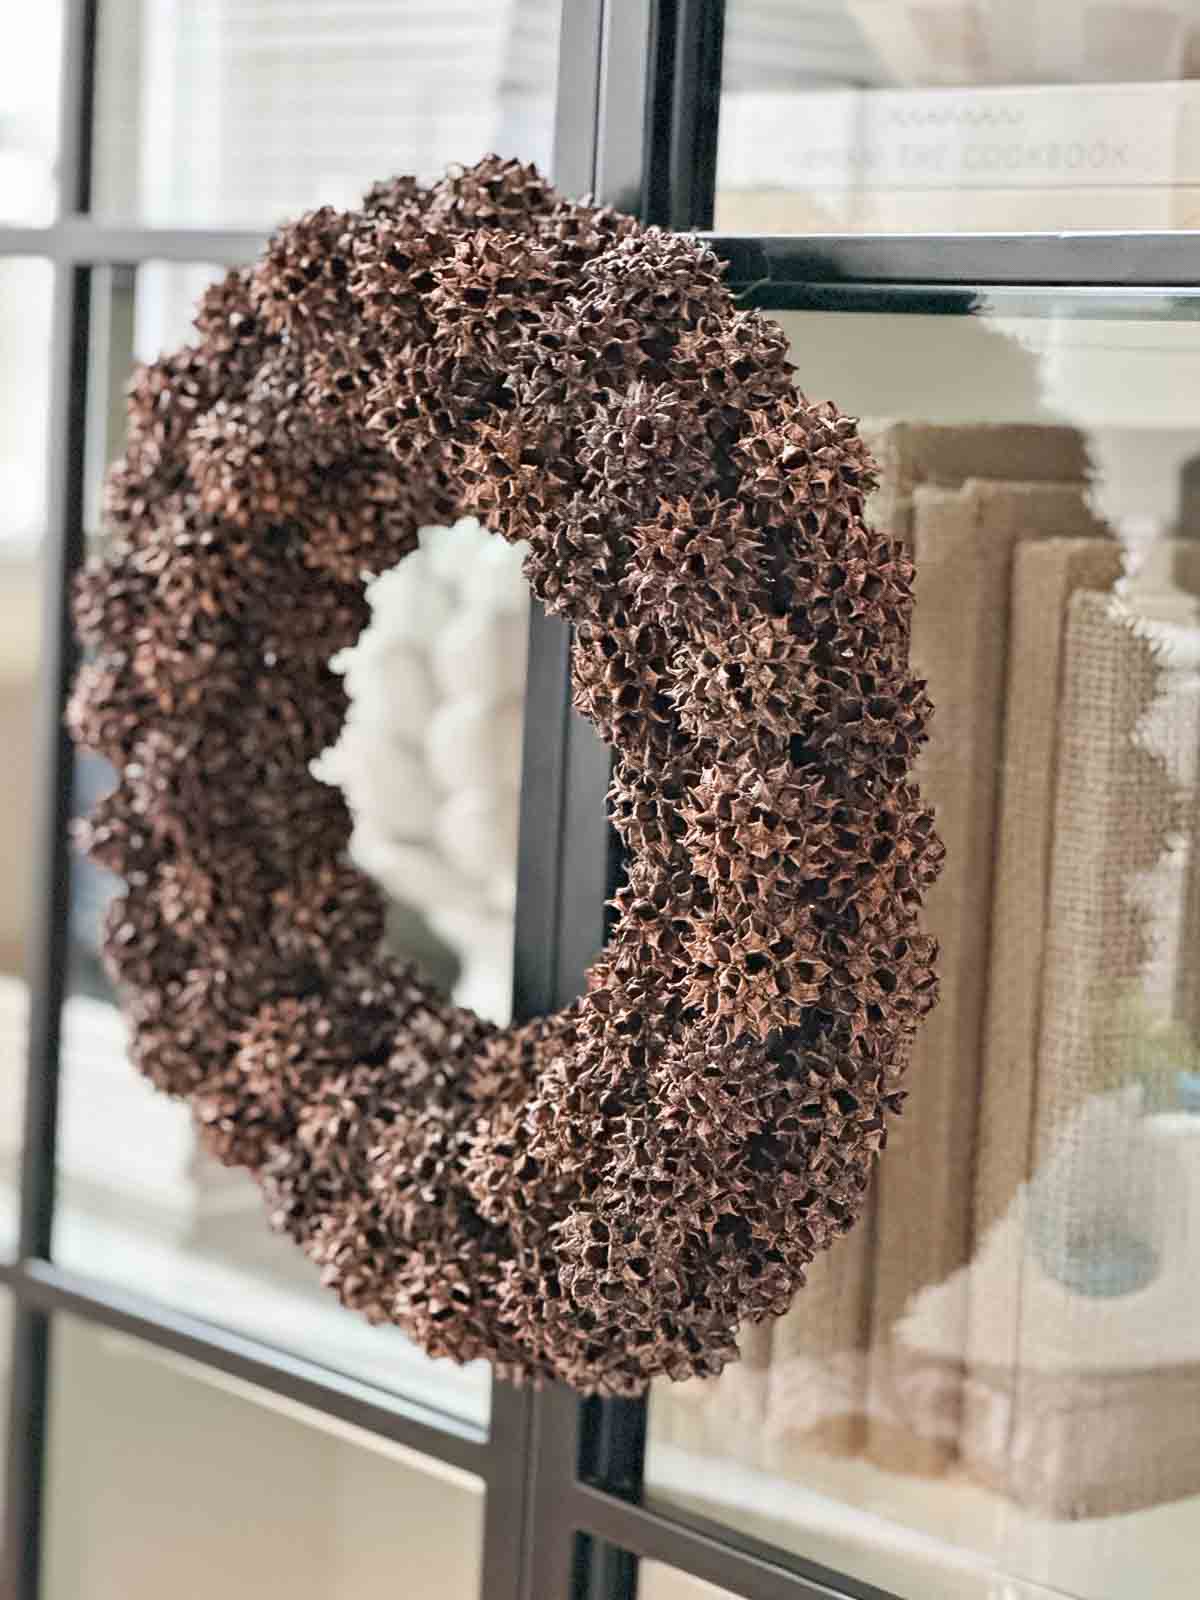
A Sweet Gum Ball Wreath is an organic element that will look beautiful in your home from fall through Christmas. It is understated, yet it can’t help but get noticed! This fall craft idea is so simple and fun to make with step-by-step directions and lots of images. It’s the perfect addition to your home this season.
About This Handsome Wreath
Besides being easy to make, the best word to describe this wreath is handsome. A sweet gumball wreath looks high-end, rich in textural detail, and impressively stately. I came across several attractive wreaths and knew I had to make one for our fall home. This is a simple fall DIY you will want to make so you can enjoy using it in your home through Christmas.
What Are Sweet Gum Balls
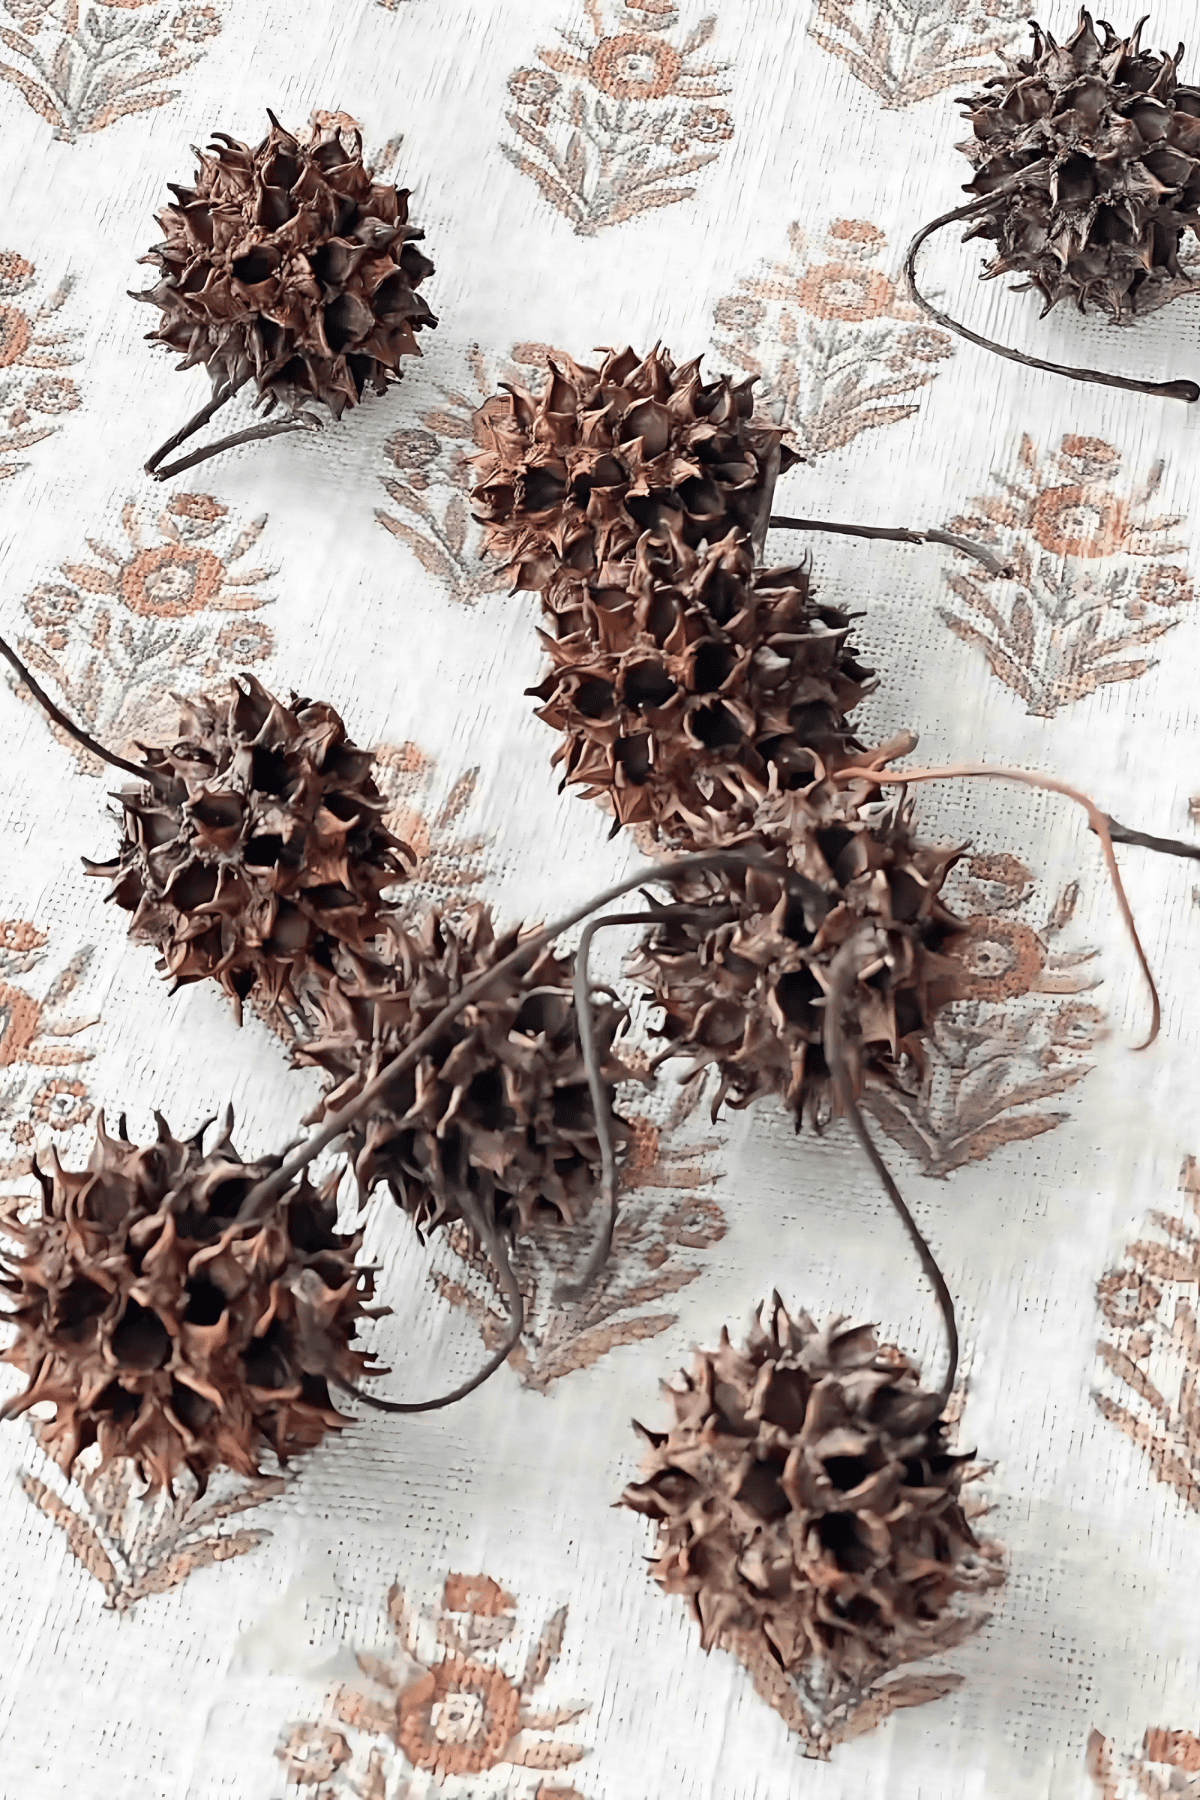
Sweet gum balls are spiky balls that contain fruit seed that falls from the sweetgum tree. They make wonderful snacks for squirrels and other critters when they are on the tree. But like leaves in the fall, when they die they fall off the tree.
Sweetgum trees grow from Connecticut to Florida and west to Texas. They are often considered a nuisance because they drop hundreds of hard, spiky balls.
Where To Find Sweet Gum Balls
If you have a sweet sweetgum tree, you don’t have to look further than your yard to find a plentiful supply of these treasures.
Or you can buy a box of sweetgum balls on Etsy—they’re very reasonably priced. Amazon sells them, too.
What You Will Need To Make A Sweet Gum Ball Wreath
You only need a few things to make this striking wreath.
- I used 80 sweet gum balls for this wreath- See them HERE and HERE.
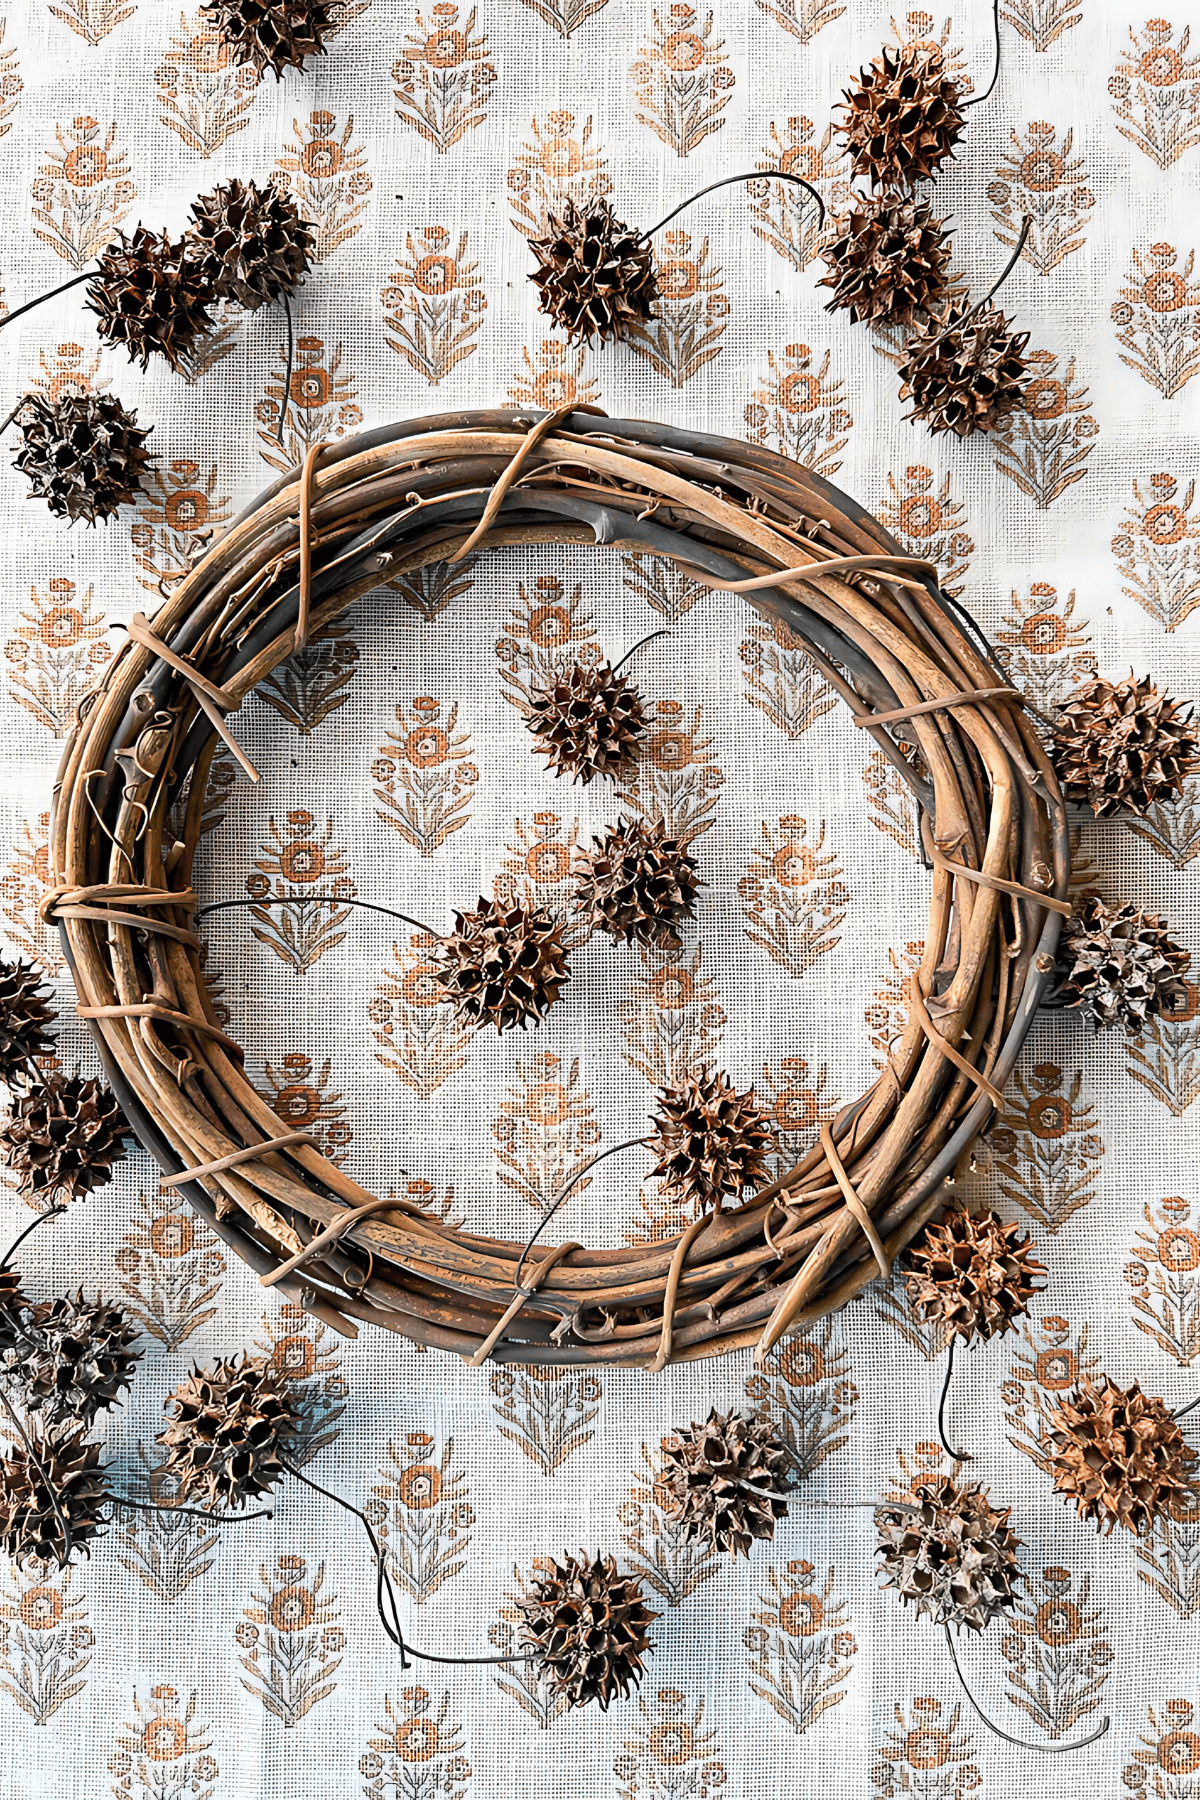
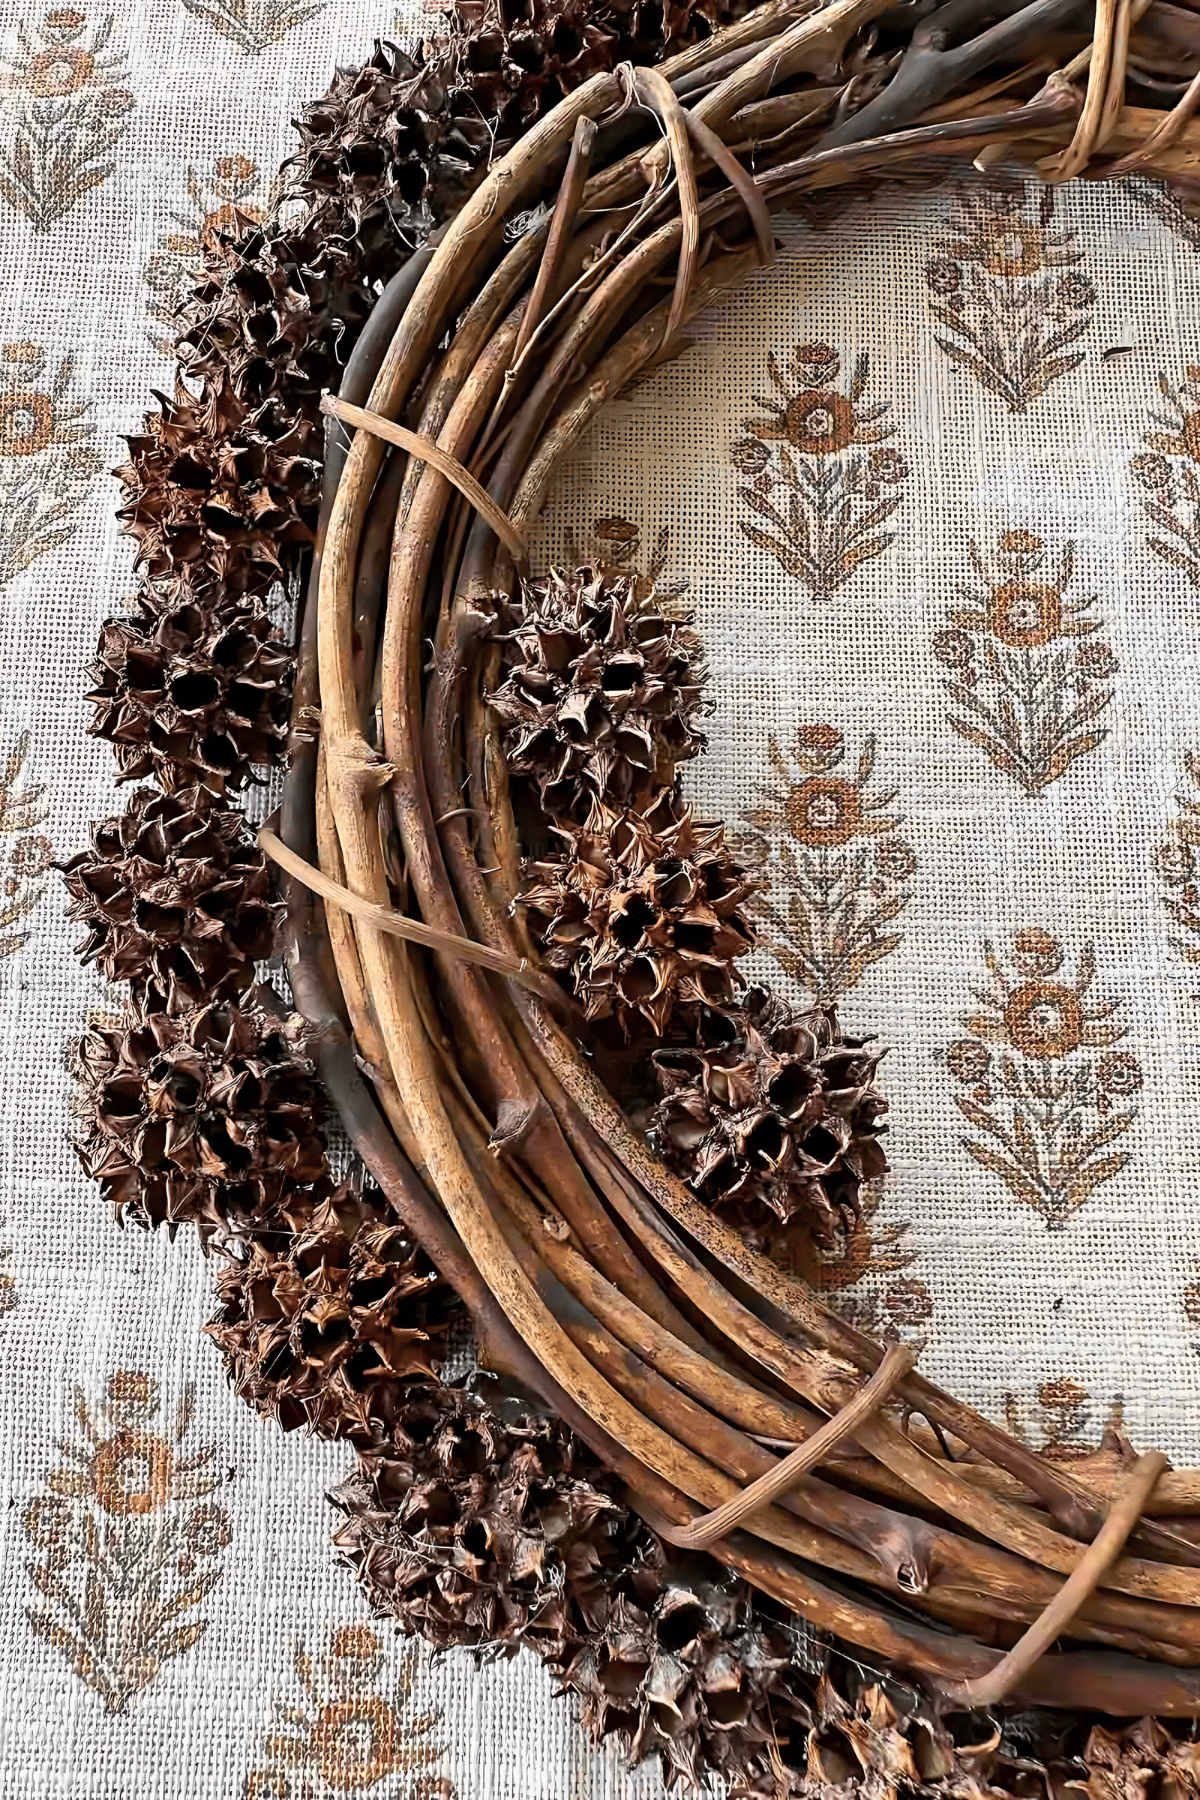
- A 10-inch grapevine wreath- See it HERE.
- Hot glue gun and glue sticks- See them HERE.
- Scissors
- Matte finish sealer (optional)- See it HERE.
Tips for Making This Wreath
The little stems of the sweetgum balls are tough, so cut them. They do not pull off.
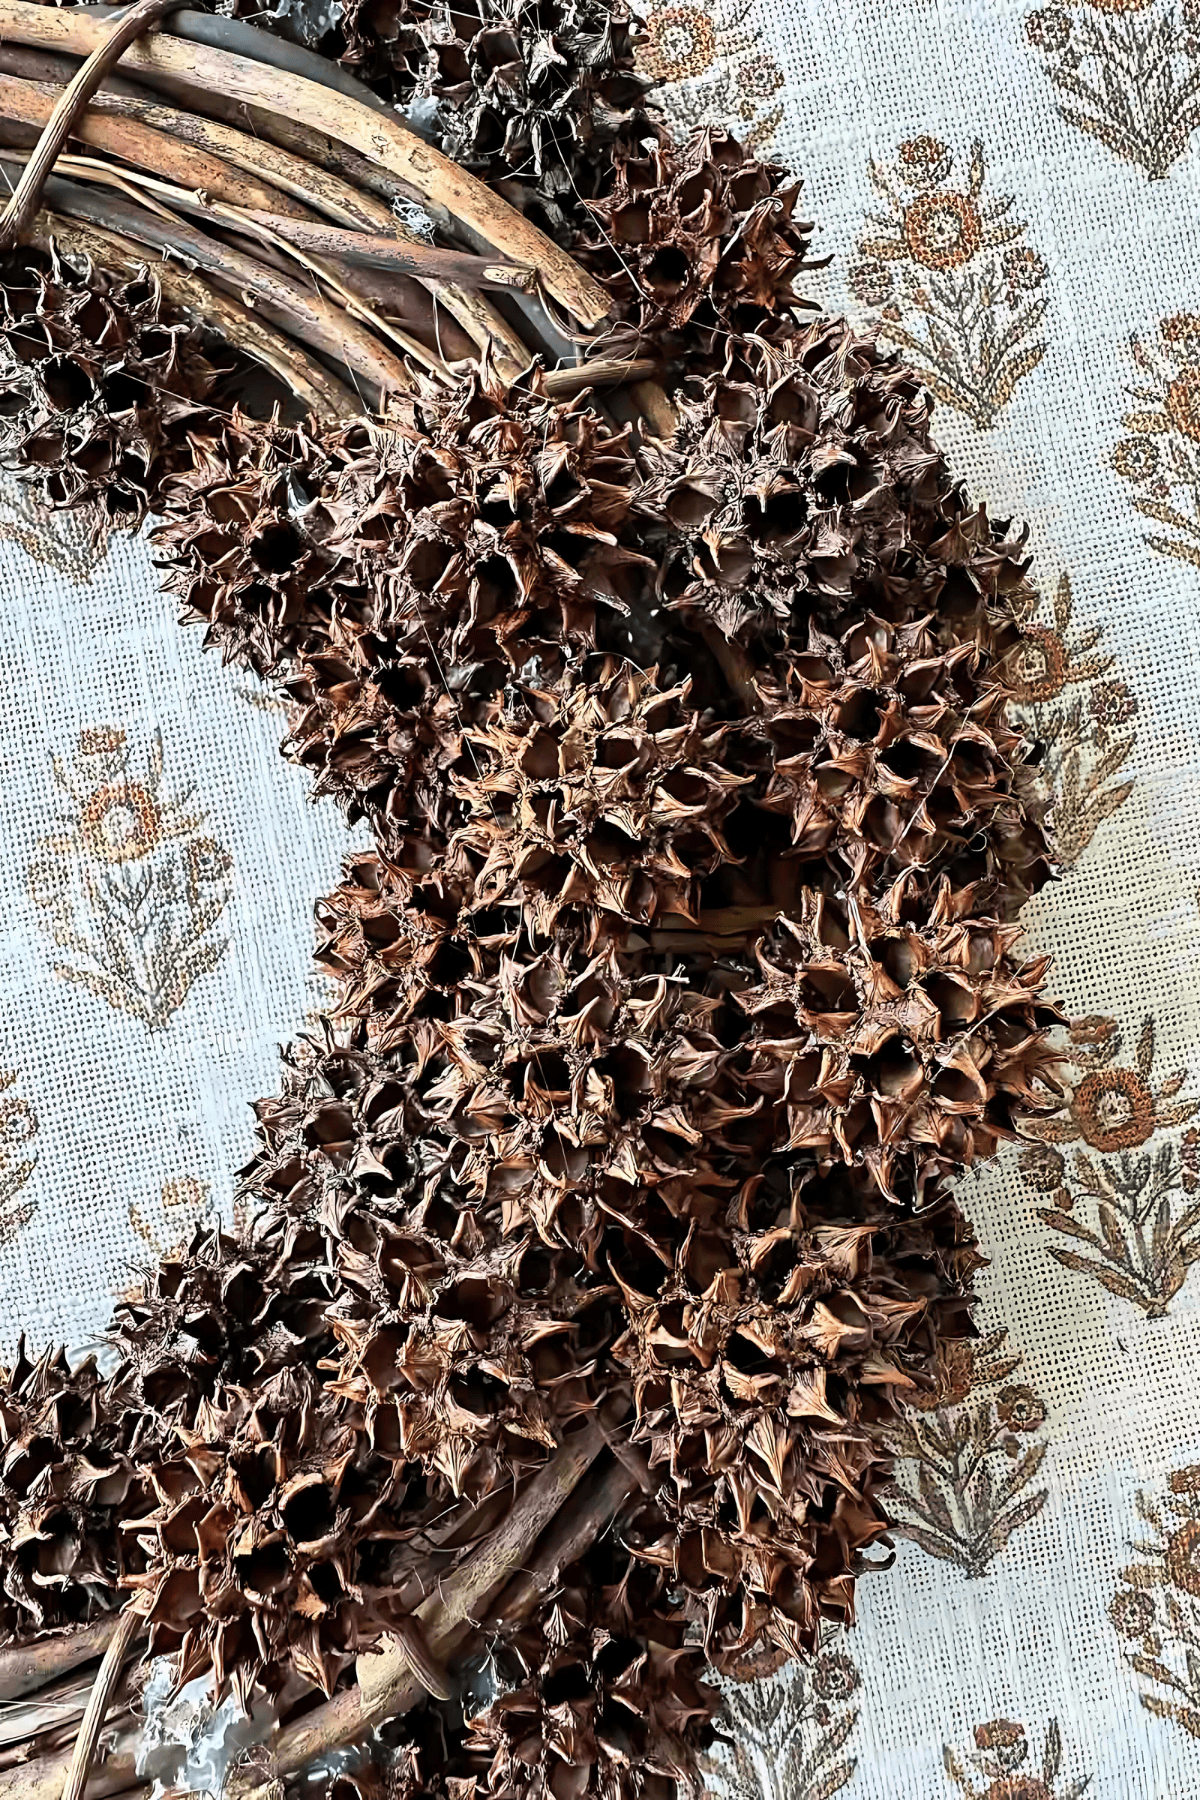
Sorting gum balls by size is helpful. You might need a larger one to fill in a space or a smaller sweetgum ball to squeeze into a smaller space on your wreath.
Make sure the sweetgum balls are next to one another. You might want to gently squeeze them together without bending their spikes,
You will use a lot of hot glue. But be careful not to put so much glue in one spot that it runs through the bottom of the grapevine wreath and pools on your work surface.
Seal the wreath with a matte finish to protect it. Although using a matte sealer is optional for this wreath, I highly suggest this step. Your wreath will look nicer for a longer time.
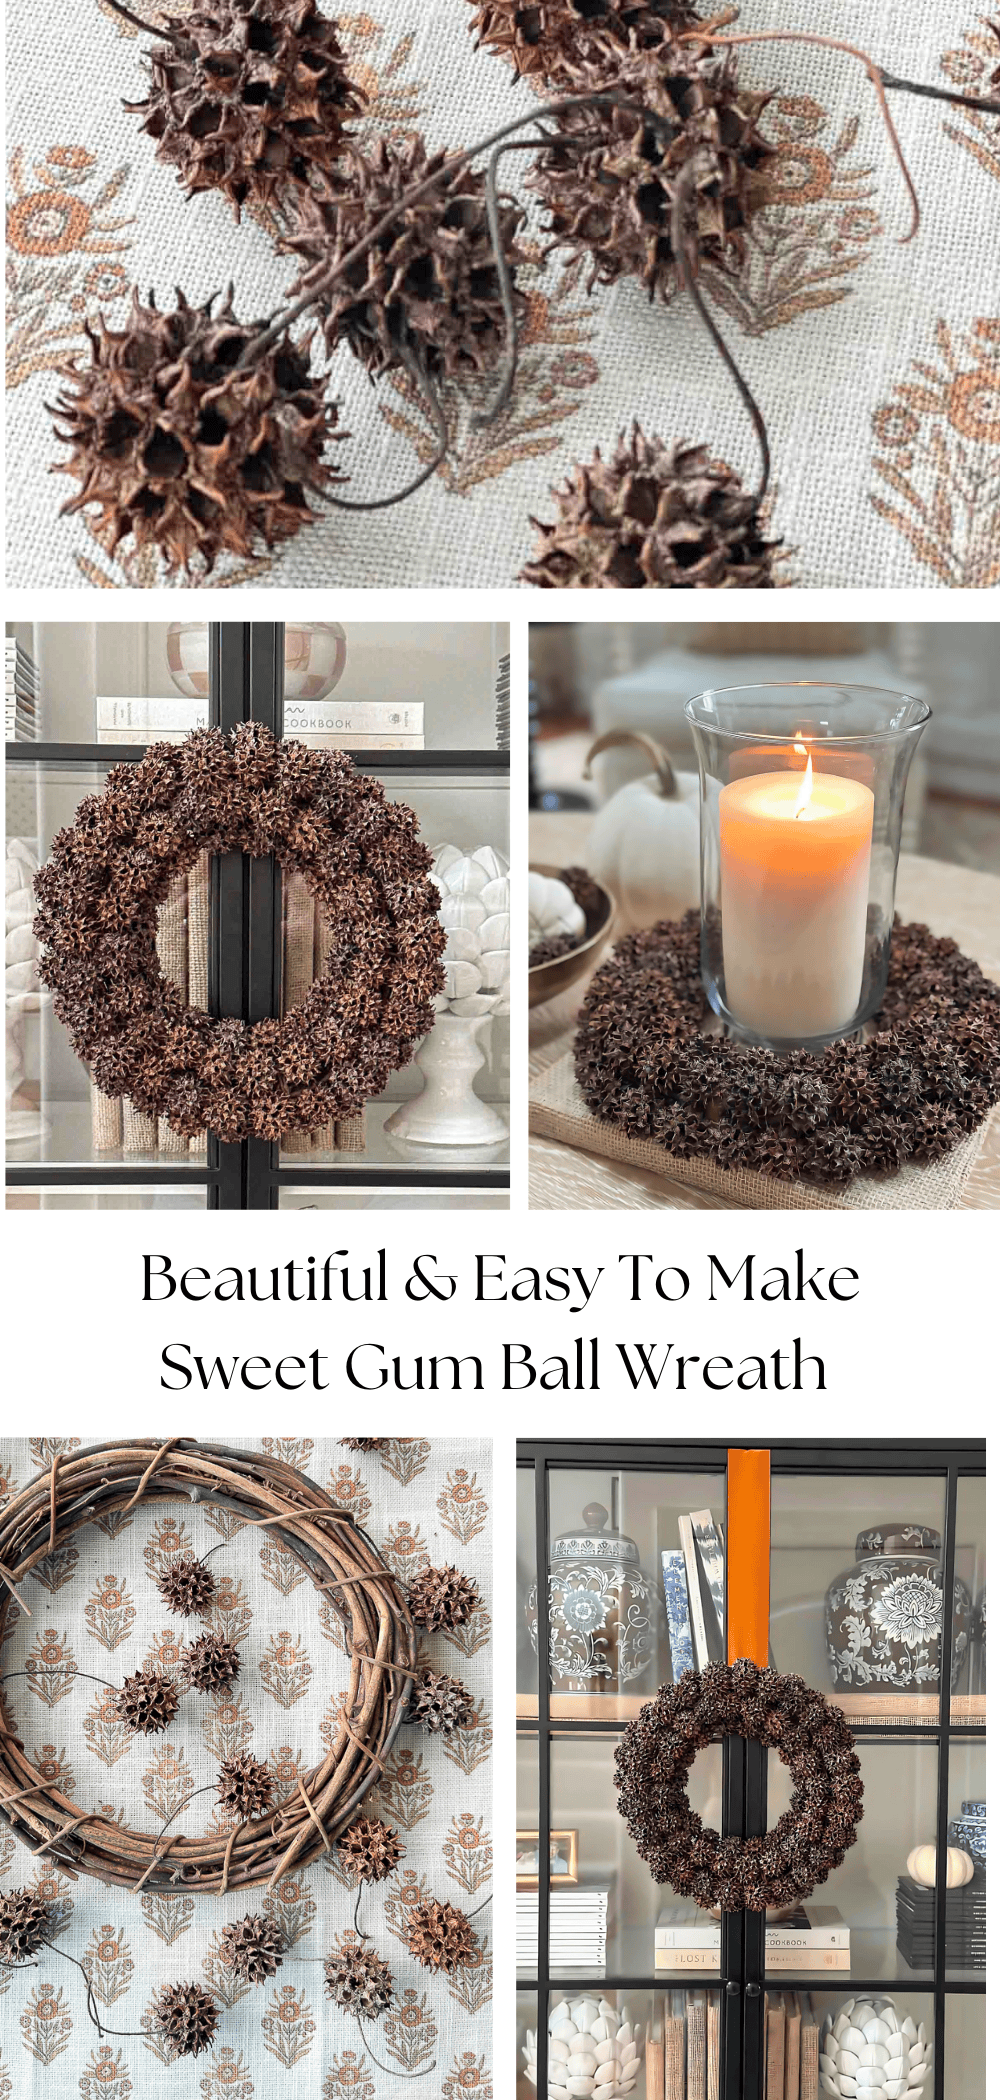
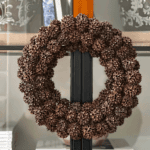
How To Make A Sweetgum Ball Wreath
This wreath is very simple and straightforward, but it is so rewarding because once you start making it, you can almost immediately see just how beautiful it will be.
Snip Off The Stems Of The Balls
The gumballs I got had their stems attached, so I used a sharp pair of scissors to snip them off. I cut off about a dozen at a time and then worked to glue them onto the wreath, continuing to do this until it was done.
Start By Gluing Balls To The Outside Of The Wreath

Liberally glue the sweet gum balls to the outside of the wreath, touching one another. I put the hot glue on the grapevine wreath and placed the gumball on it. I found it easier to glue the sweetgum ball onto the wreath by picking it up at about a 45 % angle and resting the opposite side on the table. I held the ball in place for several seconds and rested it on the table to ensure all the gumballs around the wreath were level to your work surface.
If needed, squeeze the last ball into place. I trimmed the spikes on the sides of one sweetgum ball to fit it in place. No one will ever notice!
Glue The Balls To The Inside Of The Wreath
After all the gum balls are secured to the outside of the wreath, add them to the inside of the wreath. Use the same technique above, ensuring all the inside balls are level with your work surface.
I started across from one of the outside sweetgum balls. If you like a more random look, start gluing the inside gumballs between the outside ones.
Glue Gum Balls To The Top Of The Wreath
I used two rows of gumballs across the top of the wreath. I glued a few on the inner side of the wreath’s top and then filled in the gum balls on the outer side of the top, filling in the space.
Last Things To Do
Once your wreath is made, there are a couple of things to do to finish it. Gently run your hand over the wreath, feeling for loose sweetgum balls. Secure them with a little more hot glue.
You will also want to get rid of any hot glue spider webs. You can pick them all off, but there is a much easier way. Choose the warm setting of your hairdryer, gently blow the hot glue spiders, and watch them melt. It’s almost magic!
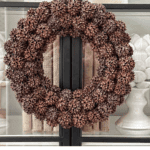
How To Hang Your Beautiful Wreath
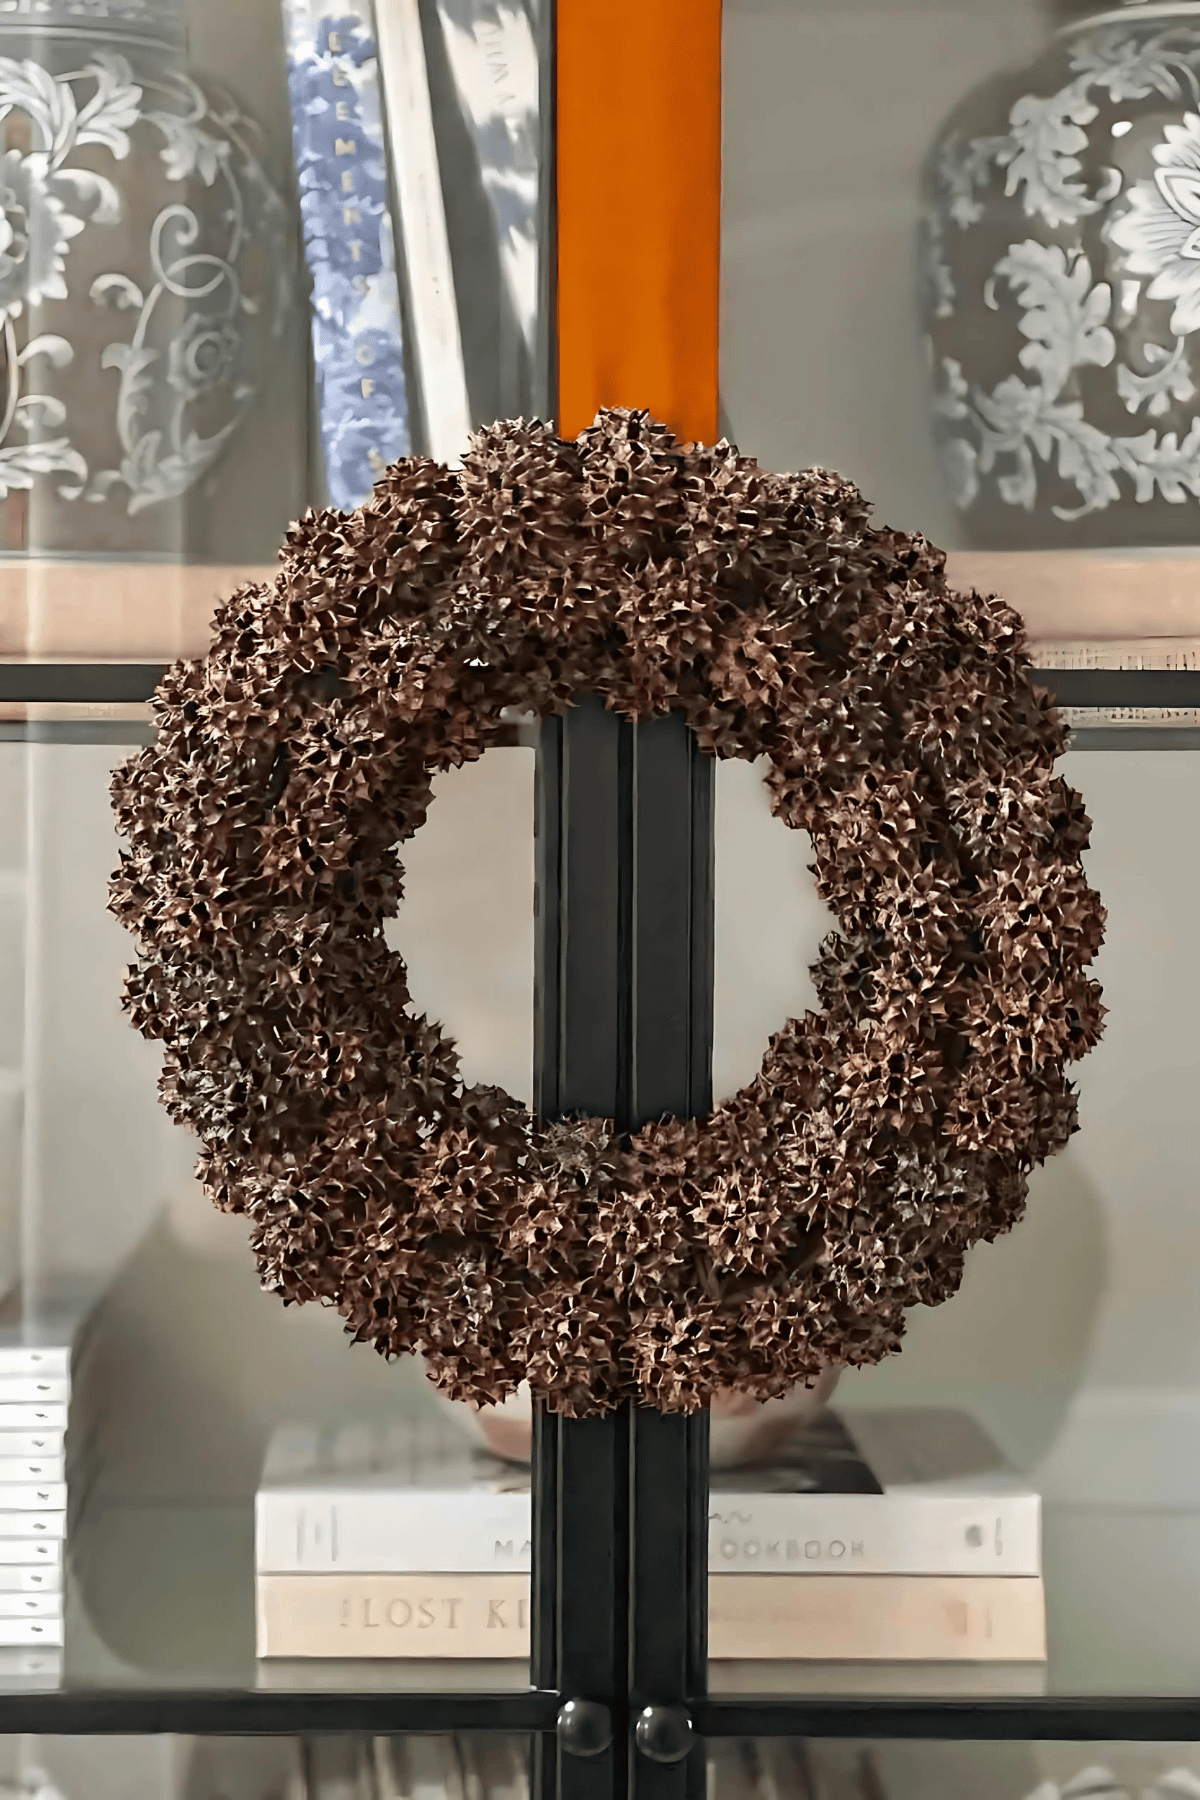
You can loop a wire around a grapevine and make another loop to hang it. Alternatively, you can hot glue a ribbon to the back of the wreath and hang it.
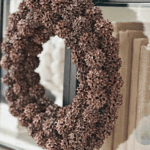
Using Your Sweetgum Balls As A Candle Ring
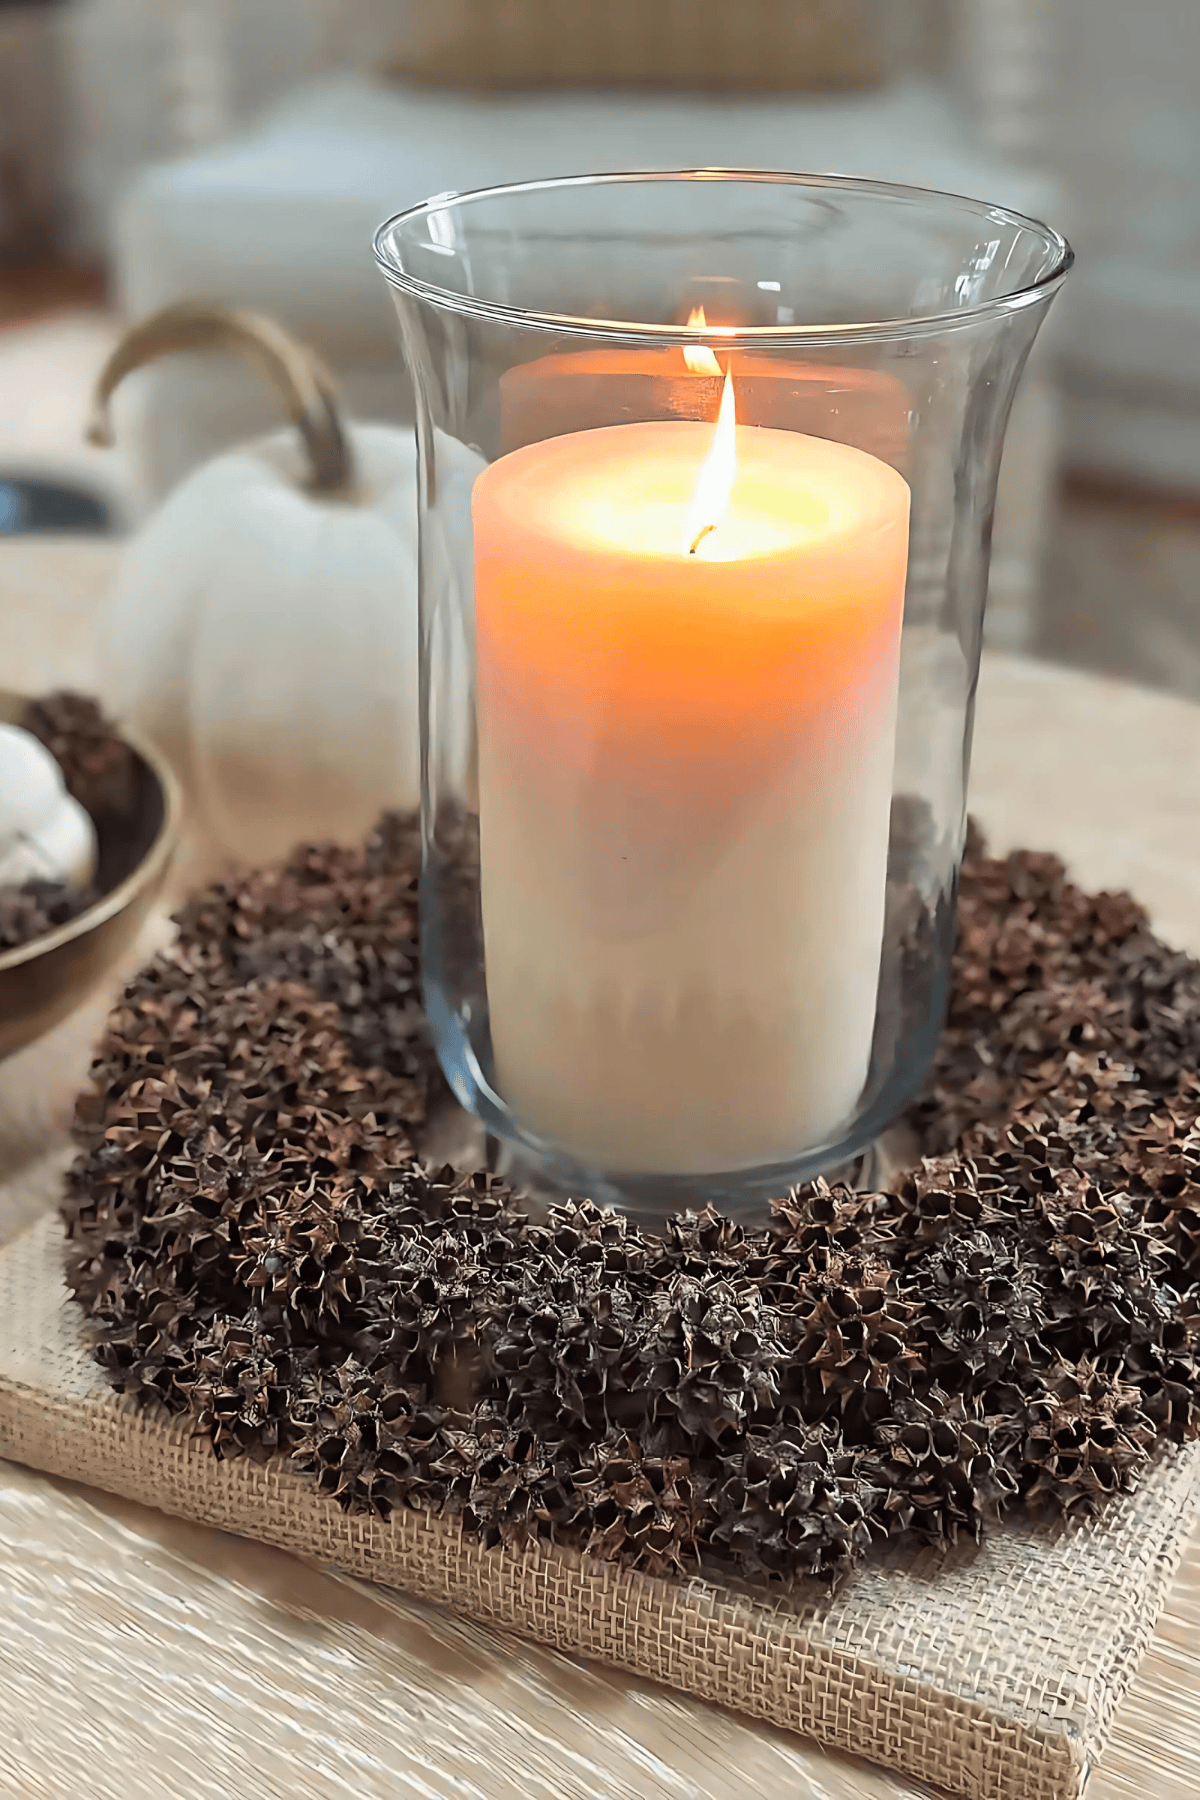
Place the wreath on a flat surface. Add a glass hurricane with a candle to the wreath’s hole, and you have an impressive-looking centerpiece.
I love the aesthetic of this candle ring so much that I am making another one to use on our Thanksgiving table.

I hope you will make this beautiful wreath to use this fall through Christmas and for years to come.
Shop The Post
Click the images below to view the items.

MORE FALL DIYs
Make these easy fall DIYs that will bring seasonal charm to your home.


FAQs About Sweetgum Ball Wreaths
Happy Fall!

Yvonne,
You make things so easy with your easy to follow instructions. I have the gumballs collected and the wreath form but need to get some more glue sticks.
Have you ever sprayed these , Copper for fall maybe gold or silver for Christmas. Looks like we are in for a rainy week so good time to do some crafting.
Hi Kathy, this project does take a lot of glue. I have not sprayed them. I like them so much naturally I think they will stay that way. But burnished copper our gold would look stunning.